Prerequisites
Do you need payments to be distributed to different payees?
Let’s take a look at how!
Navigating to Products
Navigate to Store > Products using the side-navigation menu within the Admin Dashboard.
On this page, you’ll find the table containing your Store Products.
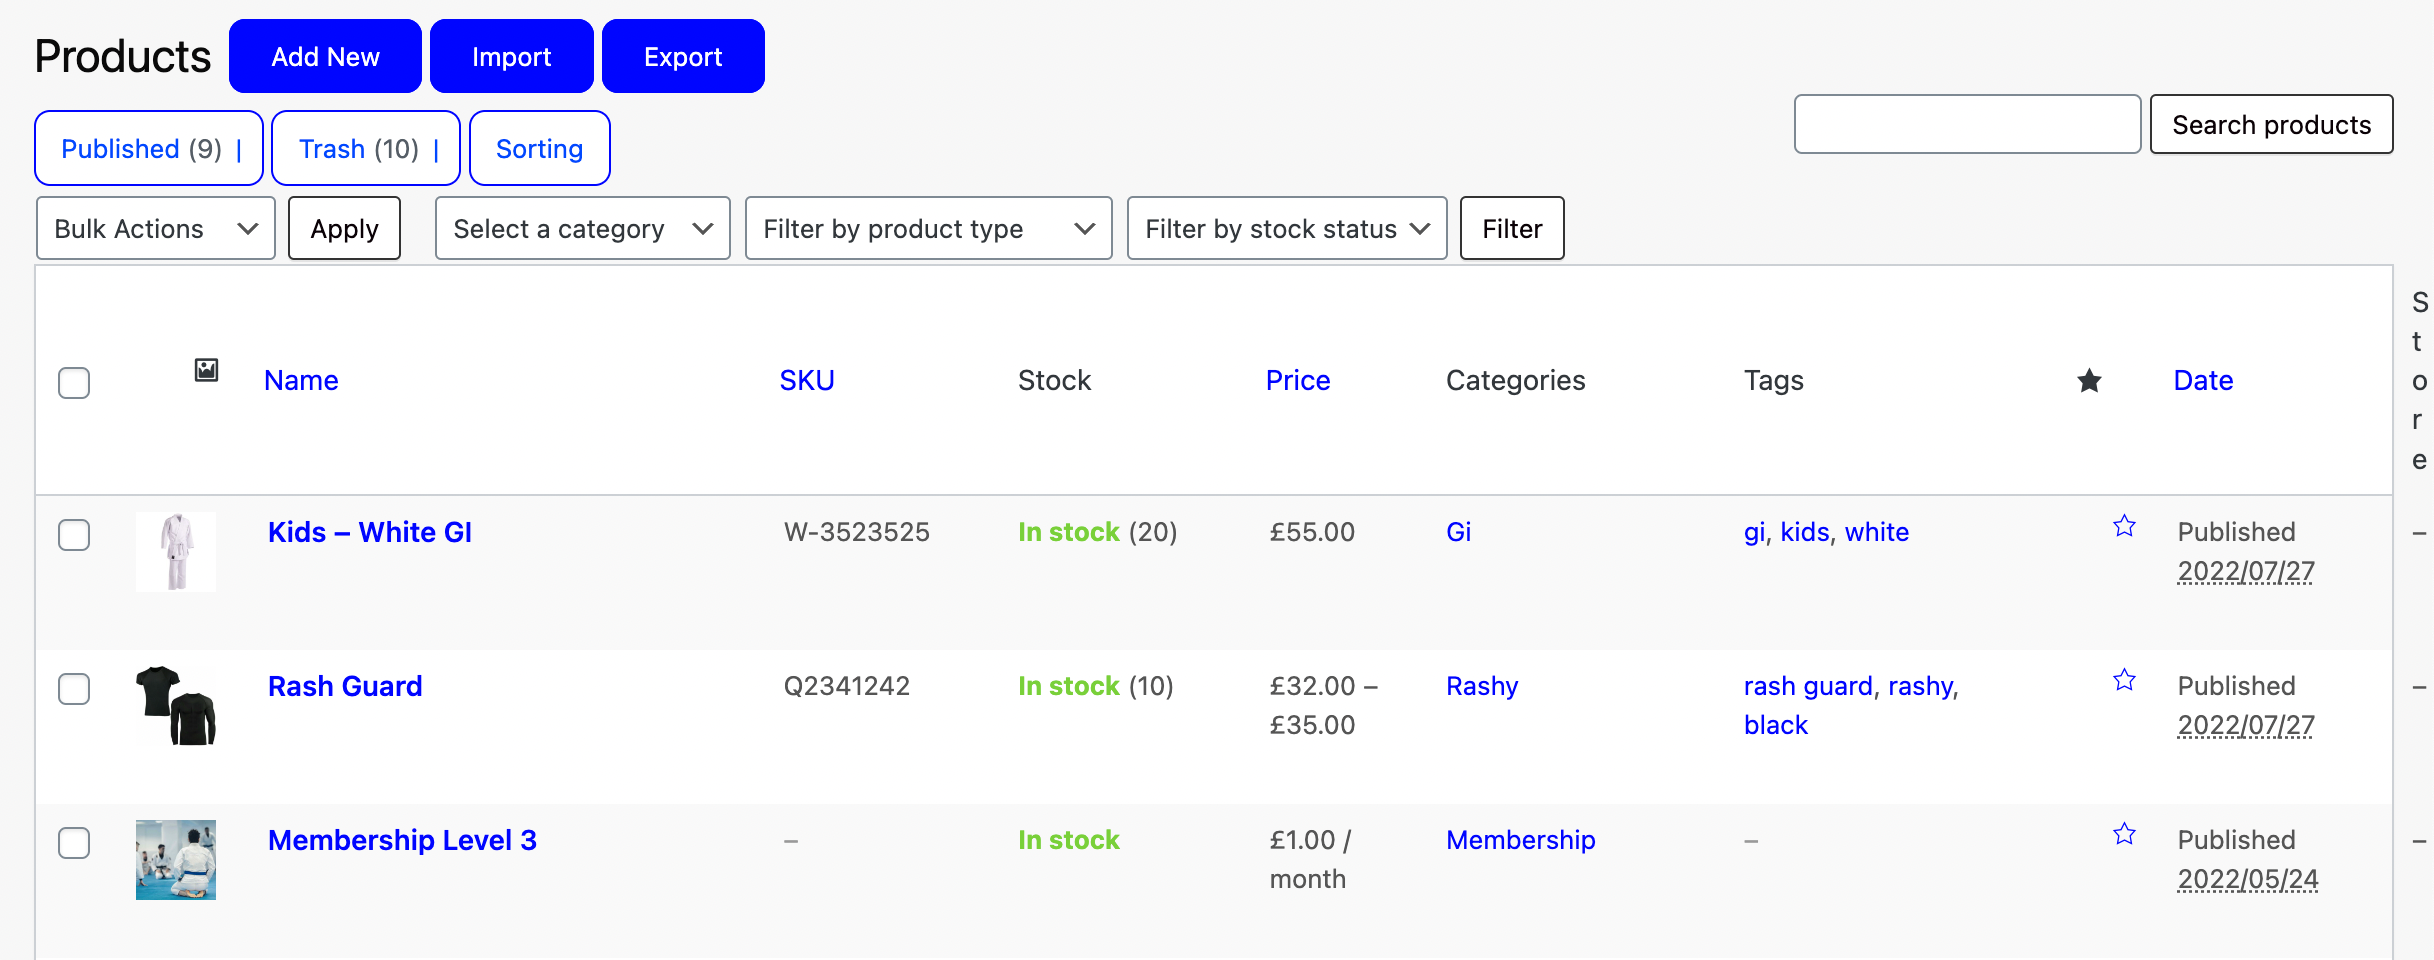
Above the table next to the title you’ll find a button to “Add New“. Click it and you’ll be redirected to the Add New Product page or Edit an existing product.
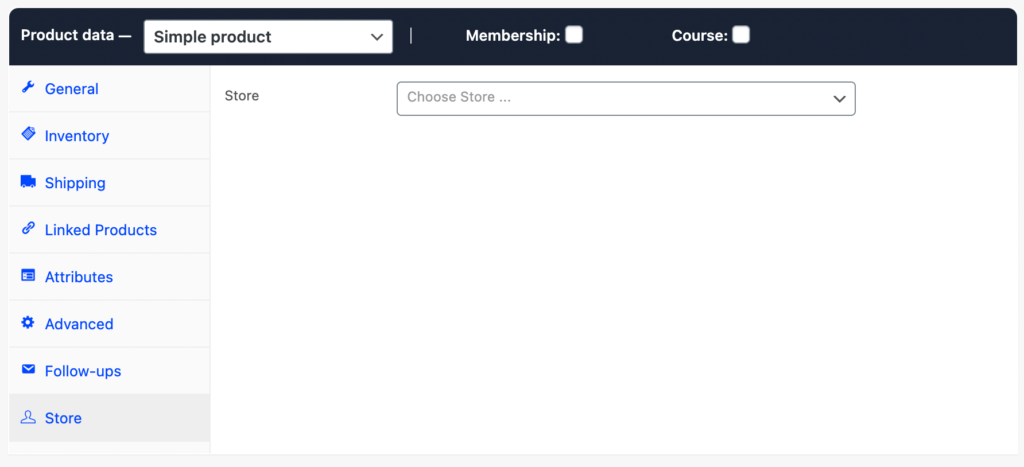
Scroll down to the Settings section and navigate to the “Store” tab. Once you’ve added the Store Owner role to a user they will show in the “Choose Store” drop-down list. Simply choose the Store you want payments for this product to be made to.
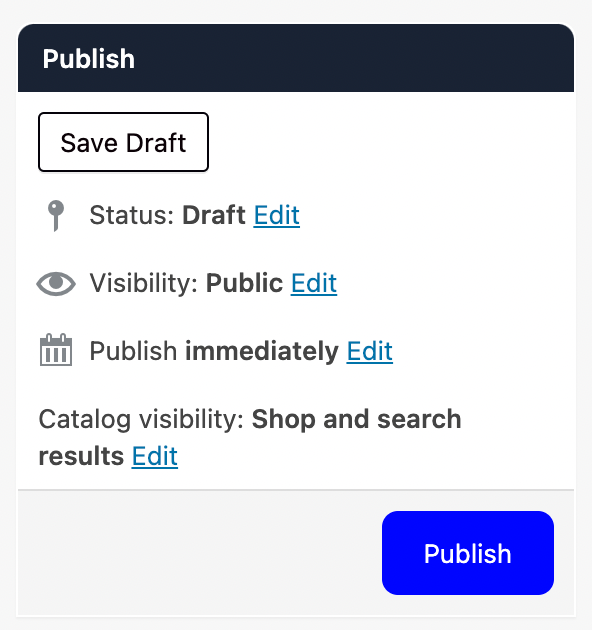
Don’t forget to “Publish/Update” your changes.
And that’s it! Now all payments for this product will be sent to this payee.