Need to create a New Membership Plan?
Let’s take a look at how!
Navigating to Products
Navigate to Store using the side-navigation menu within the Admin Dashboard.
On this page, you’ll find the table containing your Store Products.
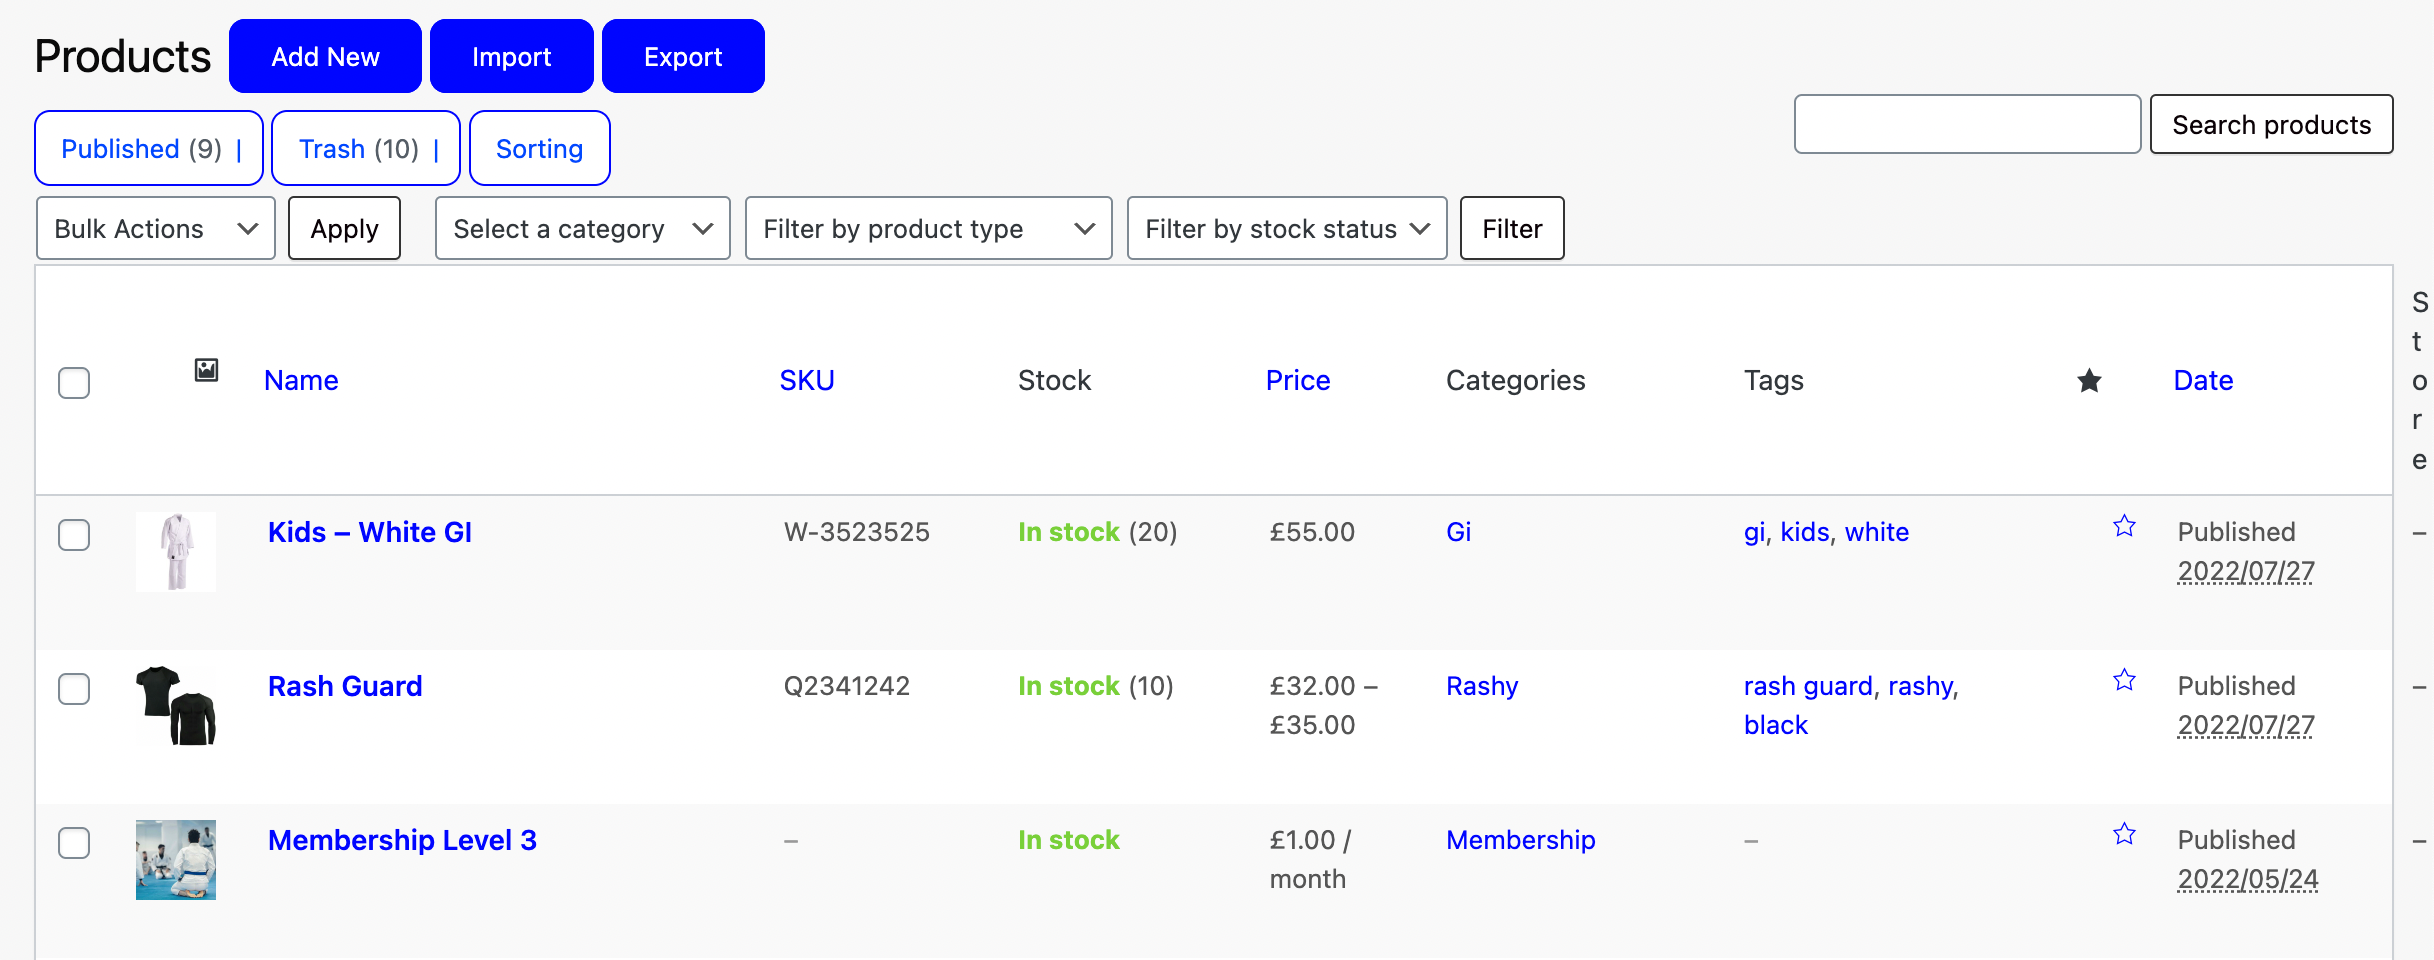
Above the table next to the title you’ll find a button to “Add New“. Click this and you’ll be redirected to the Add New Product page.
Firstly, include the Membership Plan Title in the product name field. Additionally, you can include a Description of the membership plan (optional).
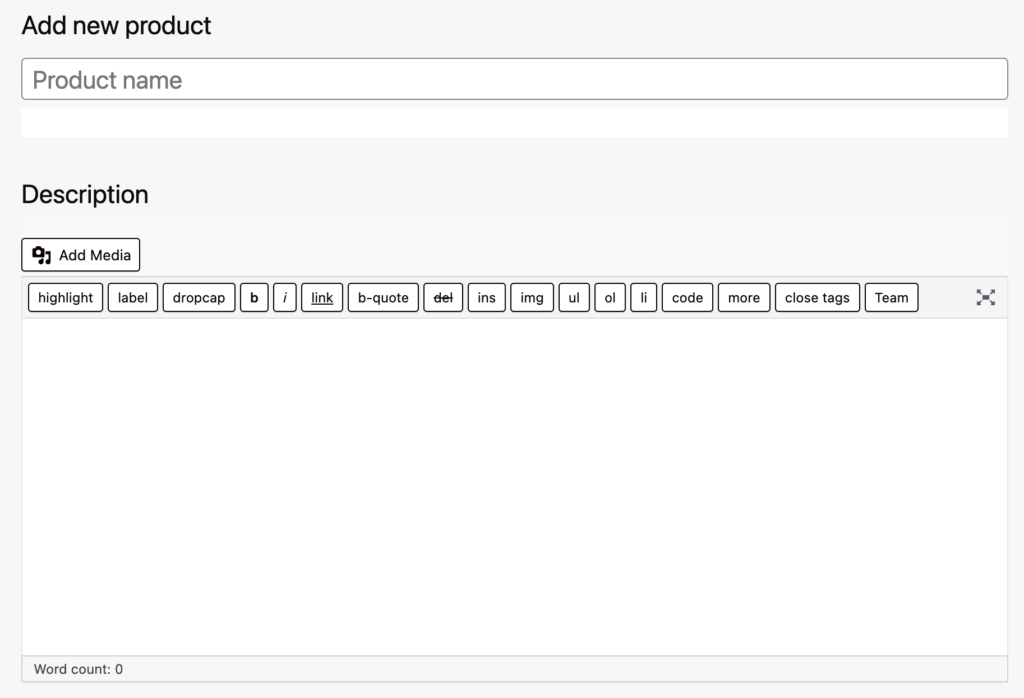
At the bottom of the page, you’ll find the “Product Data”, here you can set the product type, price, inventory and more.
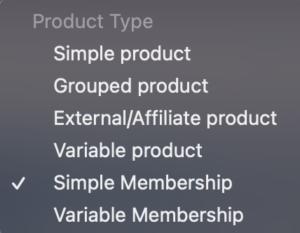
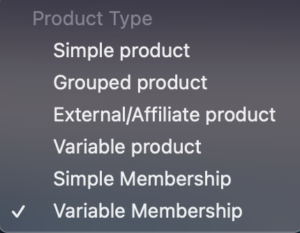
There are two types of membership products you can create:
- Simple Membership: This is for basic membership plans which have no different pricing options. E.g. Adults Unlimited (Monthly), Kids – 2 x Per Week (Weekly)
- Variable Membership: Select this product type if you want to display a basic membership plan with different payment variations. E.g. Adults Unlimited (Weekly, Monthly, 3 Months…)
Important Note: Don’t create a variable membership for membership plans which have different rules. E.g. Unlimited Classes, 2 x Per Week etc. These must be created as separate products in the store.
- Simple Membership
To create a simple membership, select “Simple Membership” from the drop-down menu in the product data section.
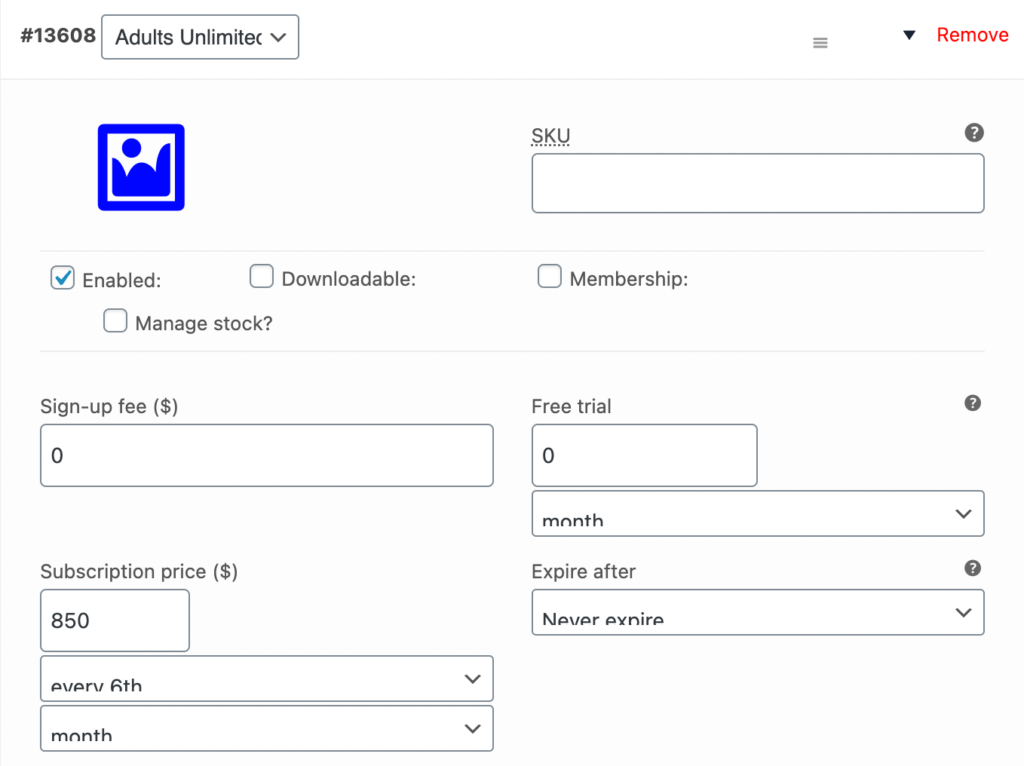
Before you add the settings be sure to tick the Membership radio button above the settings to Disable Shipping on this product.

Under the “General” tab, enter the Subscription Price and set the payment frequency for when this subscription needs to be renewed.
For limited memberships such as Free Trials be sure to set a value for the “Expire after” field. Otherwise, leave it as “Never expire”.
If you require an initial “Set-up fee” for new members signing up, you can include the cost here.
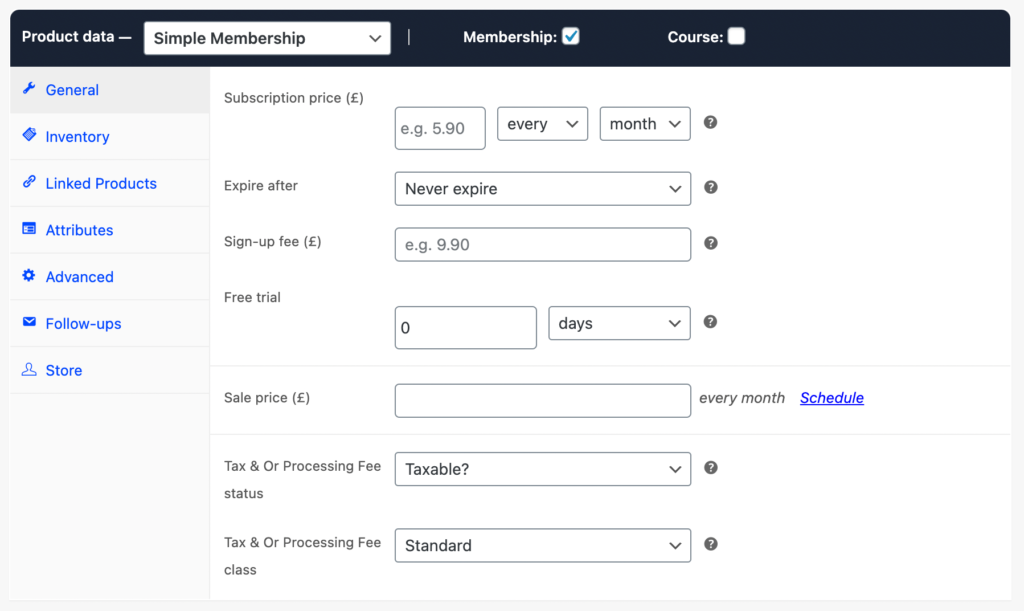
The Free Trial field can be set if you wish to offer a trial period for this particular membership.
Note: It’s recommended to have a separate product for your Free Trial Membership that is limited to one-time use, otherwise members can avail of the free trial set here upon every new registration. To learn more on how to create a free trial plan please follow the link below:
Under the “Inventory” tab you can limit the number of memberships available for purchase. For possible promotions or special limited membership plans.
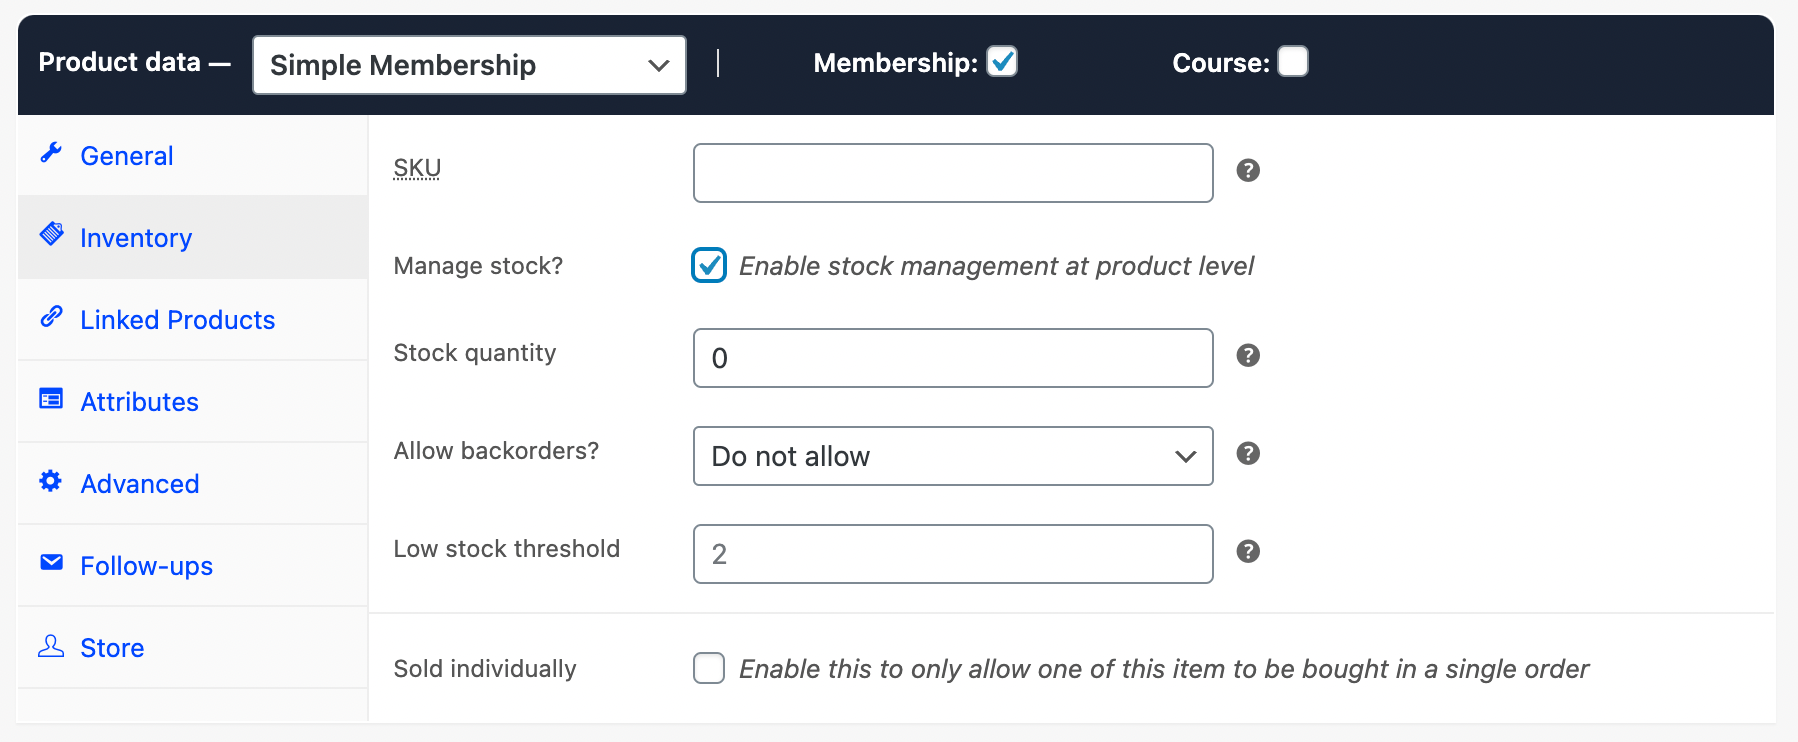
Under the “Advanced” tab you can add Purchase notes that will be sent to the member upon completing a purchase. Additionally, you can Limit Memberships so that members cannot sign up for this membership plan again after it has expired.
For example; Trial memberships should be limited to one-time use. Set the option for “Limit to one of any status” to prevent the same user from signing up for this plan more than once.
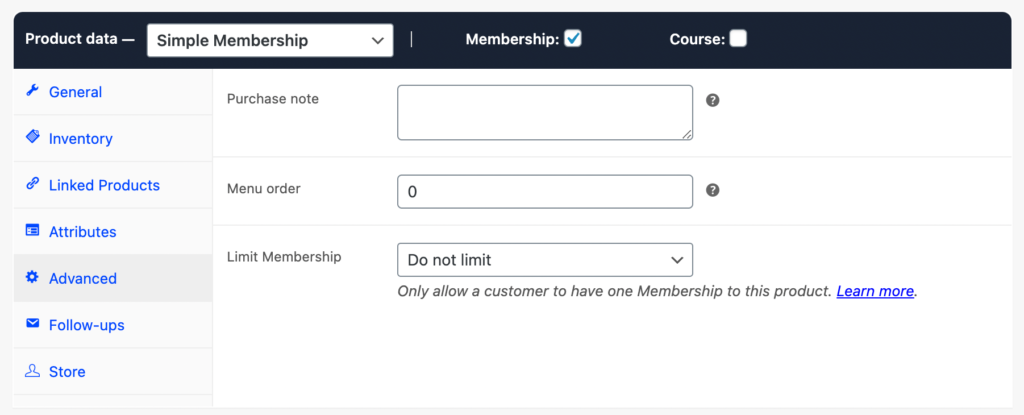
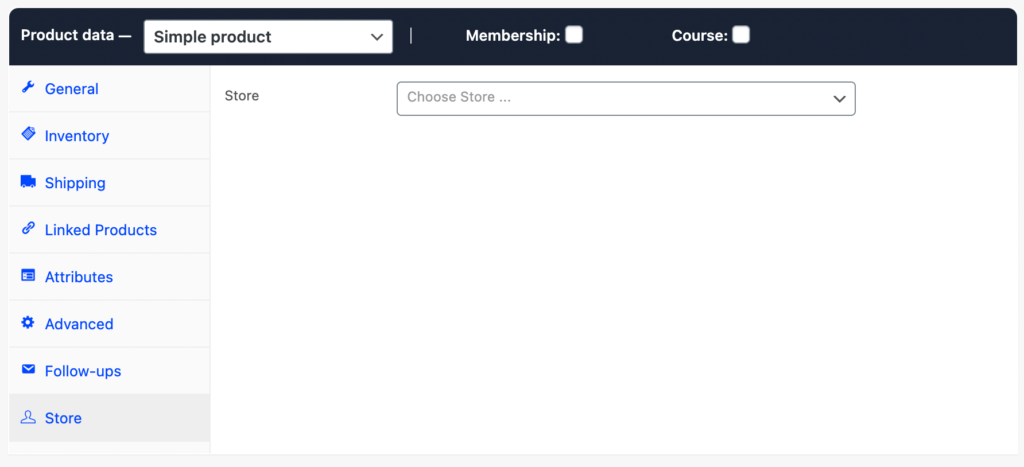
Under the “Store” tab you can set where the payments for this membership should be made to. By default, you will have a general “Store” account here to select from.
2. Variable Membership
The settings for creating a variable membership are slightly different. Firstly select the “Variable Membership” option using the dropdown menu on the product data section.
Once you’ve selected the Variable Membership option, navigate to the “Attributes” tab. Here you will create the different attributes for your membership product. Start by clicking the “Add“, this will expand the settings to allow you to create an attribute and set the different variations.

Give your Attribute a Name e.g. “Payment Options” and set the Variation Value(s) e.g. “Adults Unlimited (Weekly) | Adults Unlimited (Monthly) | Adults Unlimited (Yearly)”
Important note: We separate the values using pipe “ | ” as per the example above.
Enable the “Used for variations” button. Then click “Save Attributes”. Once saved, give the system 5 – 10 seconds to create your new variations. Once ready you will see the Variation tab appear and you can navigate to there.
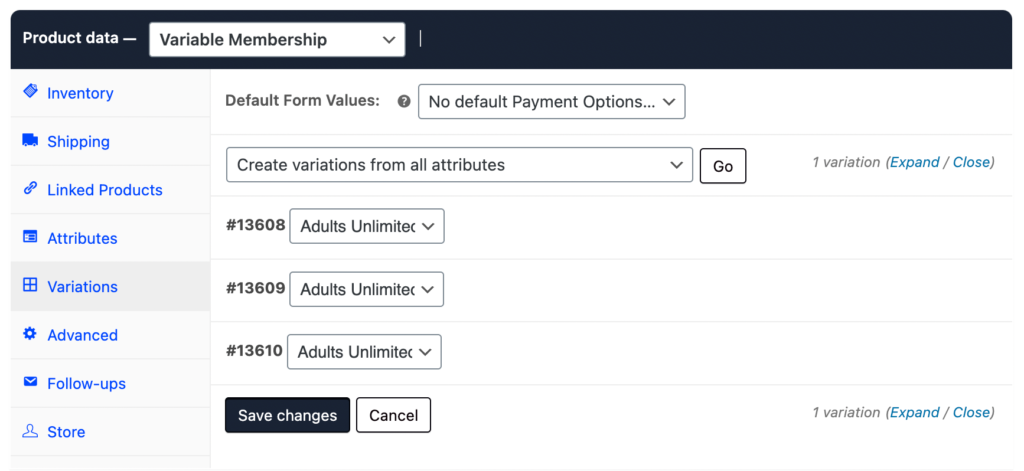
On the Variations tab, you will see the drop-down menu with the option to “Create variations from all attributes“, select this and click “Go“. This will create individual product settings for our different variations generated in the previous step.
Once your different variations are listed, hover over them and select the expand arrow next to the “Remove” button to edit the settings. The settings are similar to what we saw whilst creating a simple membership.
Enable the “Membership” button, set the Price, Renewal Date, Set-up Fee, Expire Date etc.
Once you’ve edited the settings for the different variations you can hit “Save Changes“. This is how you can create different pricing options for your membership plans.
Additional Settings
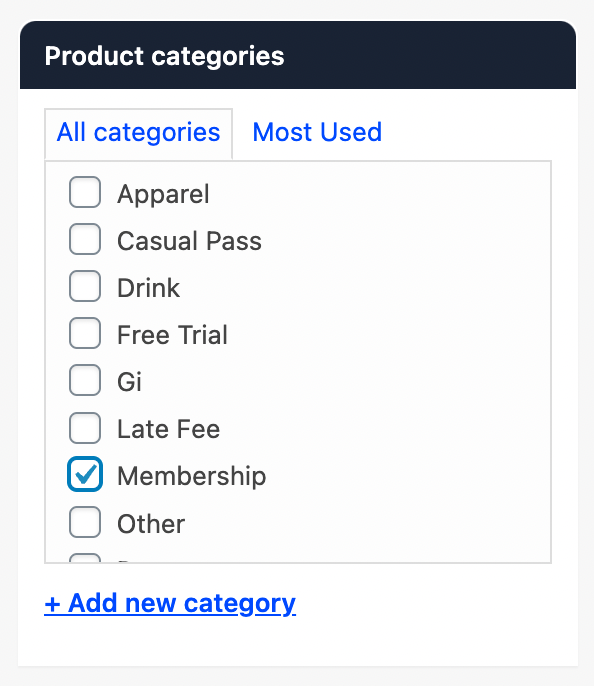
Inside the “Add New Product” page, you can select the Membership category under the Product Categories section. This will allow users to filter between products in your store.
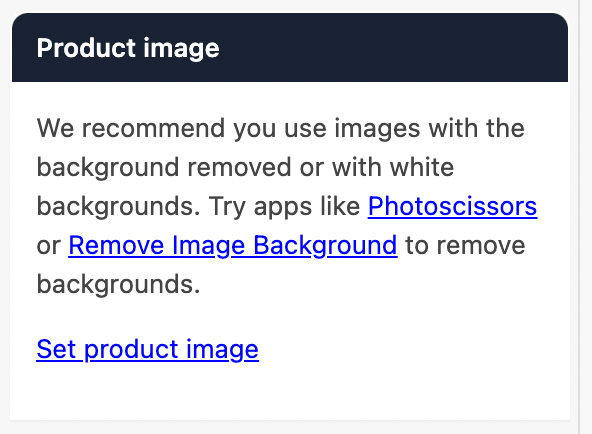
We recommend adding a Product Image to your membership plan to make it stand out in your Store.
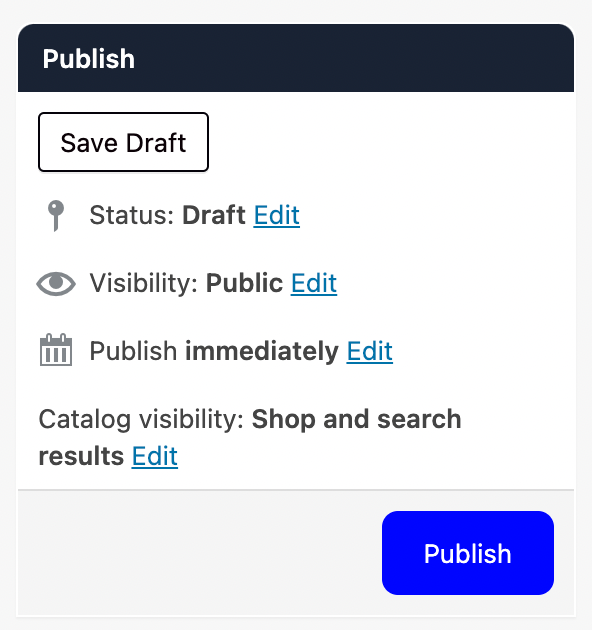
Finally, before you “Publish” double-check visibility settings. It’s always good to “Preview” the product to see how it will look for your customers. Once you are happy hit “Publish“!
And that’s a wrap!