Ready to start populating your store with products?
Great! In this article, we’ll walk you through the steps to get your products live and ready to be sold!
Navigating to Products
Navigate to Store using the side-navigation menu within the Admin Dashboard.
On this page, you’ll find the table containing your Store Products.
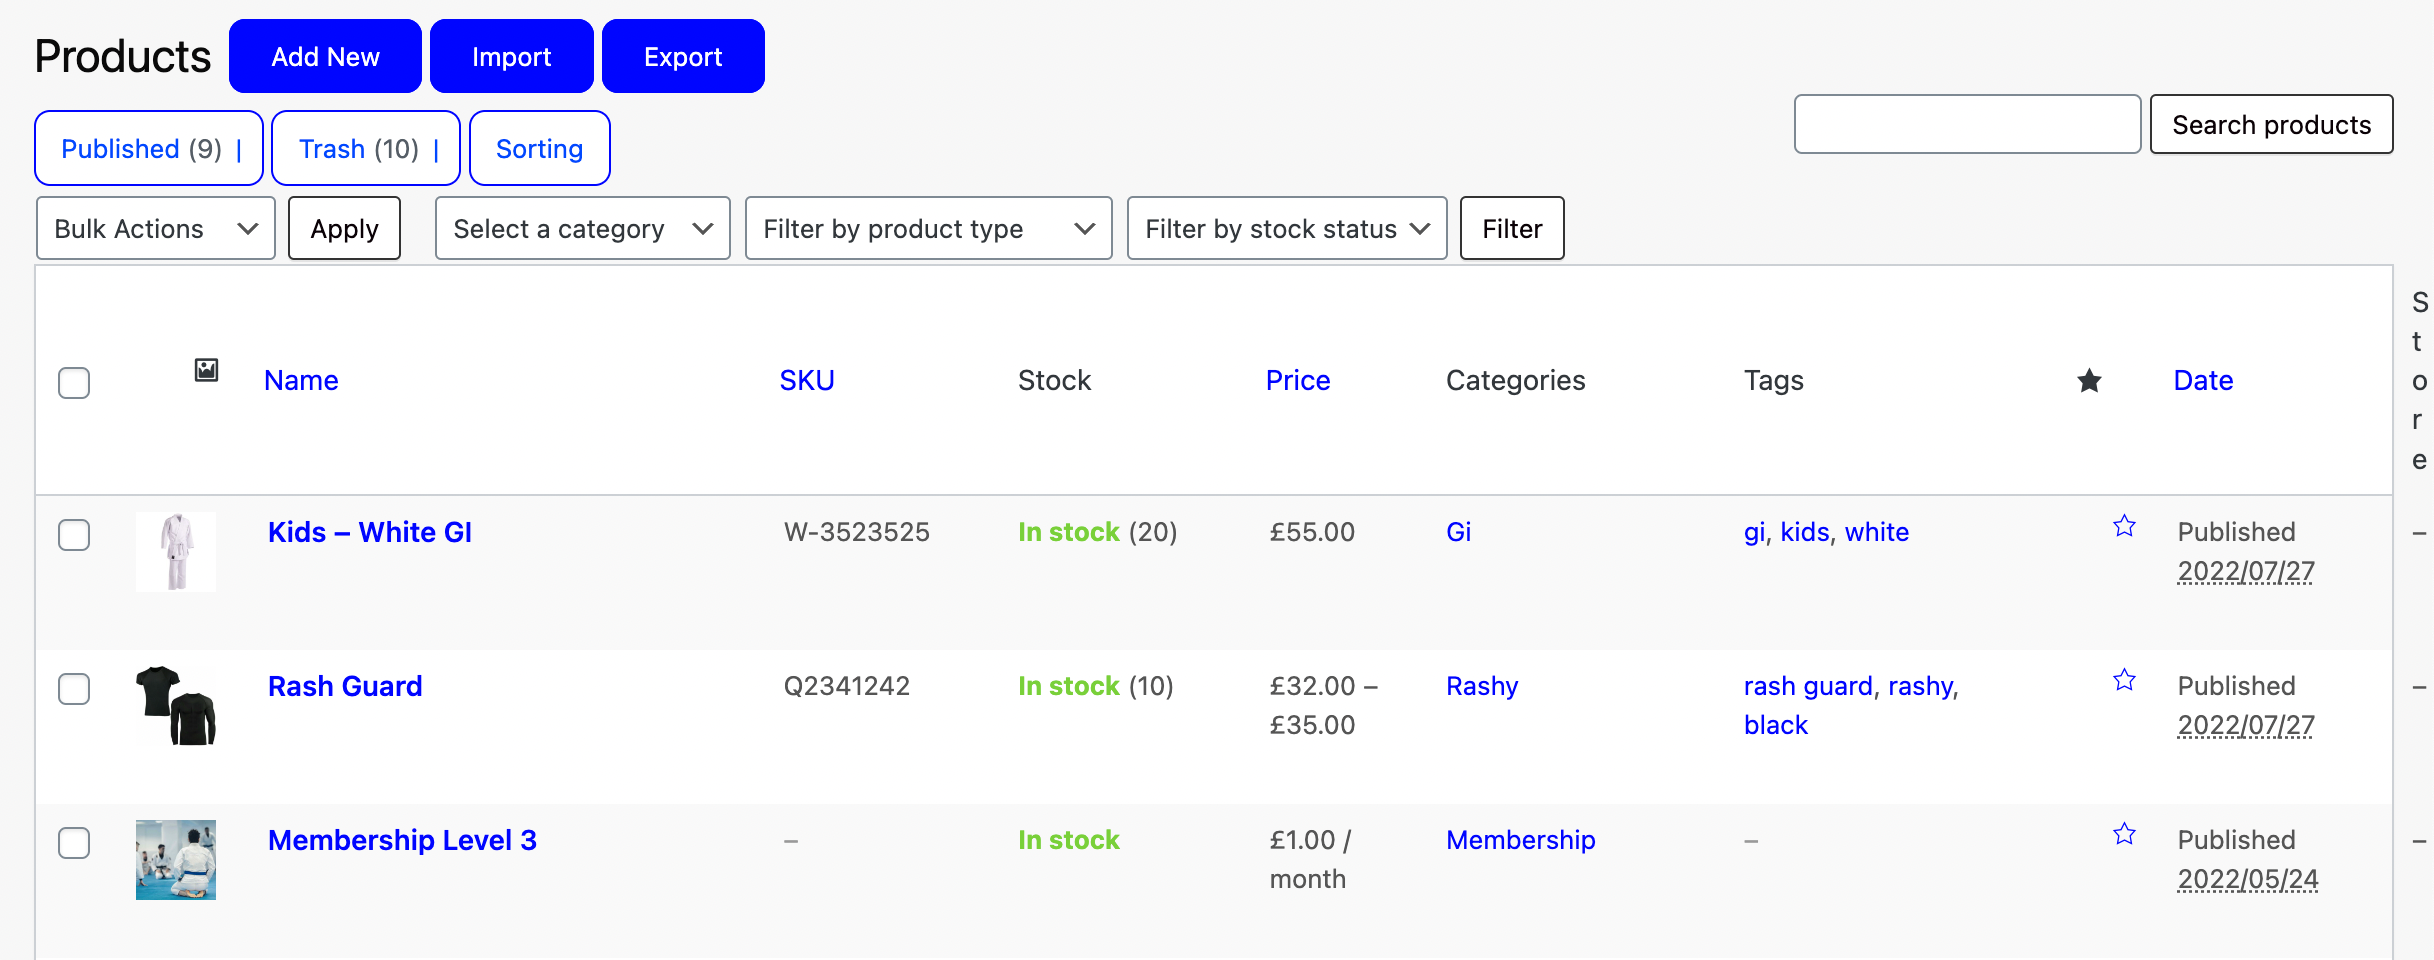
Above the table next to the title you’ll find a button to “Add New“. Click it and you’ll be redirected to the Add New Product page.
Product Details
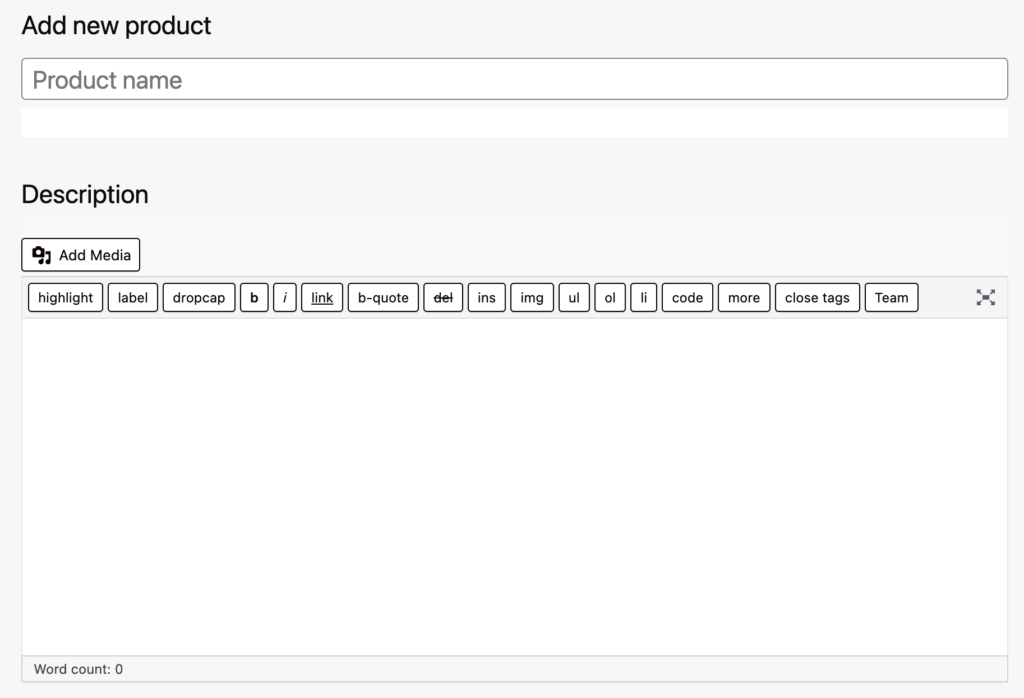
Start by giving your product an appropriate Name this will be the first thing your customers will see so be sure to clearly outline what product is being sold.
You can include a Description to provide the potential buyer with more details about the product (size guide, materials used, colours, etc.).
At the bottom of the page, you’ll find detailed settings for your product. Be sure to specify the product type using the drop-down menu and set if the product is a Membership or Course.
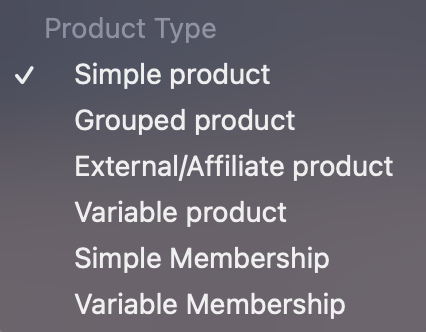
Simple Product: Merchandise, Physical Products, One-time Casual Passes, Online Courses and additional Services.
Variable Product: A physical product with multiple variations. For example; clothing that is available in multiple colours and sizes. The variable product allows you to have different photos, prices and stock levels for each variation.
Simple Membership: Used to create your different membership plans.
Settings
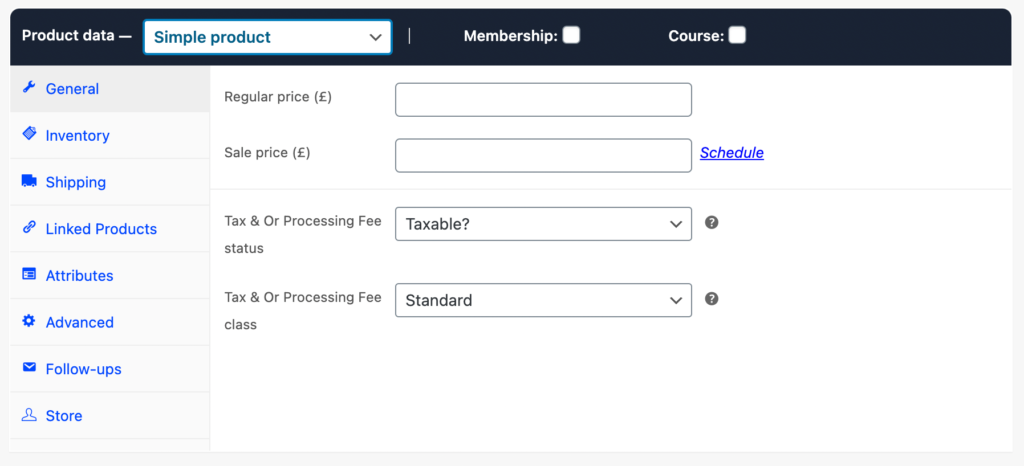
- General: Set the Regular Price of the product or if you wish to offer a Sale Price you can include this also and “Schedule” when the sale will take place. Define whether or not the entire product is Taxable or just the cost of Shipping it. Choose a Tax Class for this product. Tax & Or Processing Feeclasses are used to apply different tax rates specific to certain types of products.
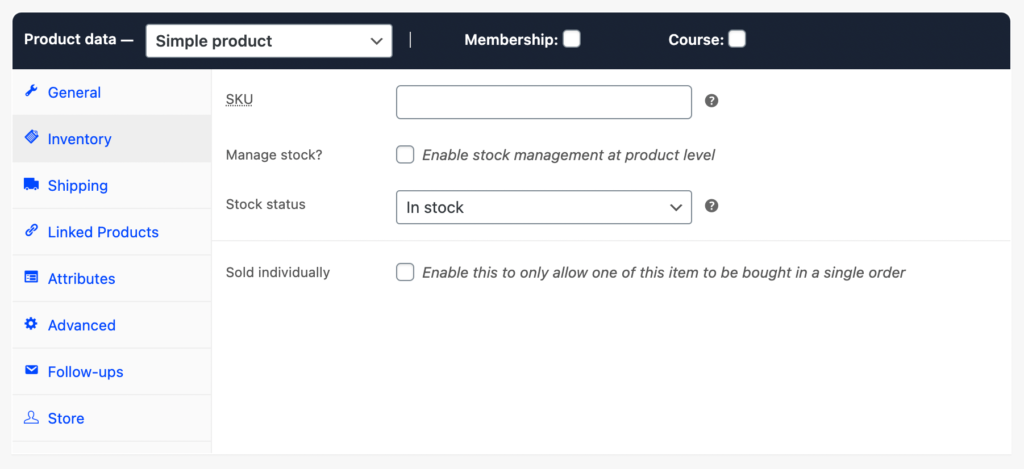
- Inventory: SKU (Stock-keeping unit), a unique identifier for each product and service that can be purchased. Enable “Manage Stock” to set the current stock levels of the product, this number will decrease as users purchases stock. Finally, the Stock Status to control whether or not the product is listed as “in stock” or “out of stock” on the front end.
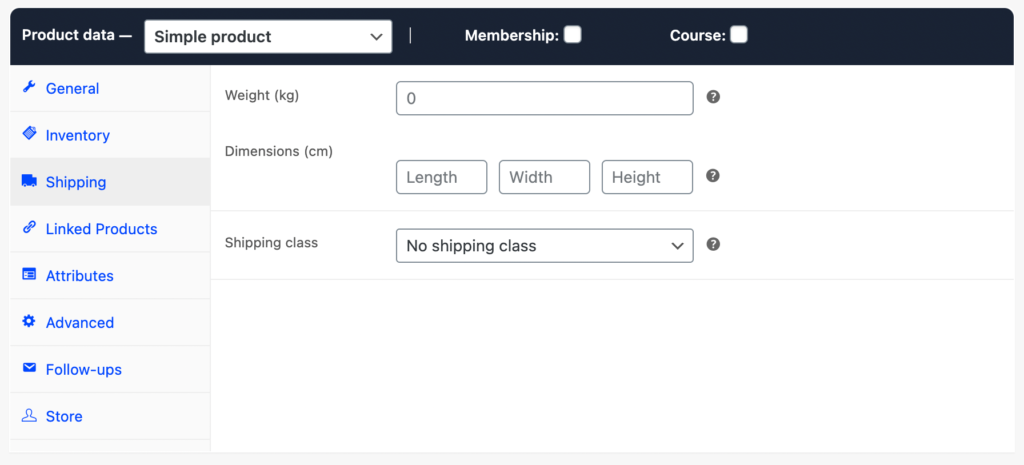
- Shipping: If the product requires shipping be sure to add the Weight (kg) in the decimal form [e.g. 12.5]. Include the Dimensions in (cm) Length x Width x Height. Shipping classes are used by certain shipping methods to group similar products.
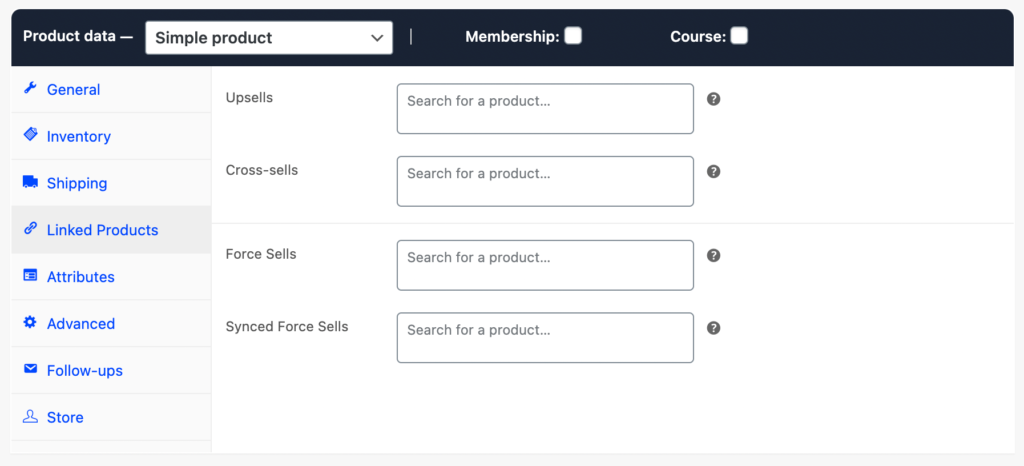
- Linked Products: Upsells are products that you recommend instead of the currently viewed product, for example, products that are more profitable or better quality or more expensive. Cross-sells are products that you promote in the cart, based on the current product.
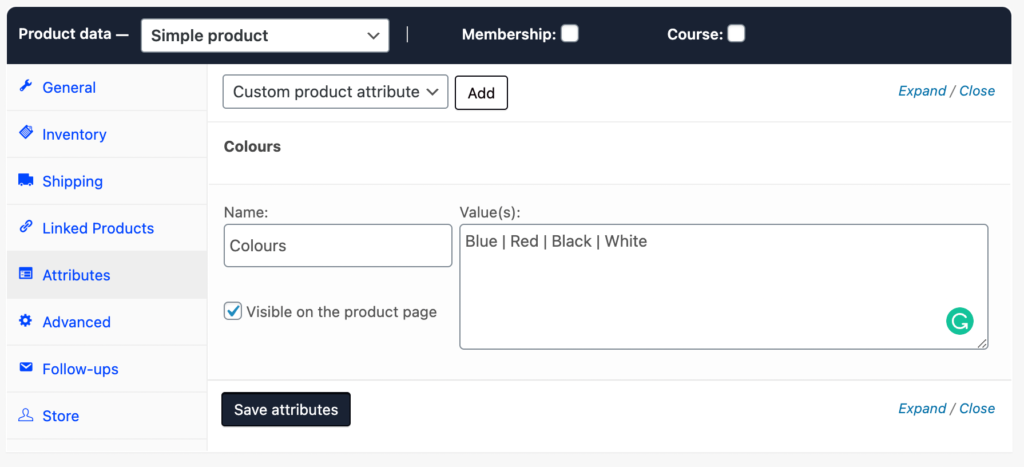
- Attributes: If your product has multiple attributes you can set these here, for example, products can have different sizes, colours etc. Values are separated using a pipe symbol. See the example here > [ Blue | Red | Black | White ]. Be sure to “Save Attributes” added.
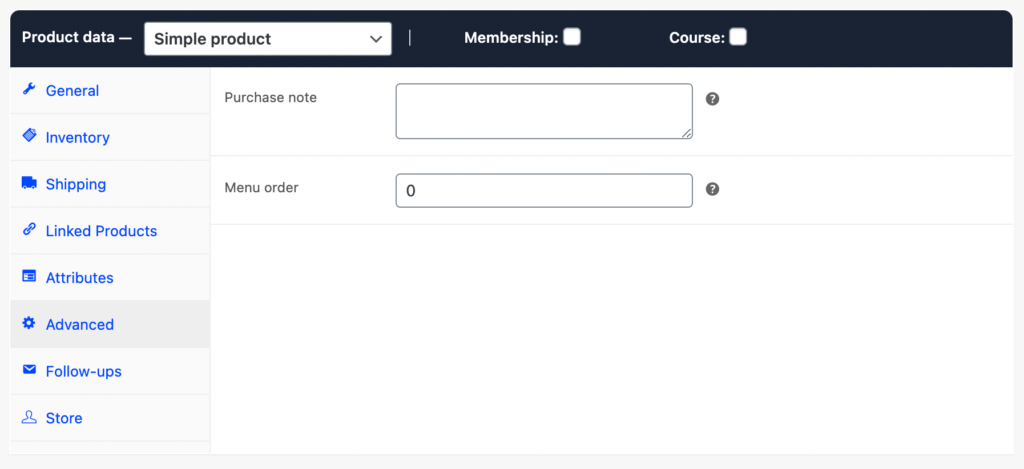
- Advanced: Enter an optional Purchase Note to send the customer after purchase. Specify the order in which the product is displayed on the store’s front end.
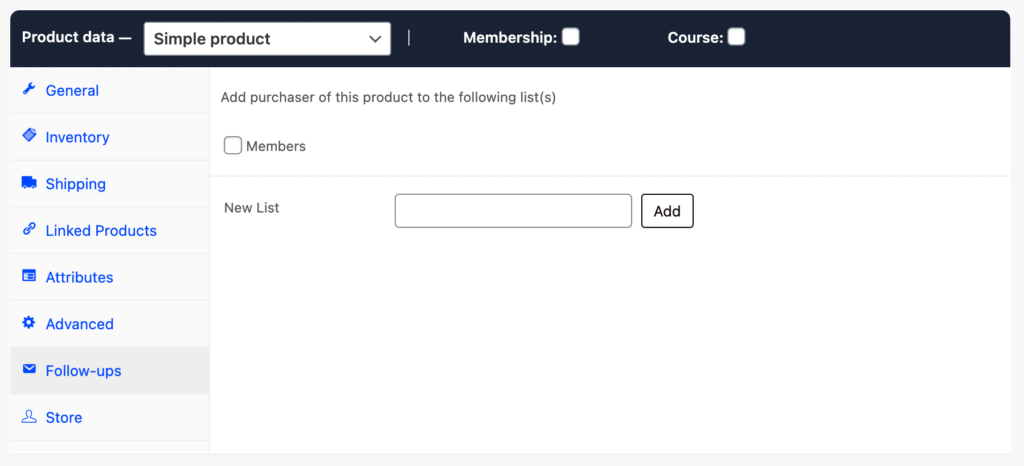
- Follow-Ups: Organise users who purchase specific products into groups to create targeted email campaigns.
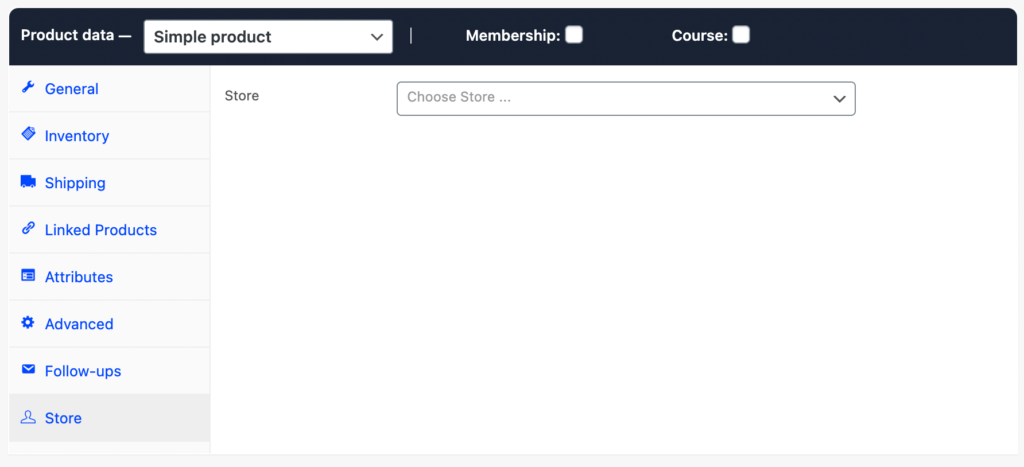
- Store: If you have multiple stores registered you can select which payee gets paid when this product is purchased.
Additional Settings
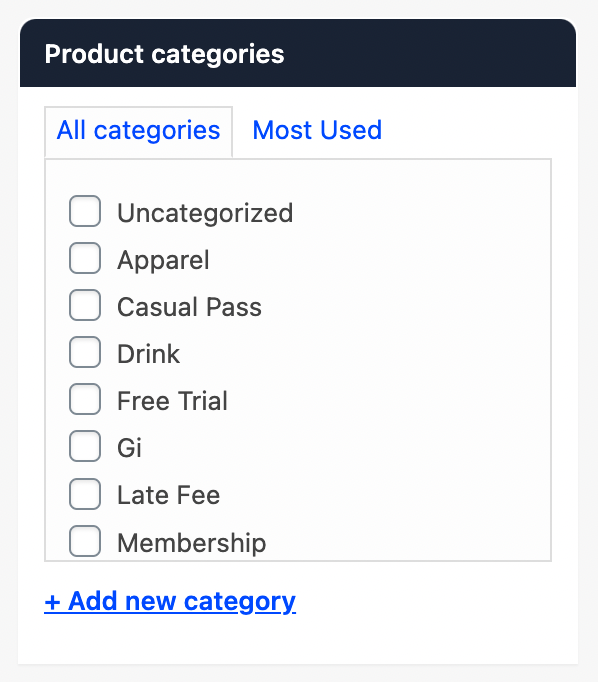
Set the Category of your product, if it’s not listed simply click the “Add New Category” button to add more.
Include any relevant Tags to help customers easily identify products. 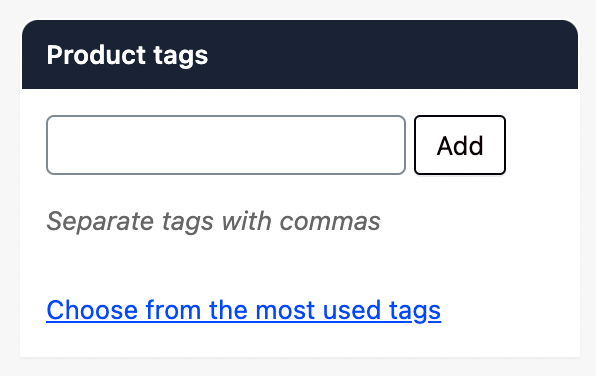
Select the Contact Group you wish to subscribe your customer to, after purchasing this product.

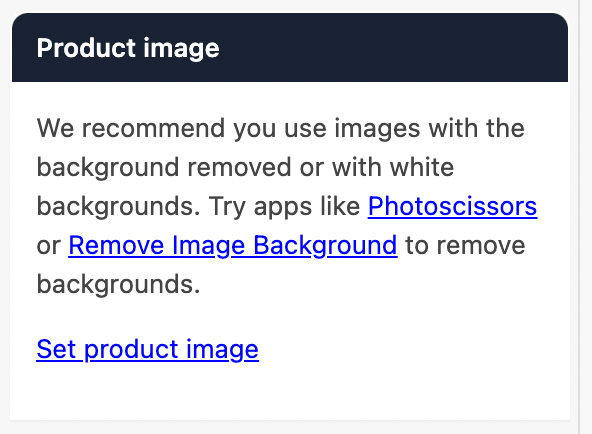
Important: Ensure your product stands out by providing a Product Image. We strongly recommend using an image with either a White or Transparent (Blank) Background. You can use either of the tools listed below to remove backgrounds:
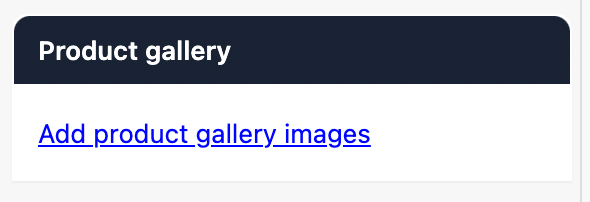
If you wish to display multiple images you can “Add Product Gallery Images” under the Product Gallery section.
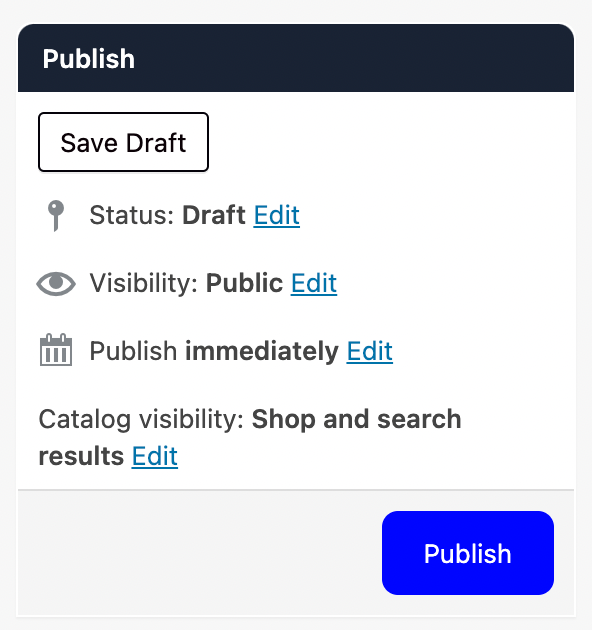
Finally before you “Publish” double-check visibility settings. It’s always good to “Preview” the product to see how it will look for your customers. Once you are happy hit “Publish“!
And that’s a wrap! Now start populating your store and get selling!