Need to create a Free Trial Plan?
Let’s take a look at how!
Navigating to Products
Navigate to Store using the side-navigation menu within the Admin Dashboard.
On this page, you’ll find the table containing your Store Products.
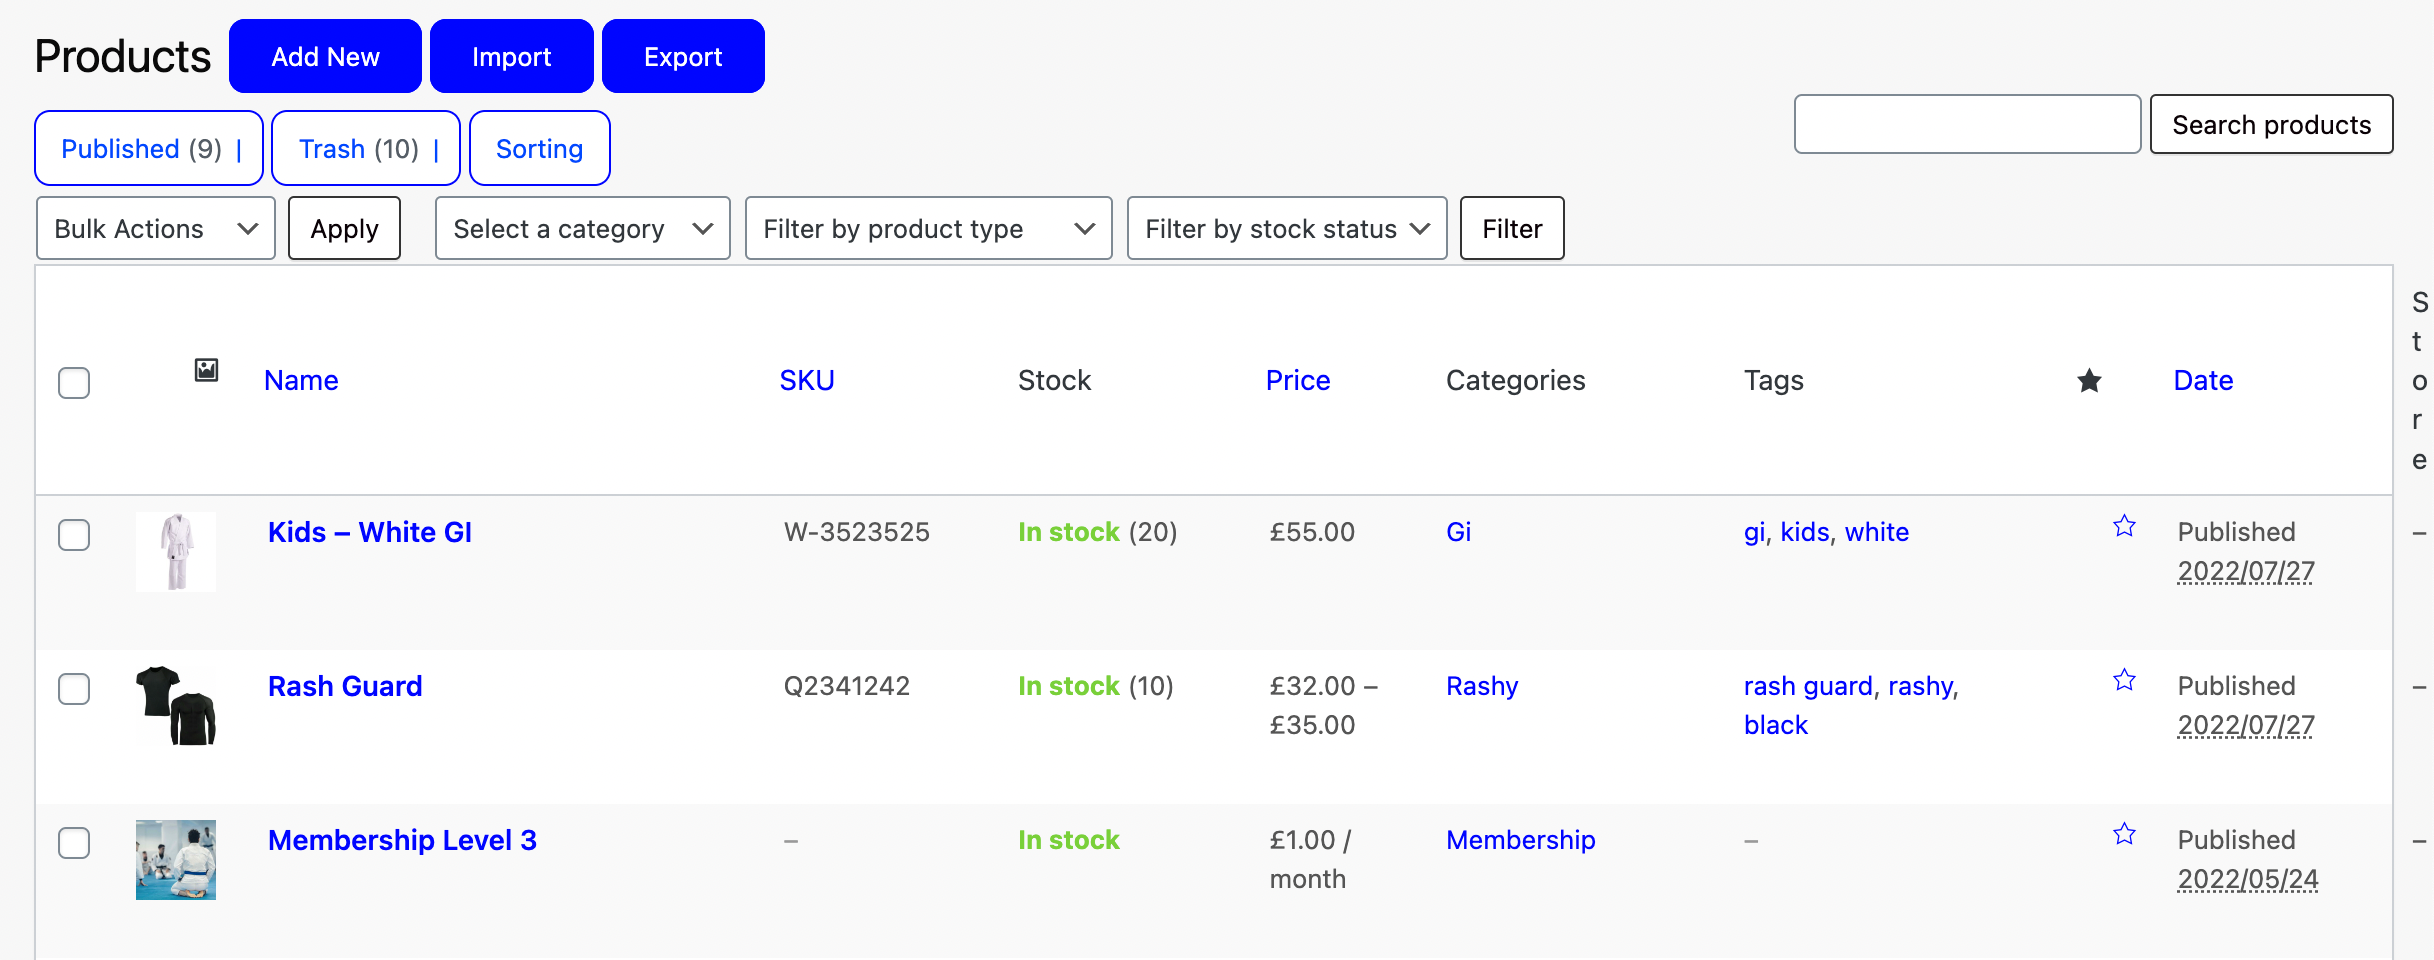
Above the table next to the title you’ll find a button to “Add New“. Click this and you’ll be redirected to the Add New Product page.
Include the Free Trial Title in the product name field. Example; One Week Free Trial. Additionally, include a Description of the plan (optional).
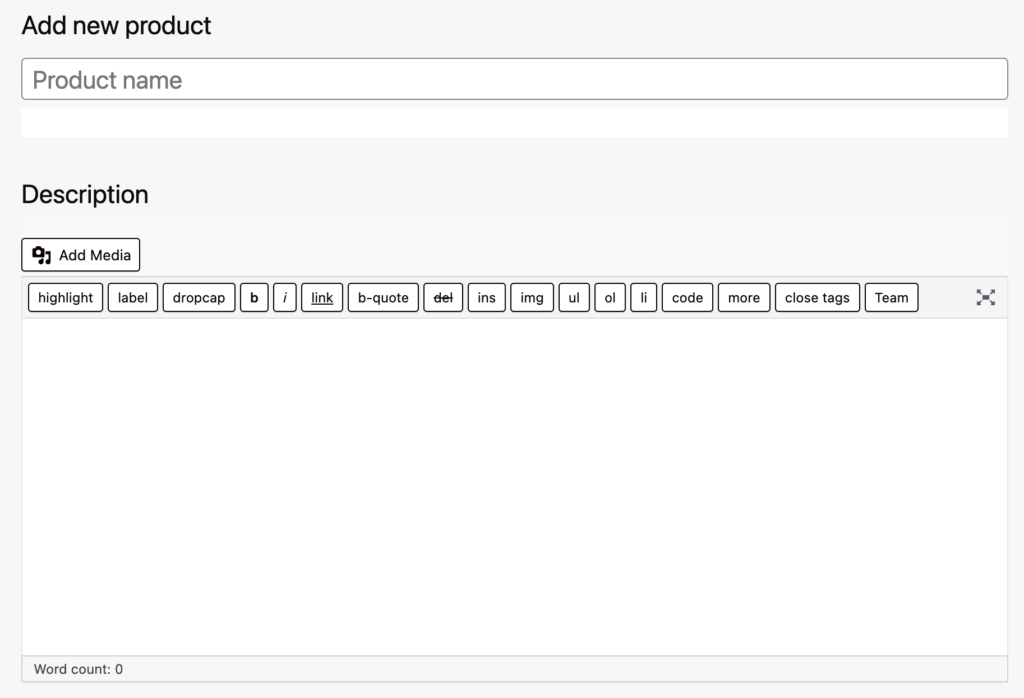
At the bottom of the page, you’ll find the settings for your product.
Note: To create a free trial plan choose “Simple Membership” from the drop-down menu.
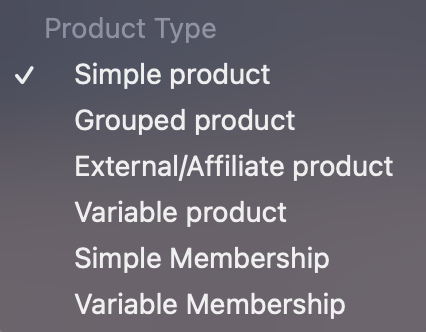
Simple Membership: Used to create your different membership plans.
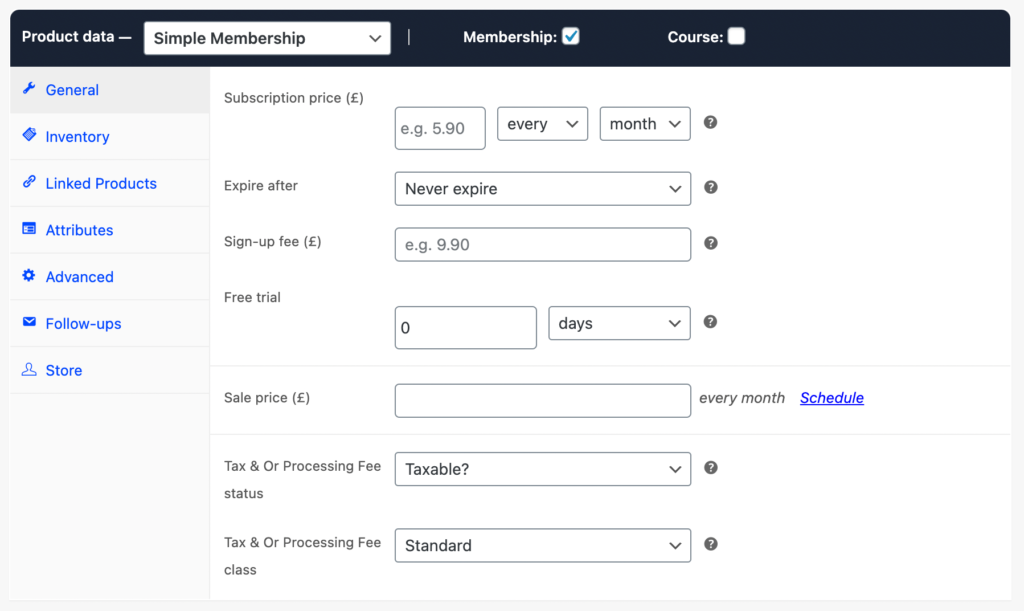
Settings
Before you add the settings be sure to tick the Membership radio button above the settings to Disable Shipping on this product.
Under the “General” tab, enter zero for the Subscription Price, if this is a paid trial you can include the price.
Note: If the Trial is set to expire after one week, set the schedule details to “every” “week” then set it to Expire after “1 week“.
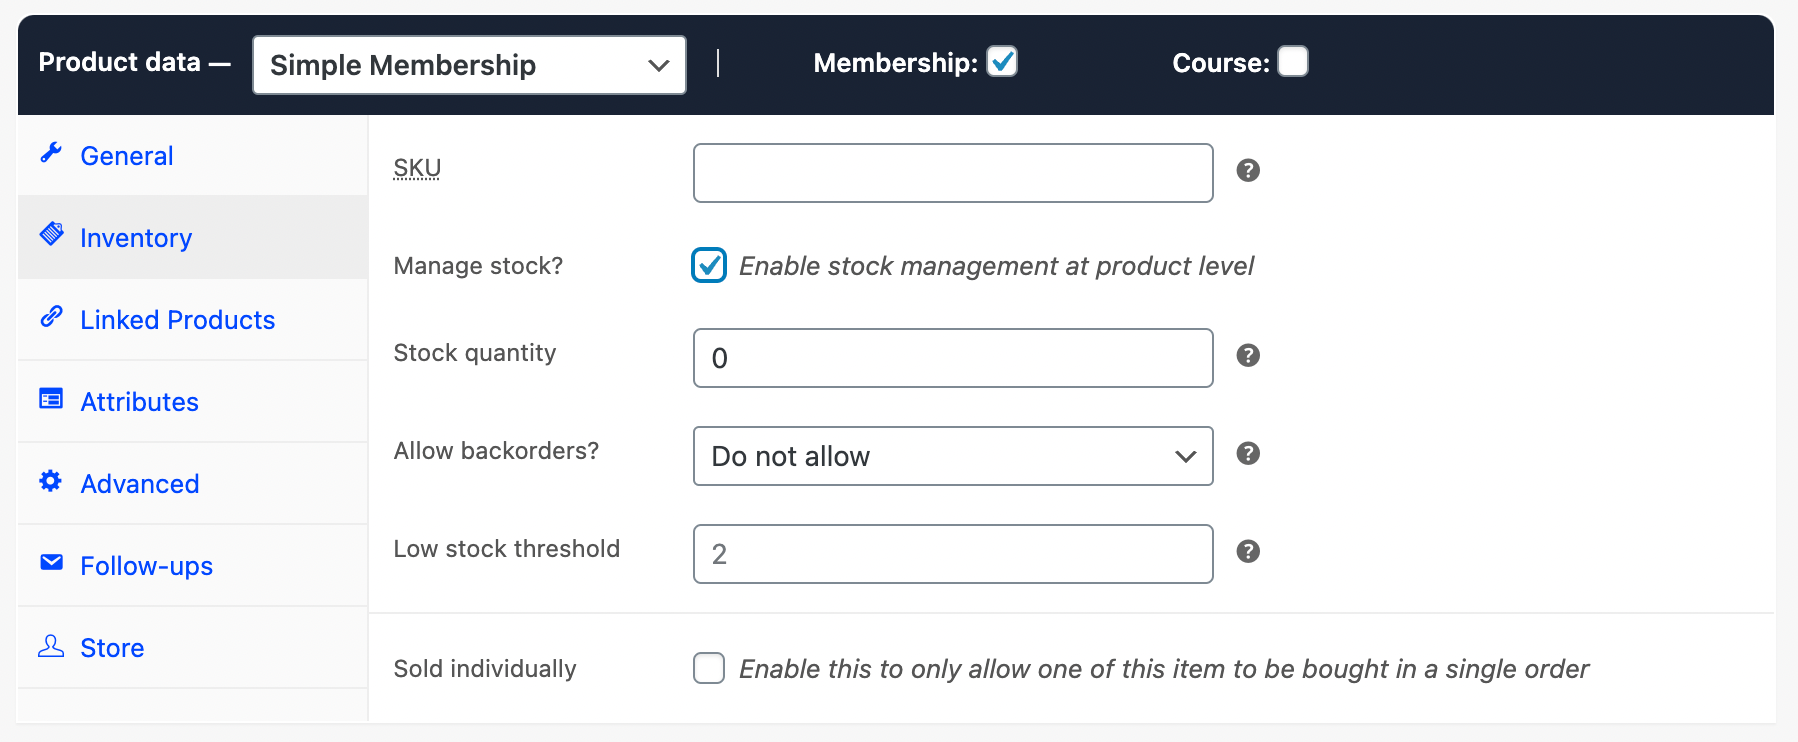
If you wish to limit the number of Free Trial plans you can manage the stock under the “Inventory” tab.
Important Note: To Limit a Free Trial Membership navigate to the “Advanced” tab.
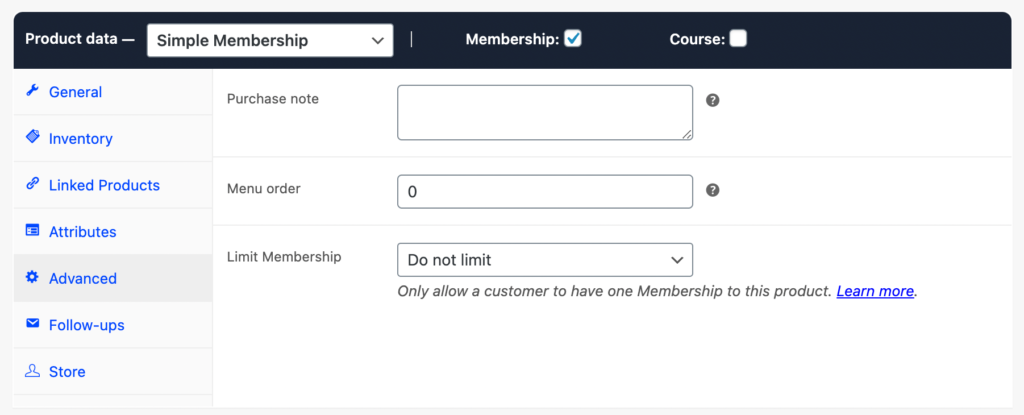
Set “Limit to one of any status” to limit the free trial to one-time use per user.

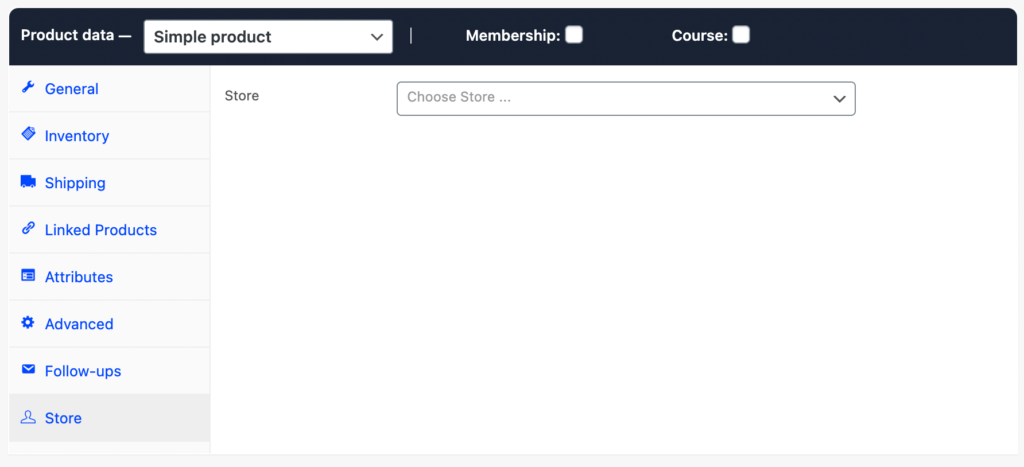
Under the “Store” tab ensure you link the product to a store.
Additional Settings
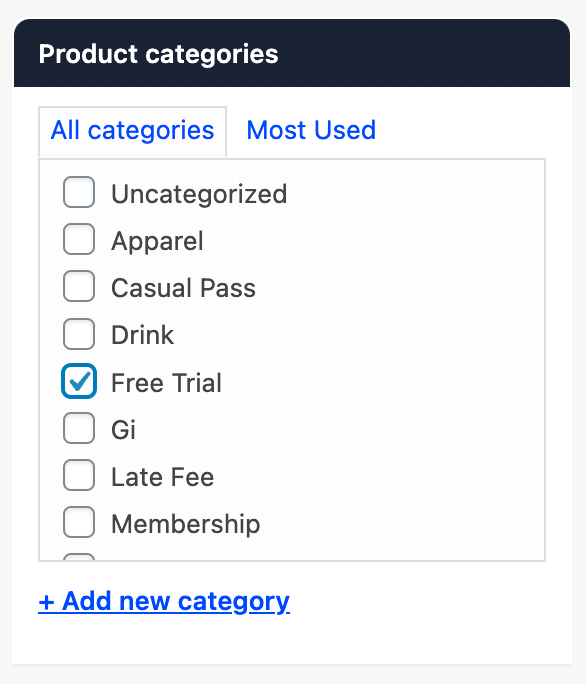
Set the Free Trial Category to this free trial plan.
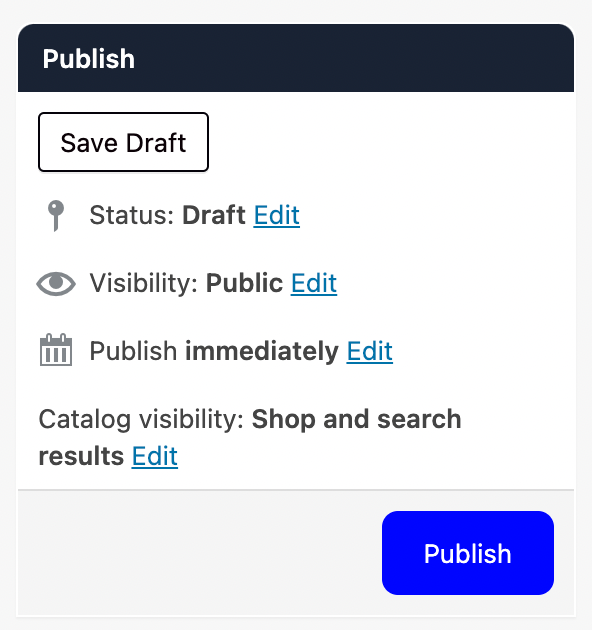
Finally before you “Publish” double-check visibility settings. It’s always good to “Preview” the product to see how it will look for your customers. Once you are happy hit “Publish“!
And that’s a wrap!