To Add a Payee to your app you must add the Store Owner role to their user.
Navigating to All Members
Navigate to All Members using the side-navigation menu within the Admin Dashboard.
Here you’ll find a list of your Members/Users with a summary of their Roles and other Personal Details.
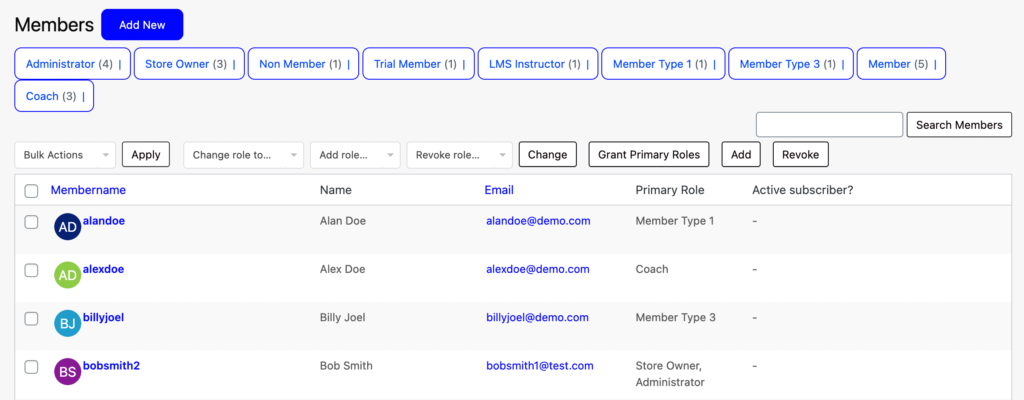
To Add the Store Owner role. Check the box next to the Member Name.

Change the current role or Add the Store Owner role. Select the role using the drop-down menu.

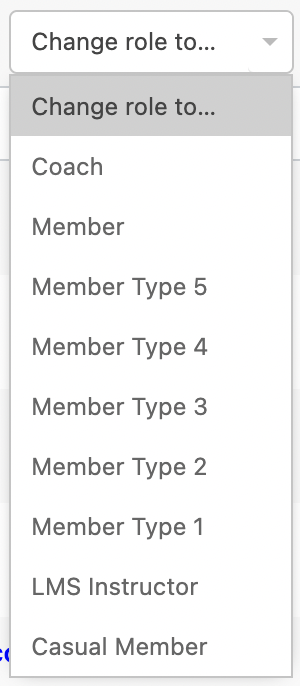
If you’ve selected a role in the Change/Add role dropdown menu then click the corresponding button e.g. “Change” to action changes.
- Add Role = Add
![]()
Once you’ve added the Store Owner role. Advise the user to sign in and navigate to “Settings > Payment Settings” to add their preferred withdrawal method.
And that’s it! You can now link Products, Paid Events and Bookable Services to the new payee’s store. See how to Link Products to Different Payees here.