Have you assigned the CRM Agent Role to your users yet? No?
Check out the following doc before continuing with this article.
Creating Contact Groups allows for better organization of your Contacts and Companies within your CRM system.
Navigating to Contact Groups
Navigate to the Member CRM page within the Admin Dashboard, then select the Contact Groups tab. Here you will see the list of contact groups, along with the number of subscribers associated with each group.
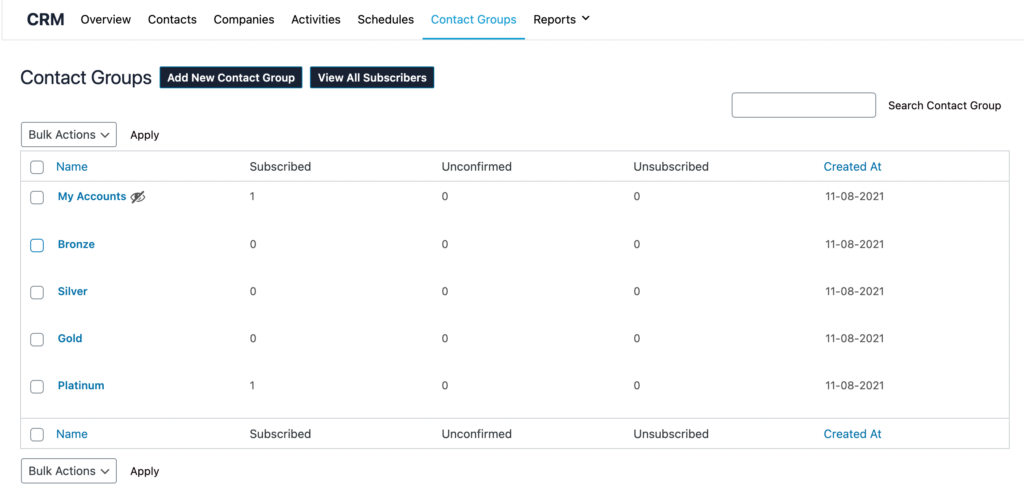
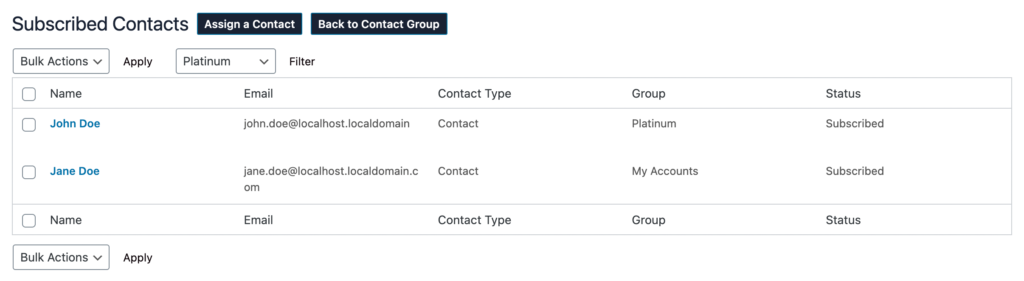
Users can also “View All Subscribers” to see the list of Subscribed Contacts and Companies along with the Contact Group details.
Adding a New Contact Group
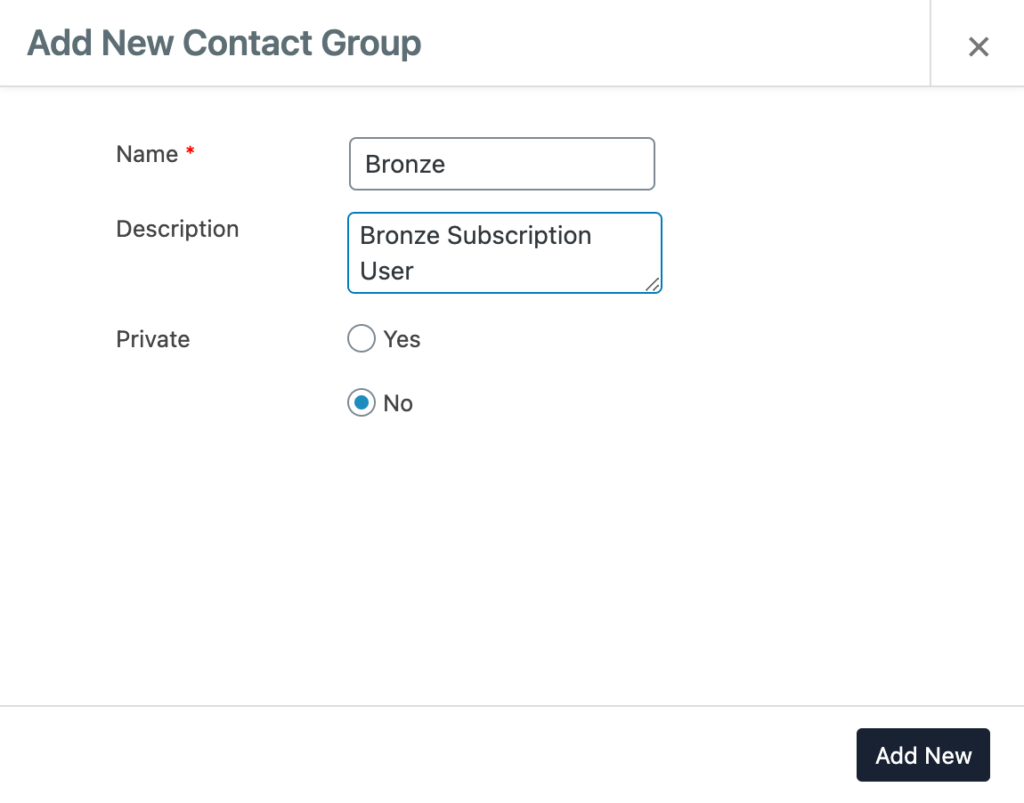
Simply click the “Add New Contact Group” button and a form will prompt on the screen. Enter the Name and Description (Optional) for the Contact Group. Users can also set groups as Public meaning they can be seen by all CRM agents or set as Private groups. Click “Add New” to save the group.
Assigning Contacts to a Contact Group
There are two ways in which a user can add Contacts to a Contact Group:
- Add Contacts Individually
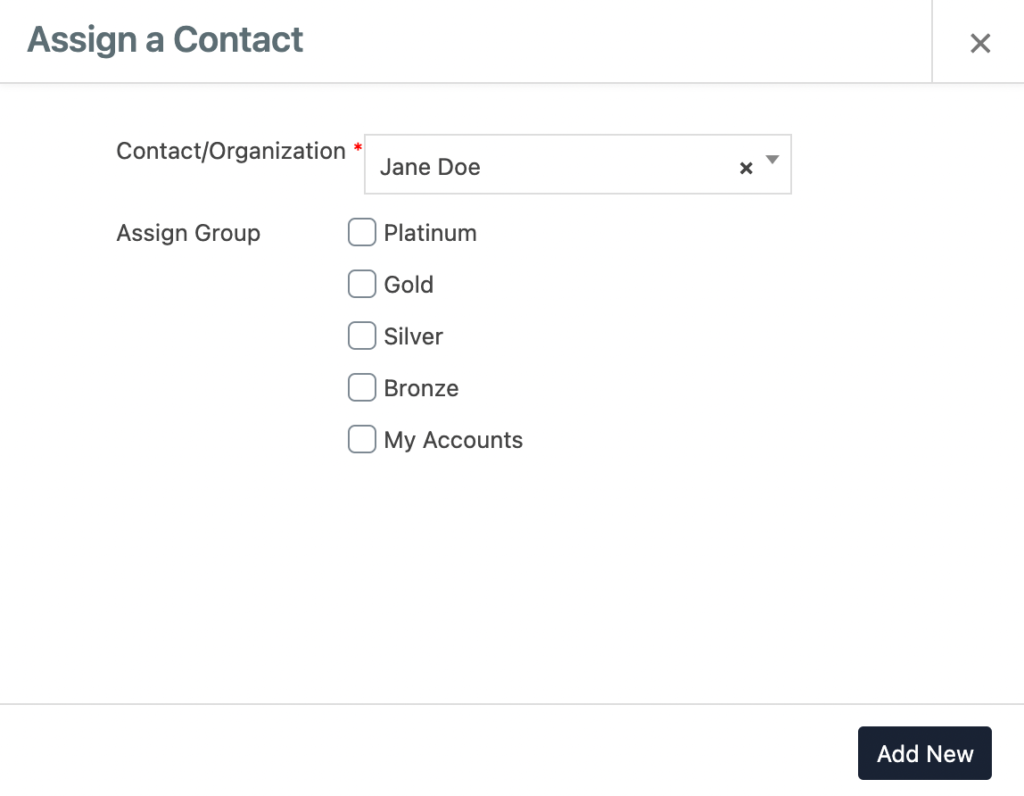
Navigate to the Contact Groups section within the CRM system. Select the group from the table you wish to add a Contact or Company to.

Click the “Assign a Contact” button and search for the Contact or Company. Select which groups you would like to add this contact then click “Add New“.
2. Bulk Add Contact to Contact Group
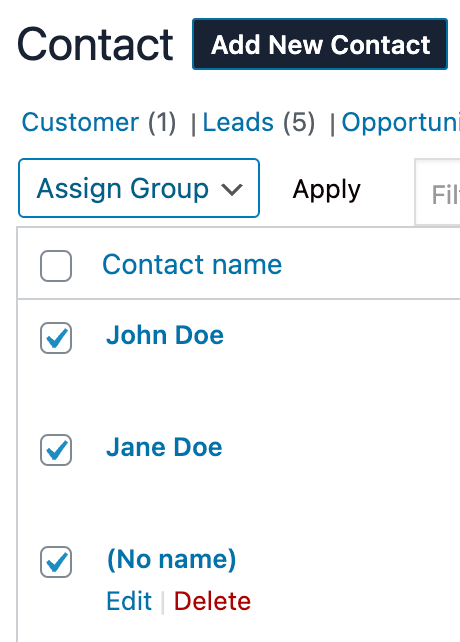
To add multiple contacts to a Contact Group you need to navigate to the Contact or Companies tabs within the CRM section. You can tick the contacts you wish to bulk assign to a group. Select “Assign Group” from the drop-down menu then click “Apply”
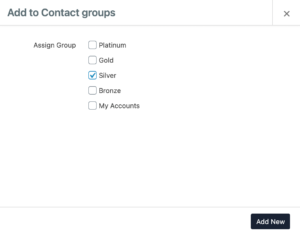
Choose the Groups you wish to assign to the selected Contacts and click “Add New”
And that’s it! You’ve successfully assigned Contacts to a Contact Group.