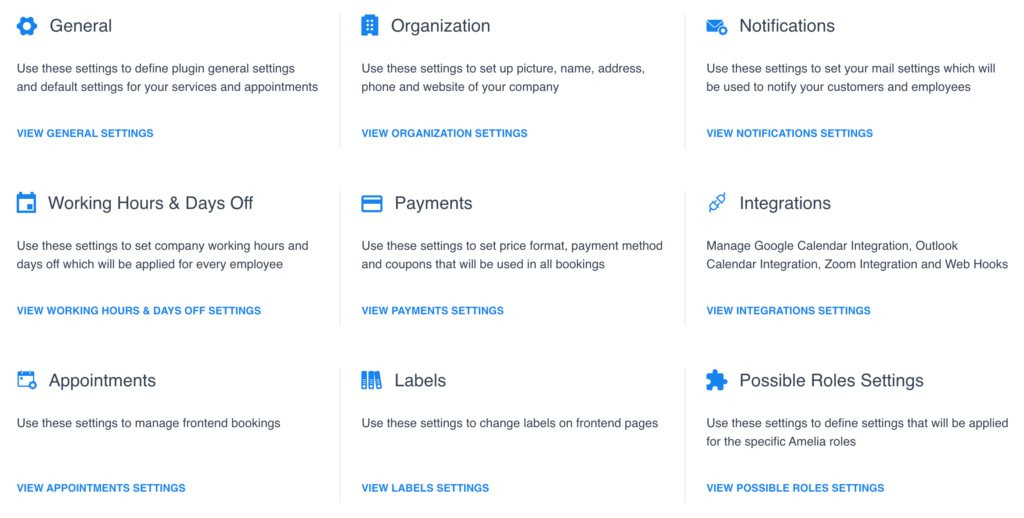
The Roster comes with a bunch of customizable settings so that it fits your organisation’s requirements and workflow.
Let’s take a look at these settings.
Navigating to Roster Settings
Navigate to Settings using the side-navigation menu within the Admin Dashboard.
On this page, you’ll find the link to Roster Settings.
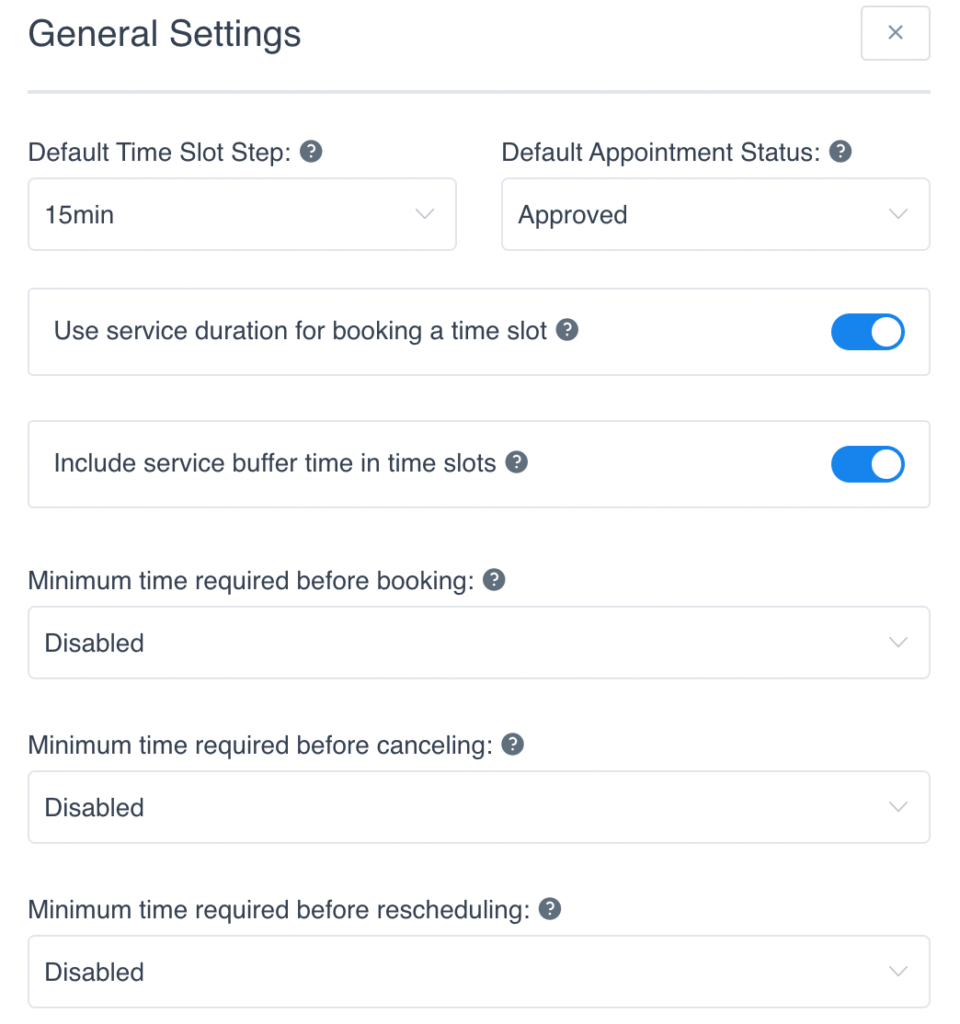
General Settings: Default Time Slot Step if set to 15 minutes, your customers will be offered to book appointments at 9:15, 9:30, 9:45…
If you prefer to Approve booking manually you can update the Default Appointment Status. Set a Minimum Time before a user can Book or Cancel an appointment. Additionally, you can configure settings for Time Zone(s), Redirect URLs, Enable Mandatory Fields and more.
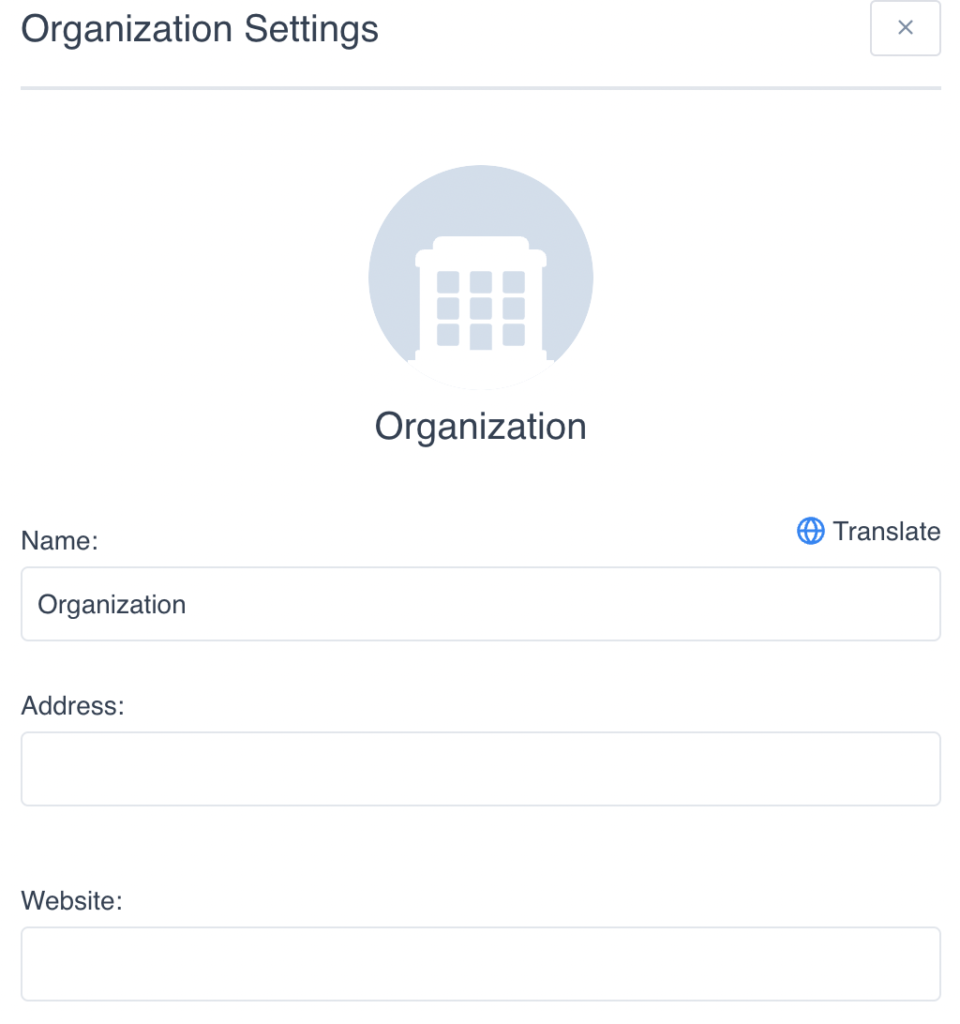
Organization Settings: Add your Organization Name, Address and Website (if applicable)
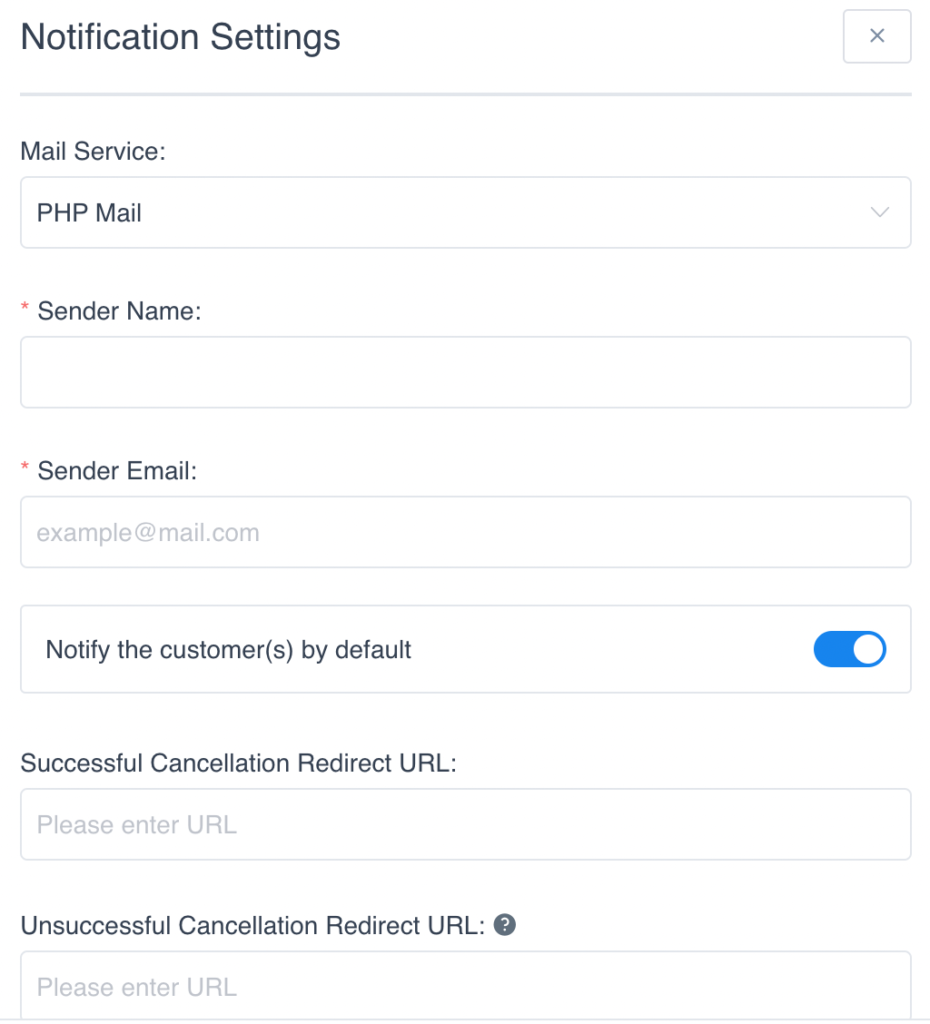
Notification Settings: Choose a Mail Service to handle Sending Notifications. Choose from PHP Mail, WP Mail, SMTP, or Mailgun. Different settings will apply for each Mail Service chosen.
Include the Sender Name (club name) and Sender Email (noreply@[clubname].com).
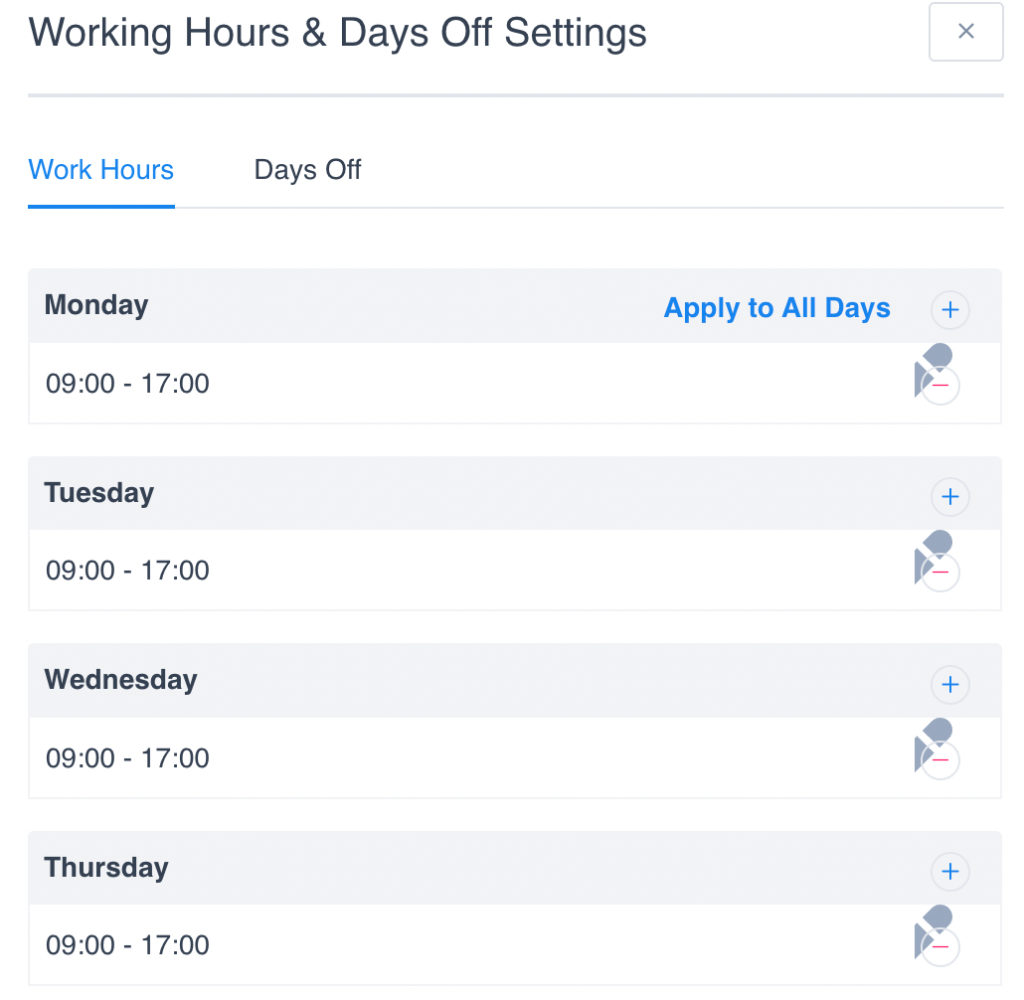
Working Hours & Days Off Settings: Include open and closed hours here. This will restrict users from booking services during days in which you’re not operating.
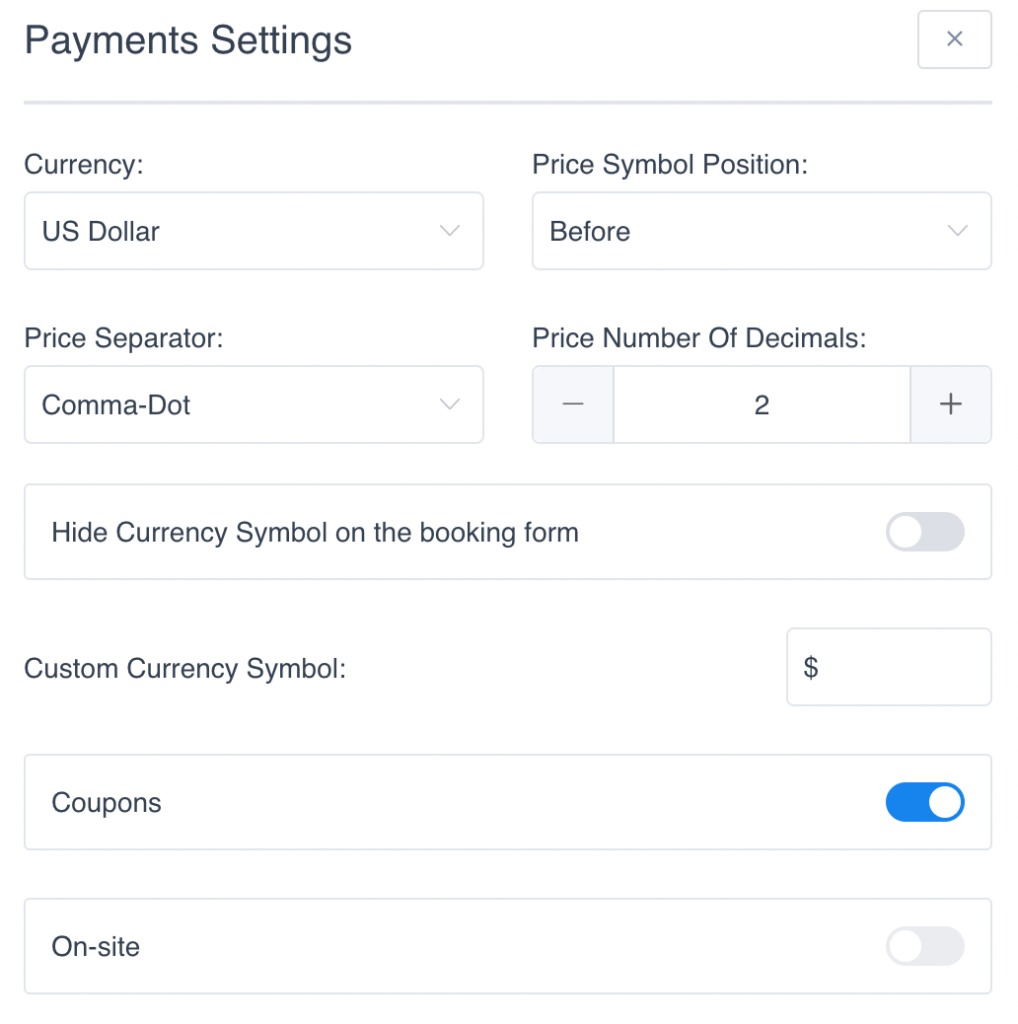
Payment Settings: Here you can set the Currency the prices of services are displayed. Additionally, you can Customize the Format of prices (Symbol Position, Separator and Number of Decimals). If you wish to allow Coupons to be used you can enable this here.
Integrations: Easily Integrate Google Calendar and Outlook Calendar to link your roster schedule. Or integrate Zoom to set up meetings upon successful bookings.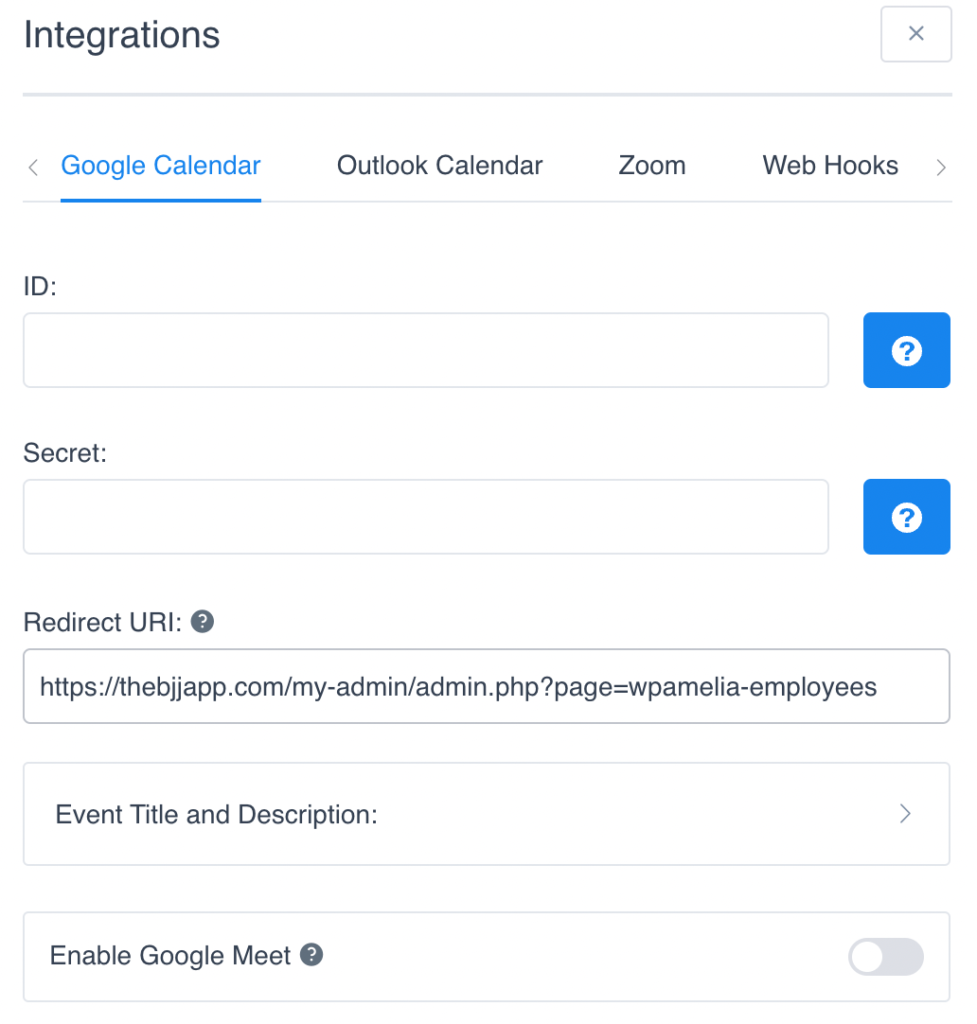
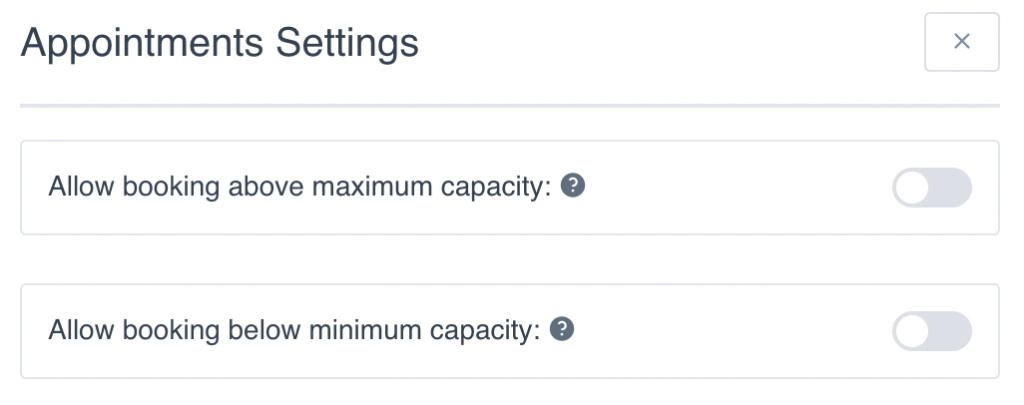
Appointment Settings: If these settings are disabled, your front-end customers won’t be able to book appointments with Pending status above the maximum/minimum capacity. Once the maximum capacity is reached appointment will close and the time slot will become unavailable.
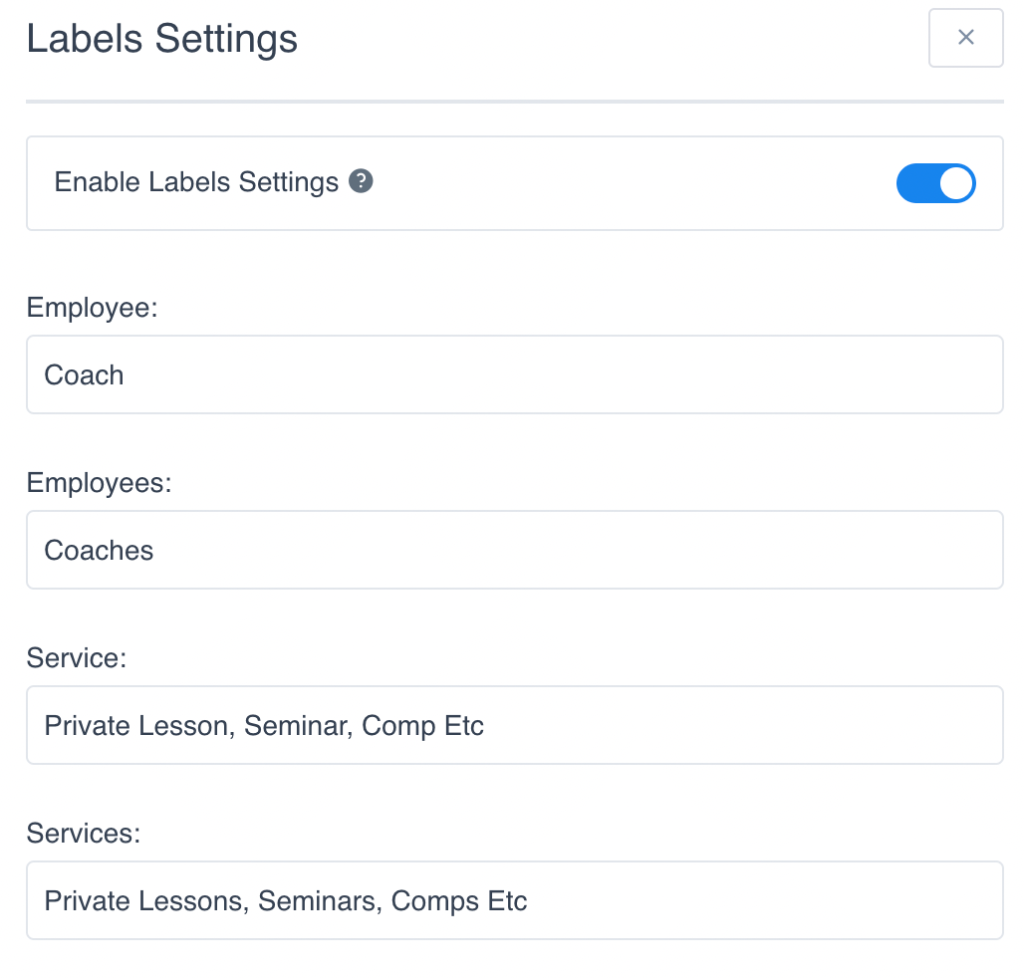
Labels Settings: Here you can update the naming of Labels used on the front-end booking form.
Possible Roles Settings: Control the Roles of each user. Enable which functionality you wish to allow each user to do.

And that’s a wrap!
Additional Reading: