Create Groups so that you can post content, share updates and message individual groups within your club.
Let’s take a look at how you can create a Group!
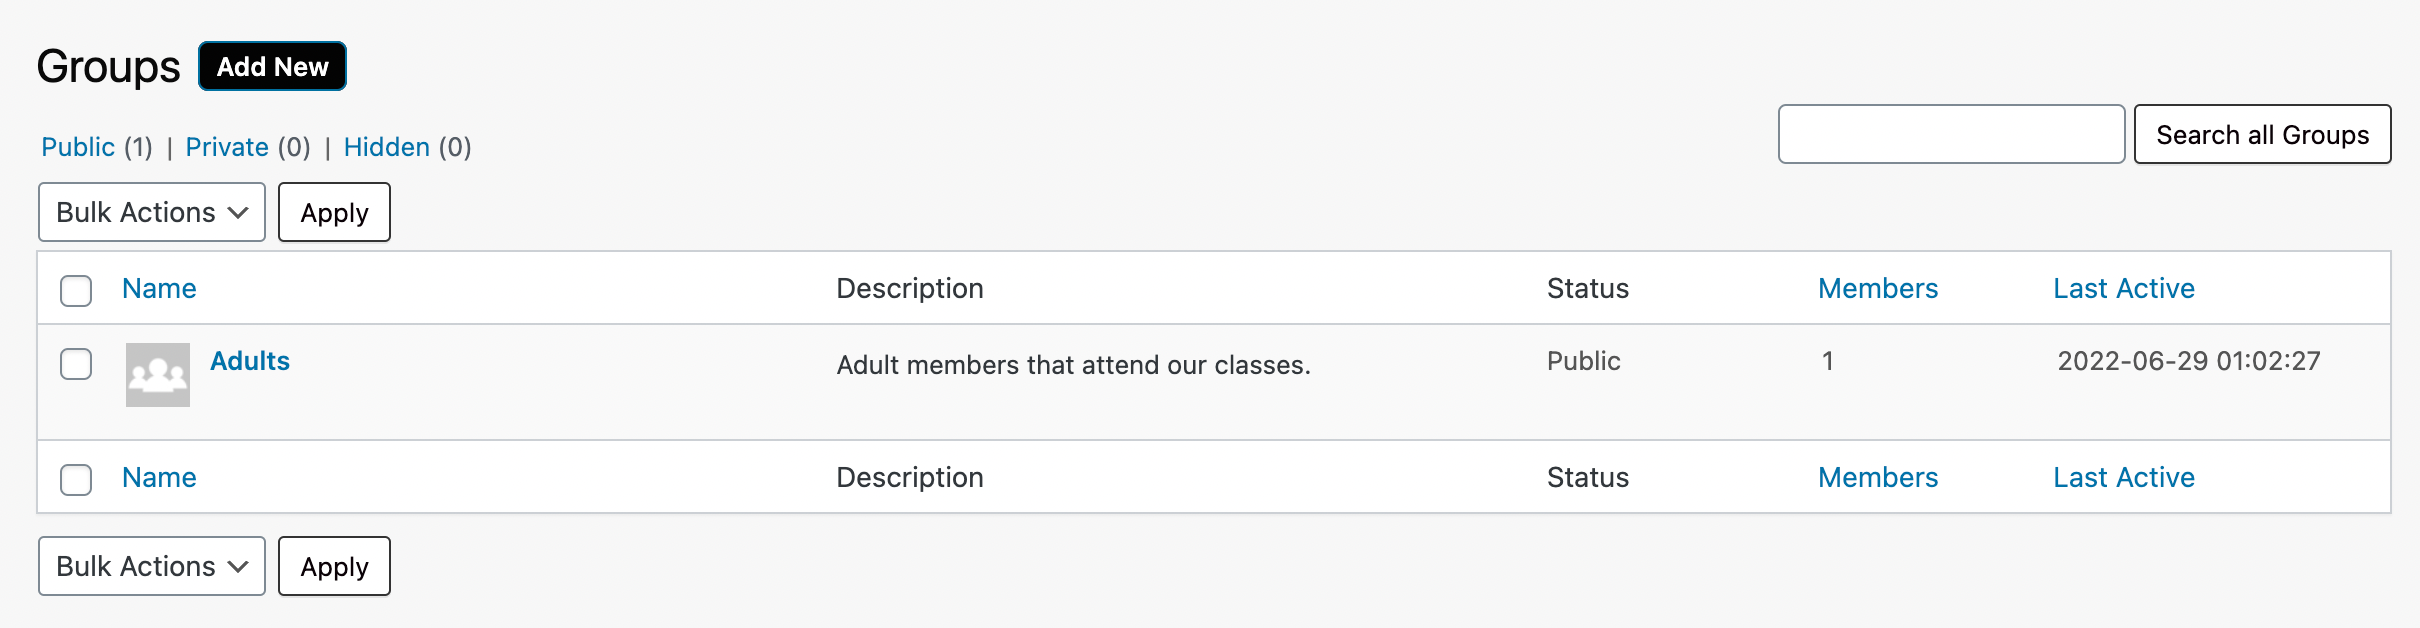
Navigating to Groups
Navigate to More > Groups page in the side navigation within the Admin Dashboard.
On this page, you can find a list of your created groups.
Let’s create a new group but clicking the “Add New” button next to the title.
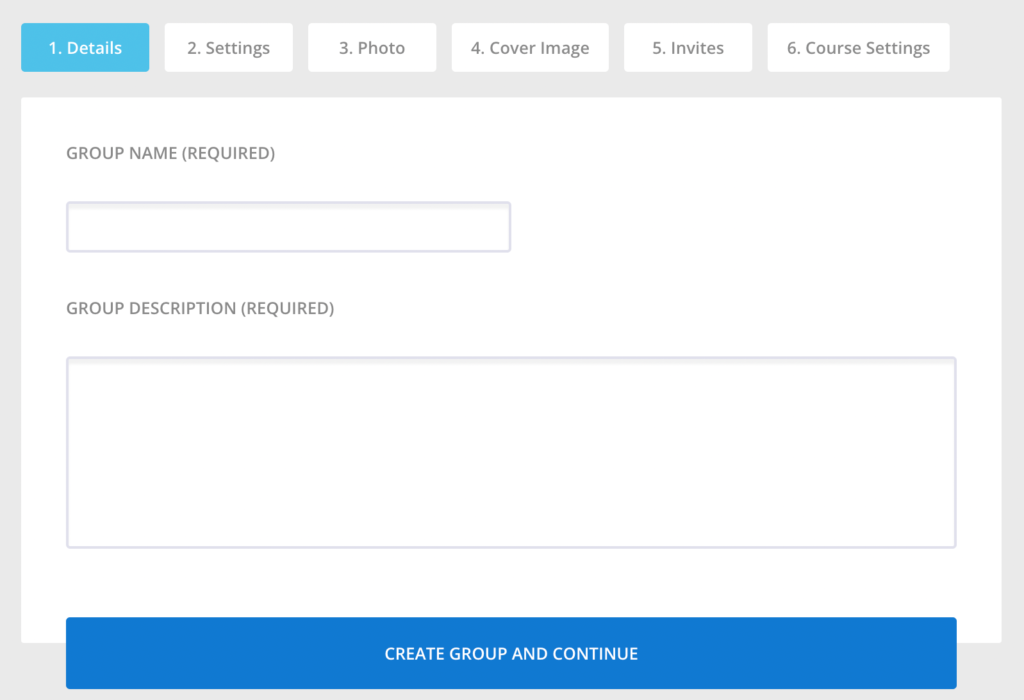
Step 1
Start by giving your group a Name and short Description.
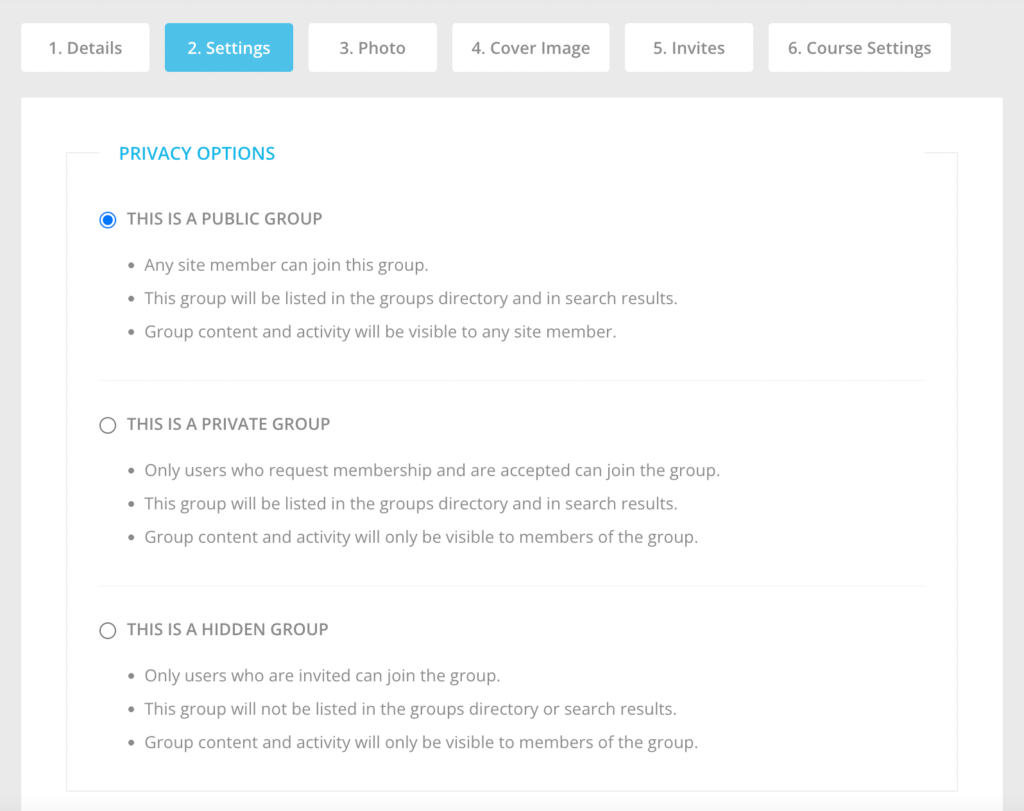
Step 2
Set the Privacy Options:
Public – Any member can join this group.
Private – Members can request to join this group. Approval must be granted by an administrator.
Hidden – This group is hidden from members, only visible if they have been invited.
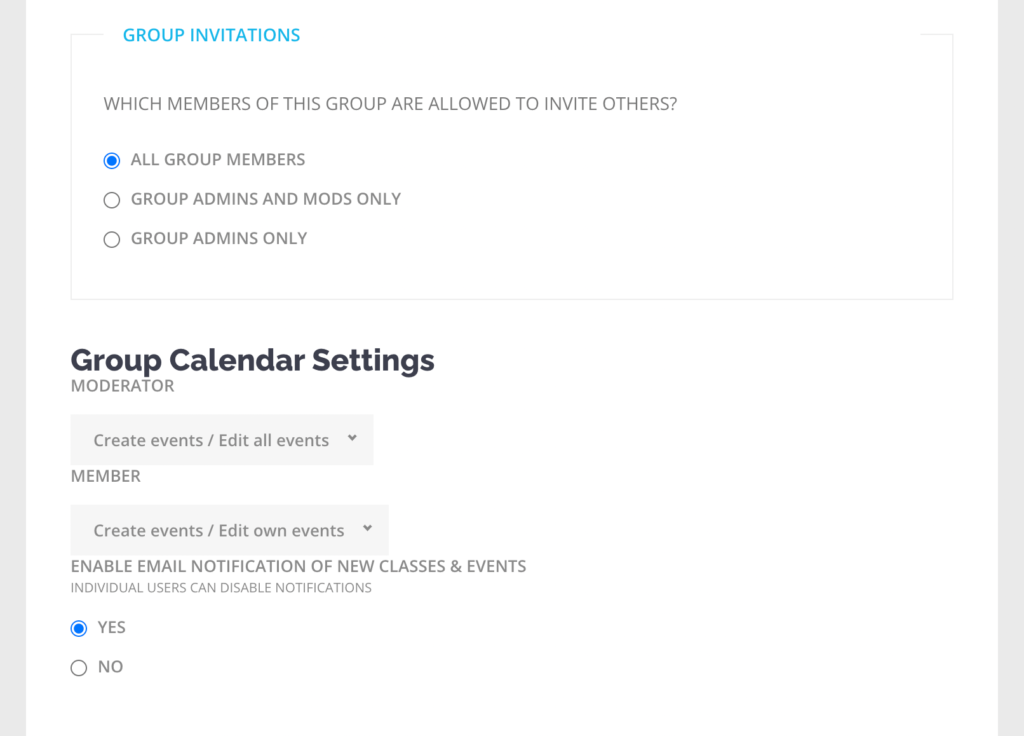
Additionally, you can enable members to invite other members to the group.
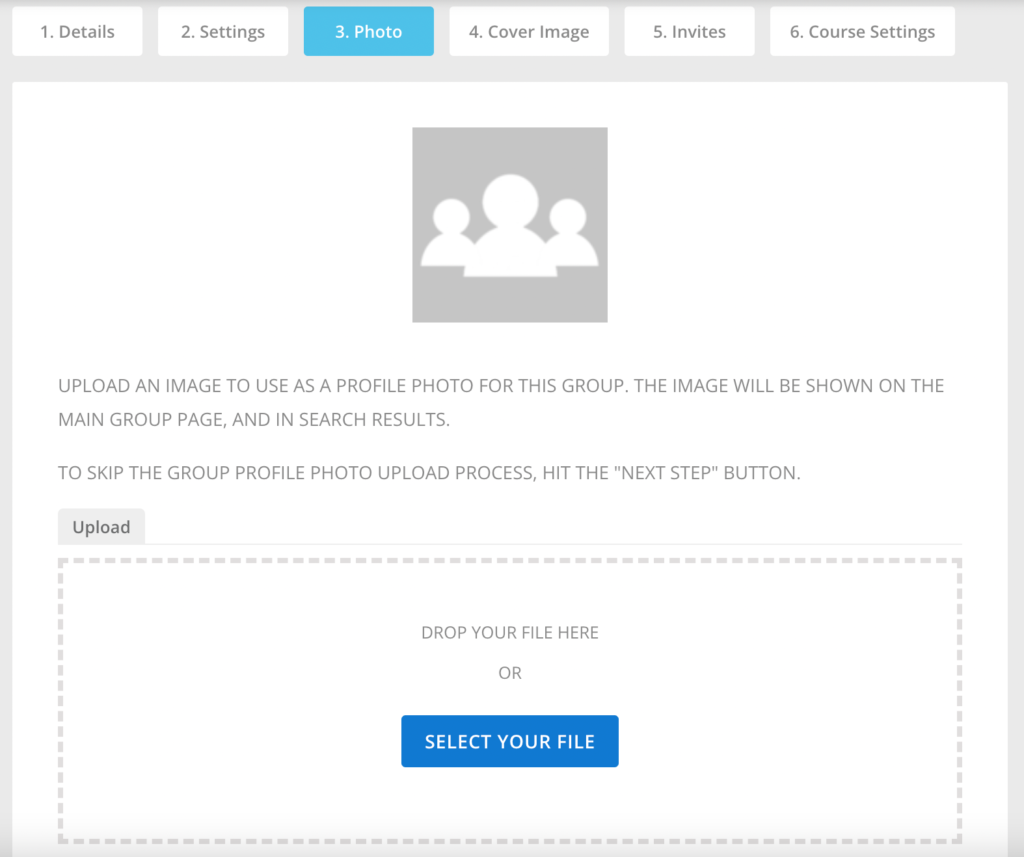
Step 3 & Step 4
An option to upload a group Photo and/or Cover Image is available at these steps.
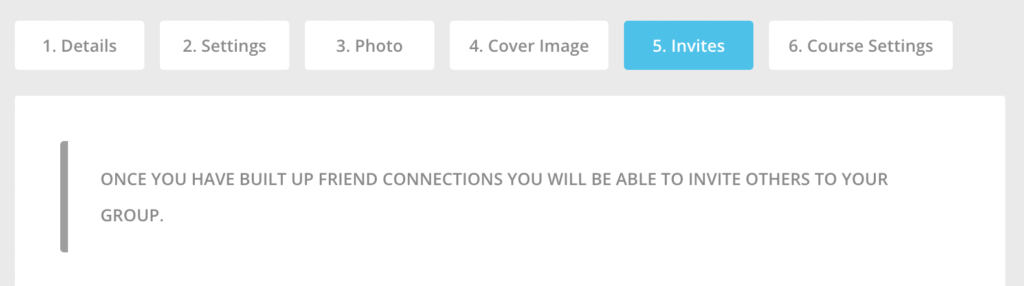
Step 5
Send out Invites to this group.
And that’s a wrap!