Before you can start to accept payments you’ll first need to create some Services to offer to your customers.
Let’s take a look at how to create Services and Packages!
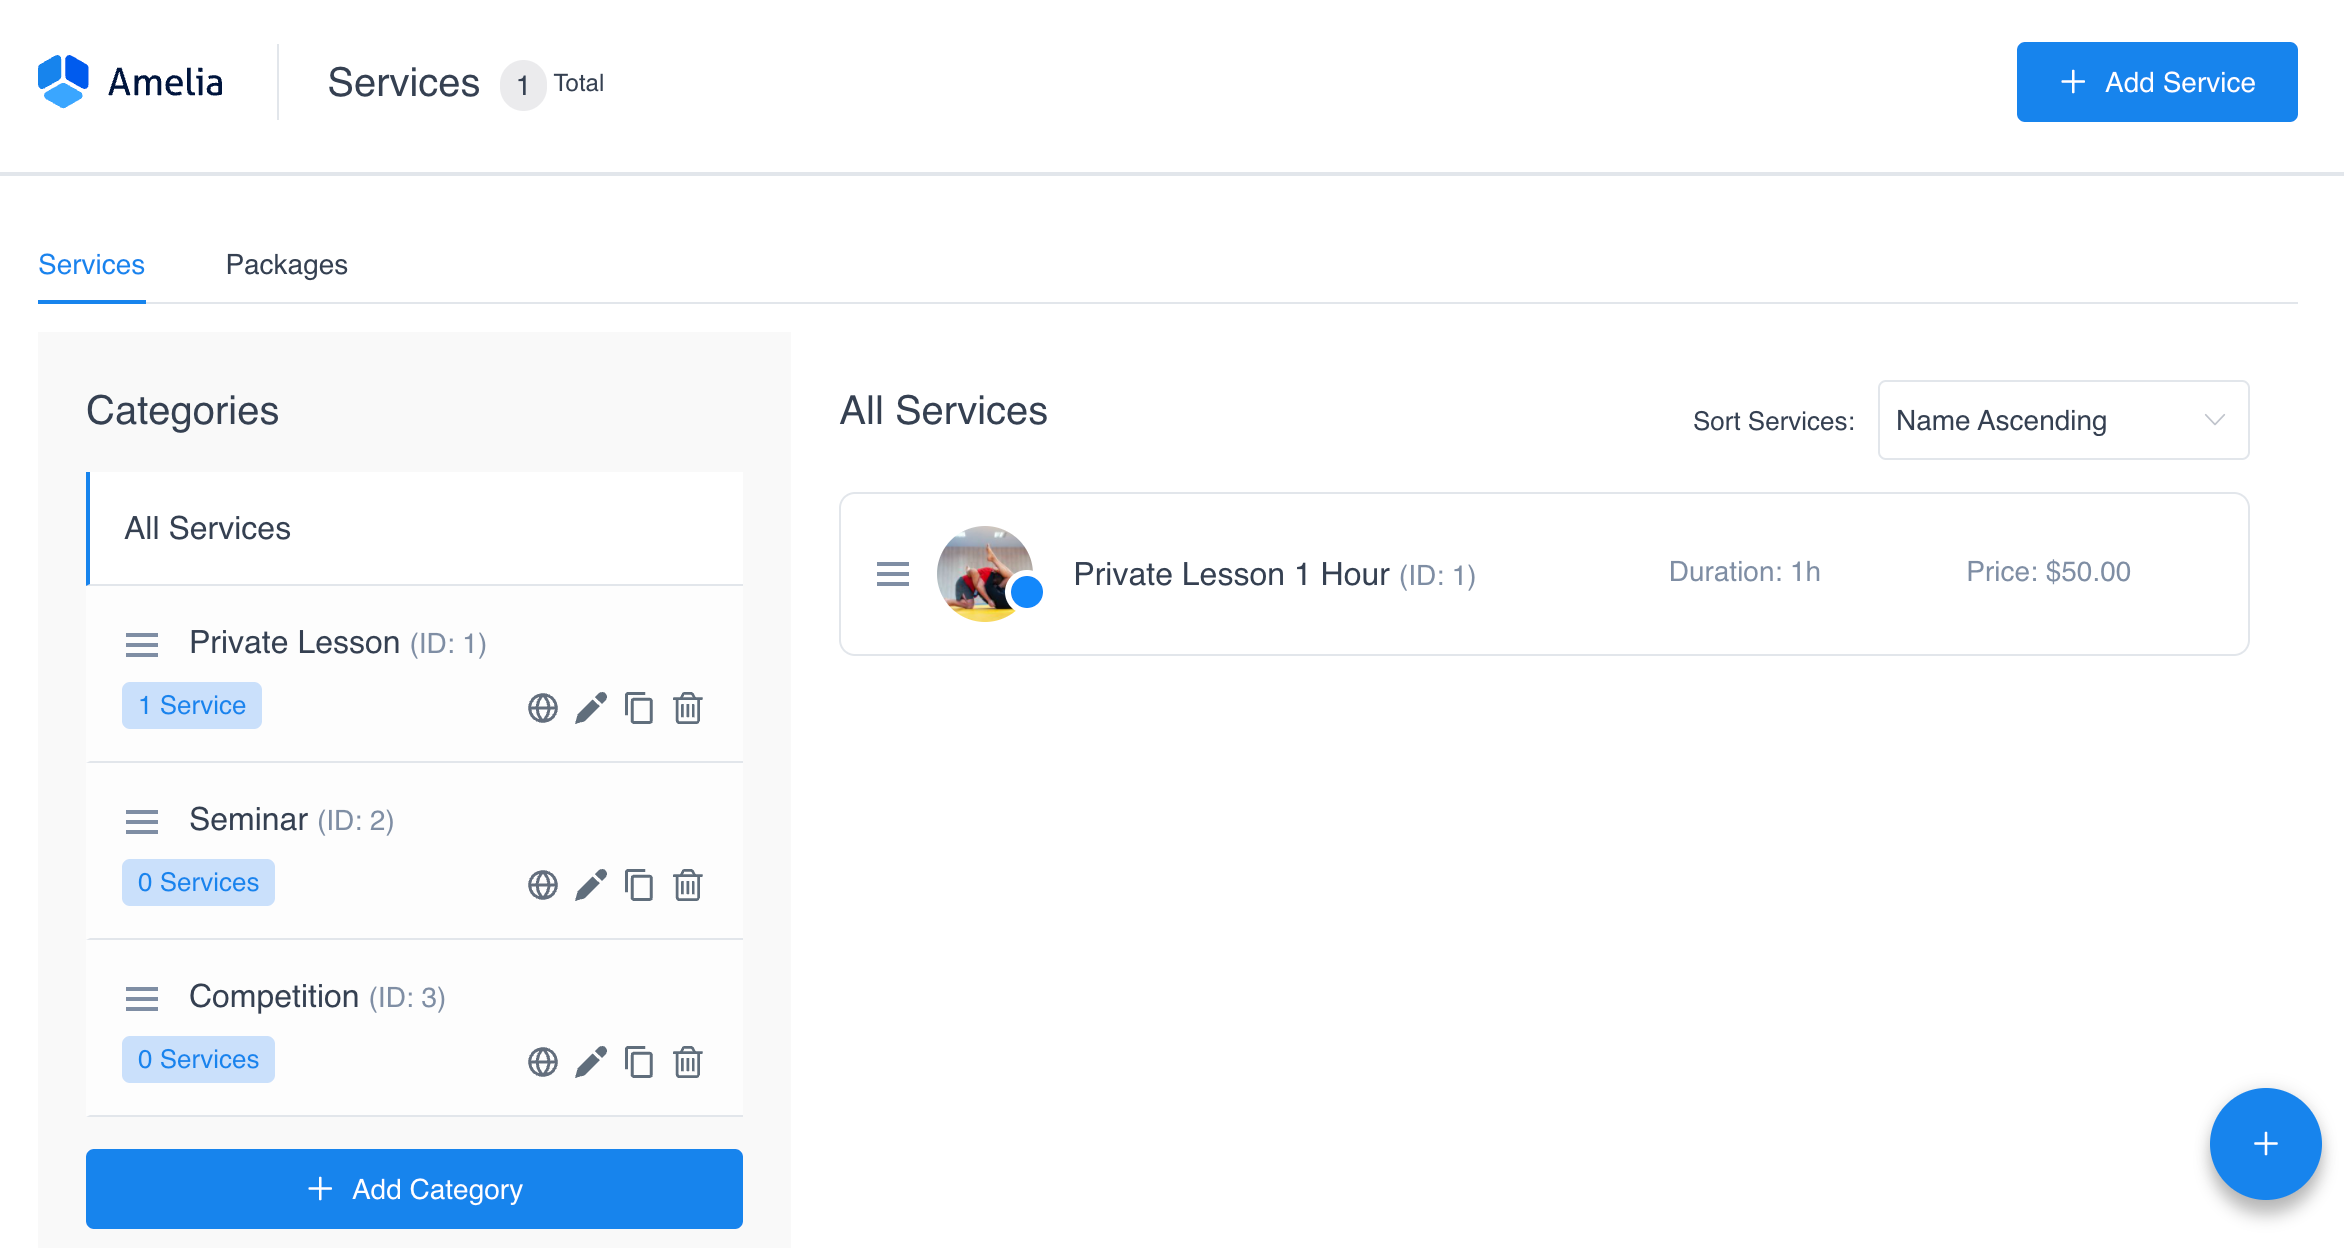
Navigating to Services
Navigate to Roster > Services using the side navigation menu within the Admin Dashboard.
Within this page, you can create Categories (types of services), Services and Packages (combination of services).
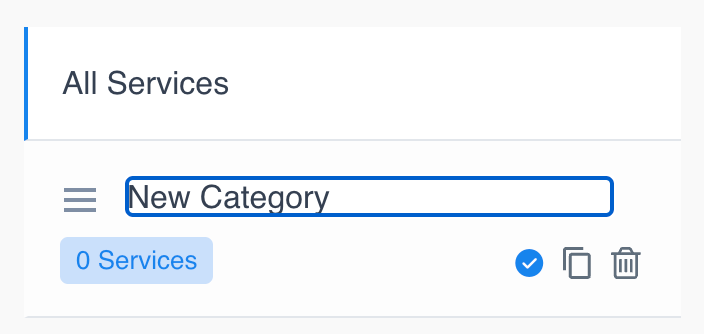
Before you can create a Service you need to “Add a Category“. Click the blue-button to create a new category and give it an appropriate name e.g. Private Classes, Group Classes, Cardio.
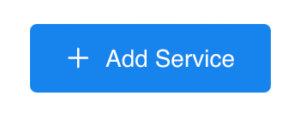
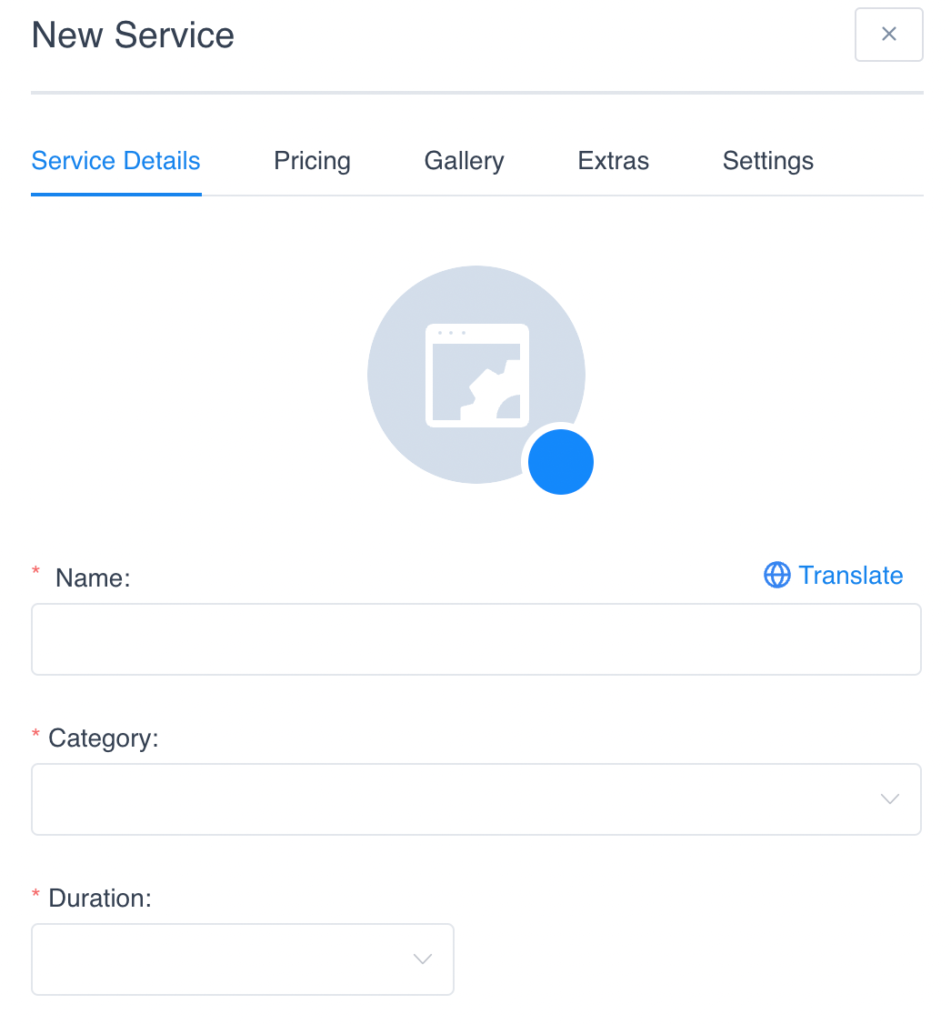
Once you’ve created a Category the “Add Service” button will become visible on the top right corner of the Service page. Click this button to open the New Service form which will open to the right of the screen.
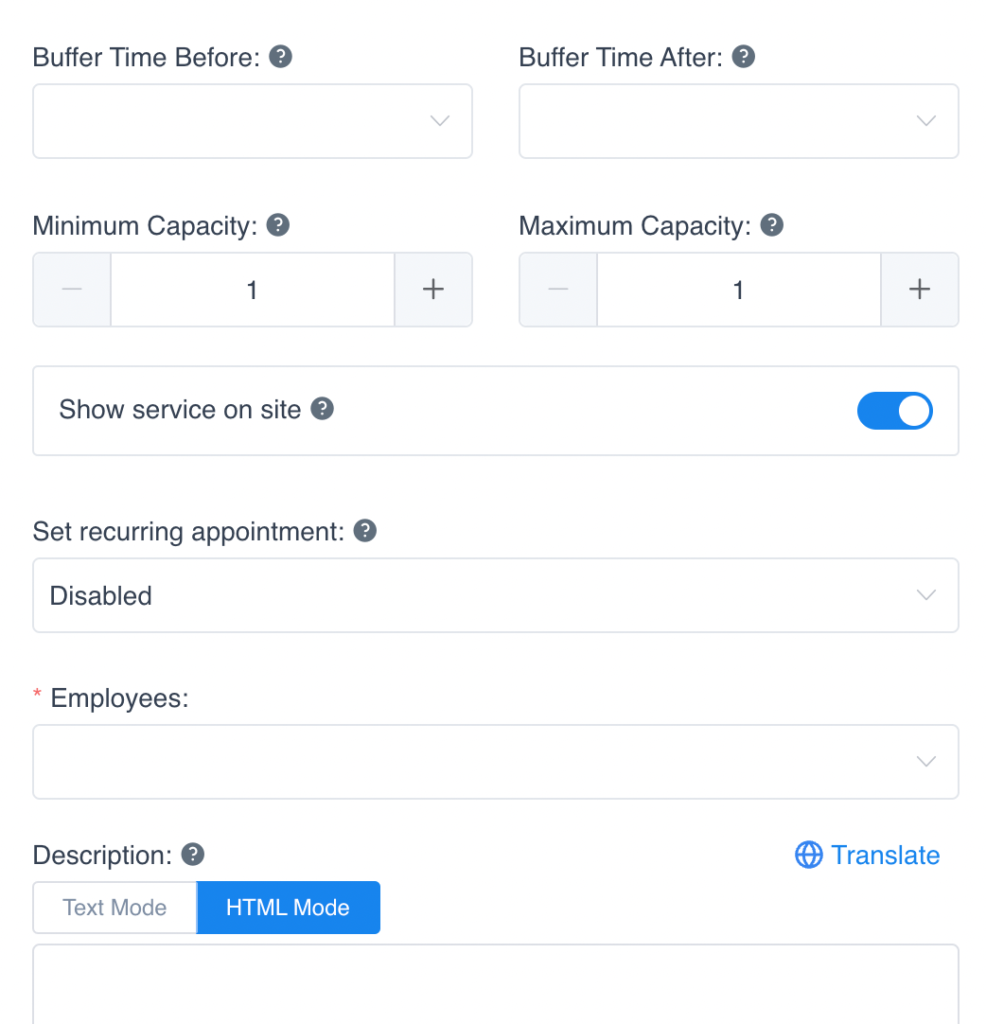
Start by providing some basic details about the Service (Name, Category, Duration, Capacity, Employee involved and any additional details you can add to the Description.
The Buffer Time Before can be set to prepare for the appointment when another booking for the same service and employee cannot be made. Additionally, you can set the Buffer Time After the appointment to rest, clean up, etc. when another booking for the same service and employee cannot be made.
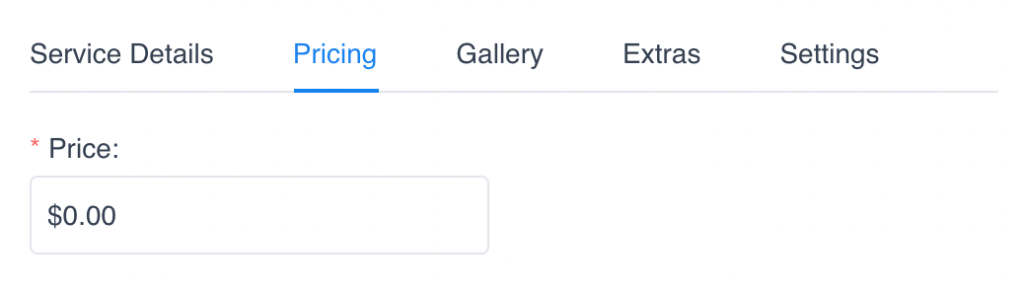
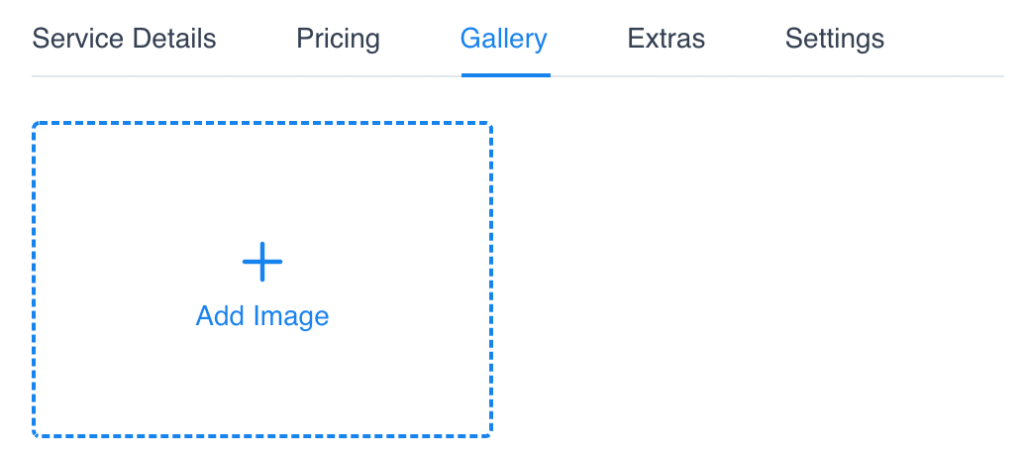
Under the Pricing and Gallery tab, you can set the total Price for the service and include an Image to make the service stand out to your customers.
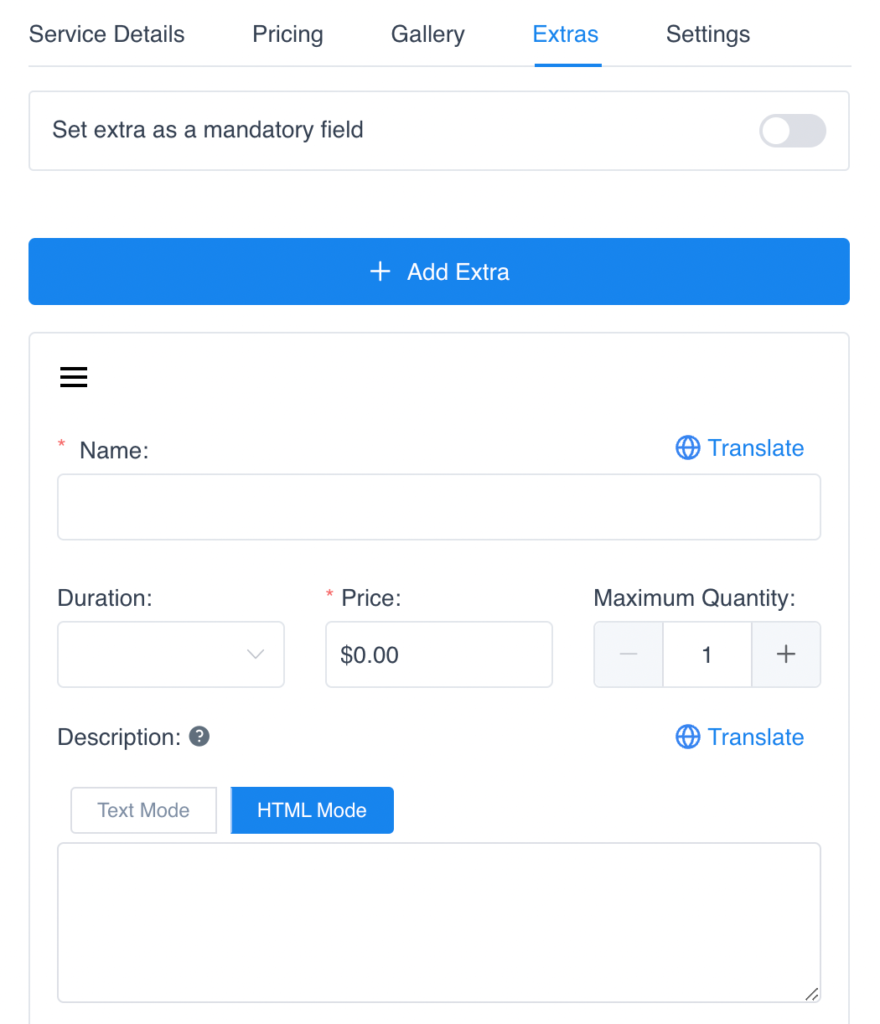
If the service offers any extras (gear rental, insurance etc.) you can add these under the Extras tabs. Enable the mandatory field if the extra is not optional. Click the “Add Extra” button and include the Name, Duration (the time period in which an extra is available for), Price, Quantity and Description of the extra.
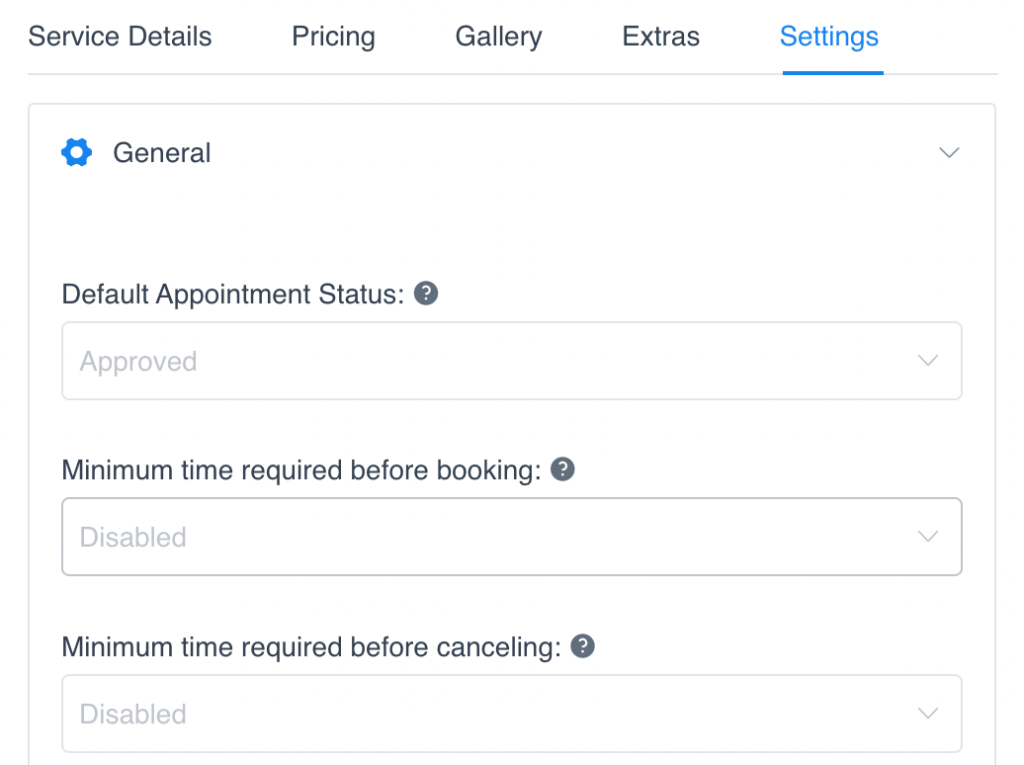
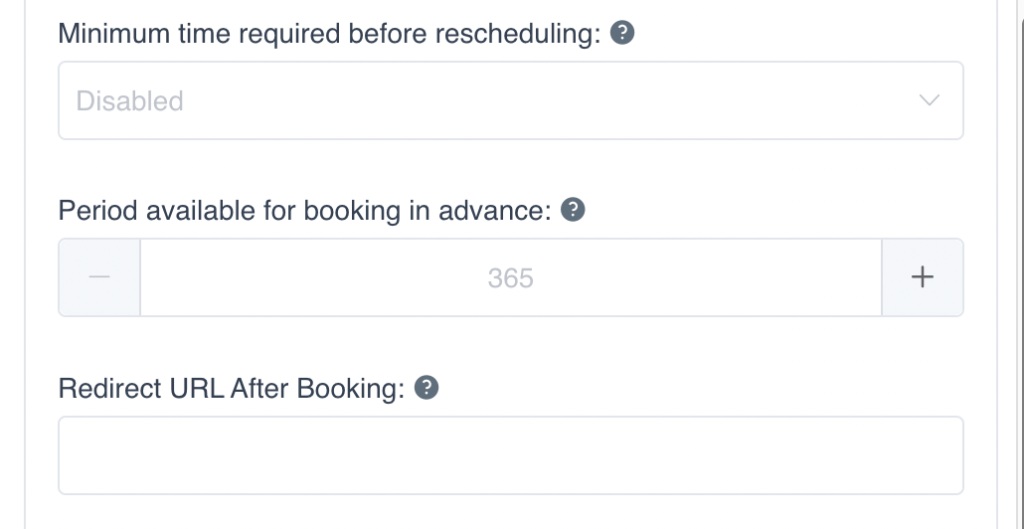
Under the Settings, you can set the Default Appointment Status once a service is booked. If the service requires pre-approval you can update this accordingly. The Minimum Time required before Booking, Cancelling or Rescheduling can be added here.
Under Booking in Advance, you can set how far in advance a customer can book. If you wish for a customer to be redirected to another URL after completing a booking you can include the Redirect URL.
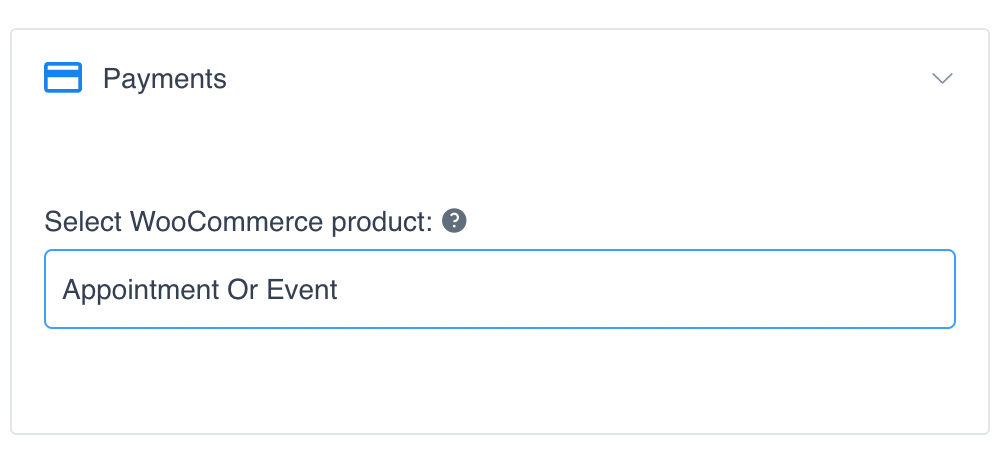
It’s important to link your Service to a Product so that when you view orders you can clearly see what is being purchased. In this example, we created an “Appointment or Event” product in the store to link to this service but hid this product from customers on the front-end store.
Finally, don’t forget to “Save” your newly created Service.
Let’s take a look at how we can build Packages with the services we’ve created!
Adding Packages
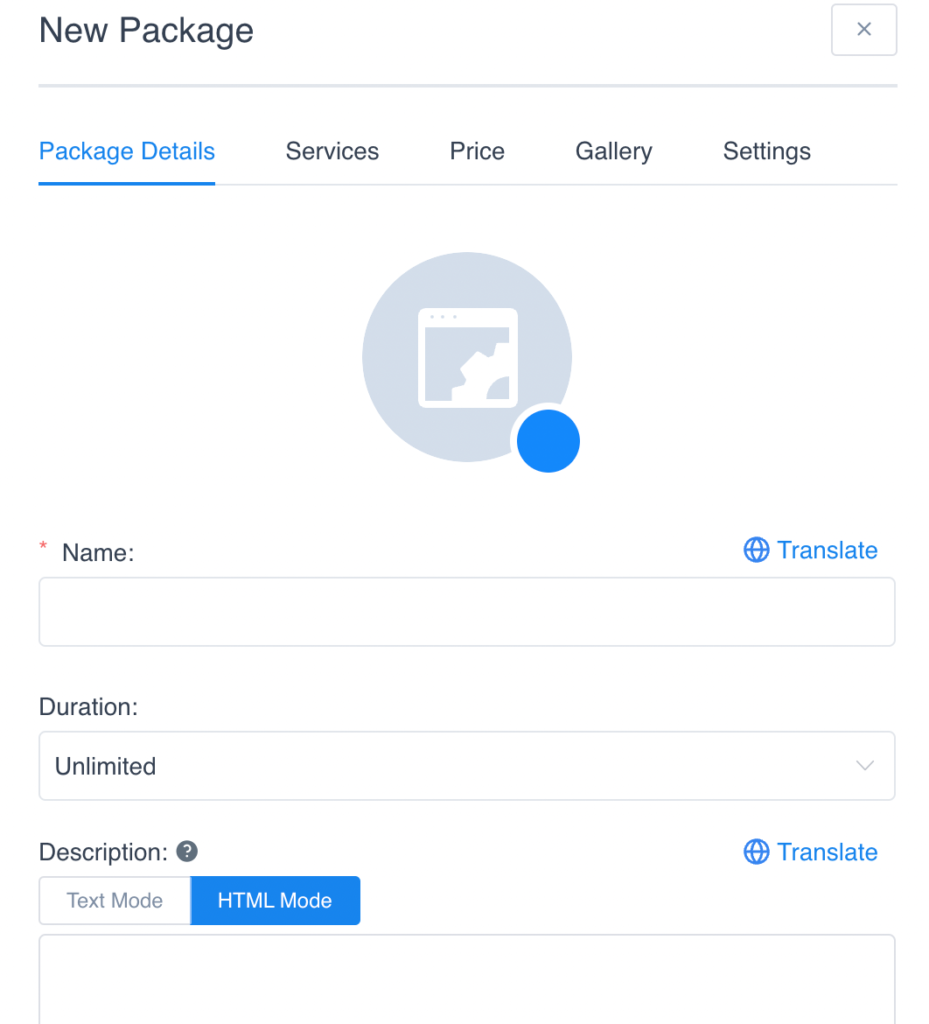
Within the service’s page navigate to the Packages tab, then click “Add Package“. The new package form will open to the right of the screen.

Give your package a Name and Description and set the Duration of the package being offered.
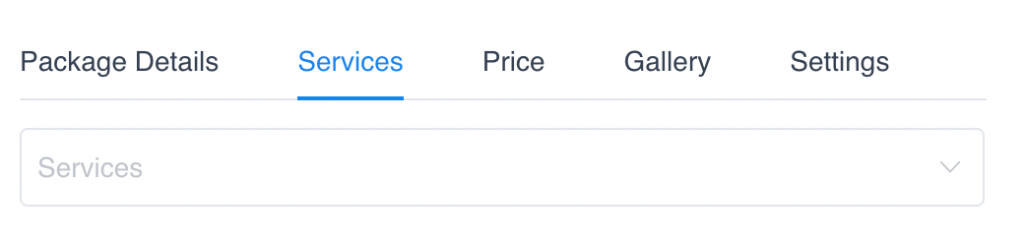
Under the Services tab you can include all the services you wish to include in this package.
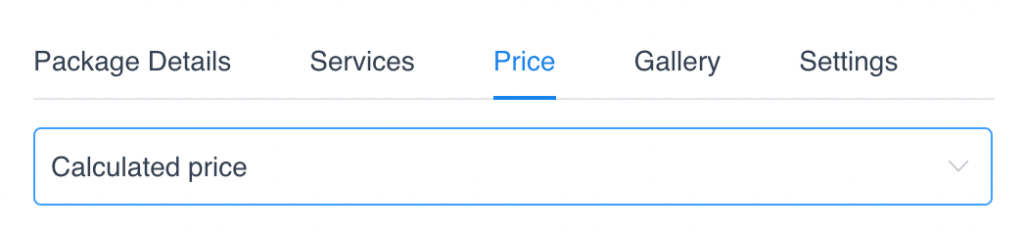
For the Price you can either set it to Calculated Price which sums the total price of all the services being offered or change it to Custom Price where you can set the price of the package.
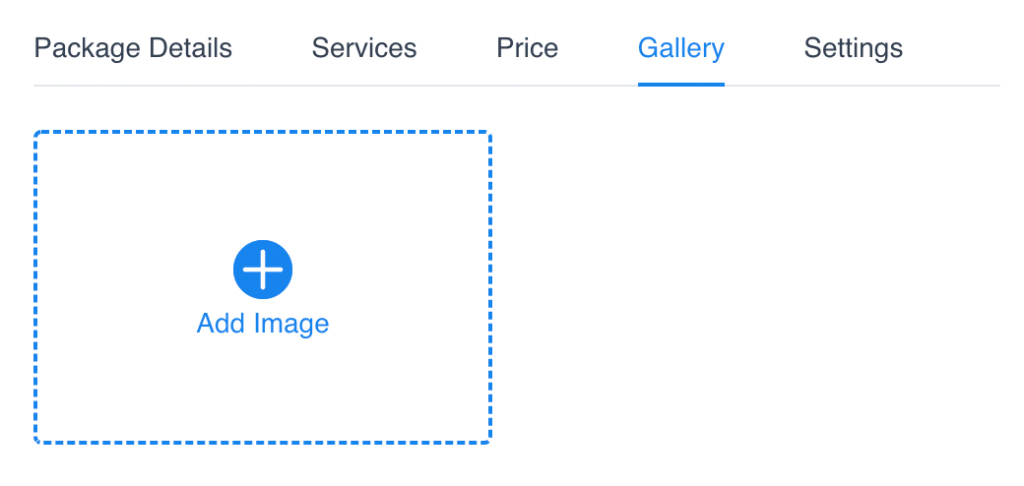
To make your Package stand out on the booking site be sure to Add an Image in the Gallery tab.
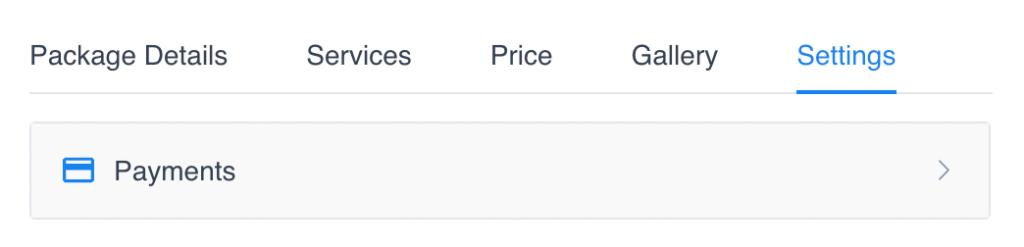
Under the Settings tab, you can configure how you will be paid when the package is purchased.
Finally, don’t forget to “Save” your newly created Package.
And that’s it! We’ve successfully created Categories, Services and Packages.
Now your customers can start to purchase the services and packages you’ve created!
Additional Reading: