Make it easy for your members to find where you’re located!
Let’s see how you can add the different training facilities, gyms and stadiums where your classes and events are held.
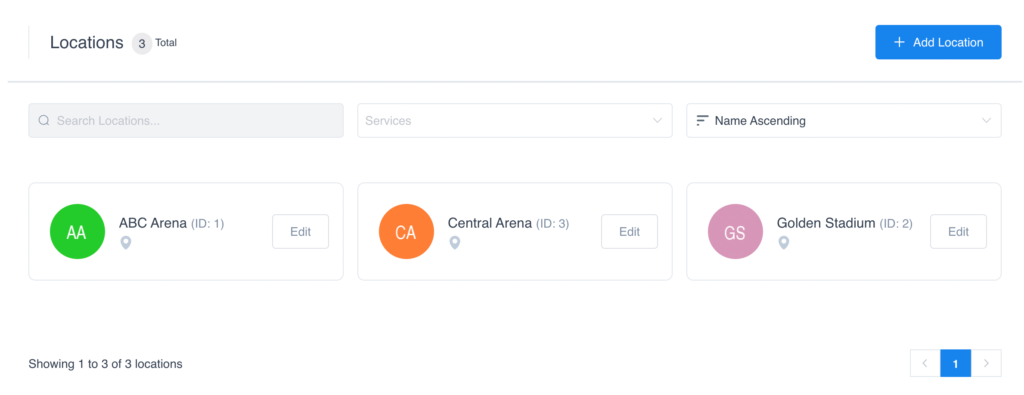
Navigating to Locations
Navigate to Roster > Locations using the side navigation menu within the Admin Dashboard.
On this page, you will find a list of your created locations. If this is your first time visiting this page you’ll likely not see any locations. But let’s change that!
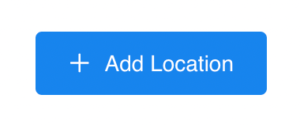
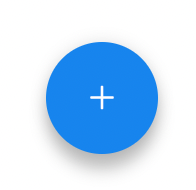
Adding a Location
There is two way in which you can Add a Location. Either by clicking the “Add Location” button or clicking the Circle Plus (+) Sign.
Once you’ve clicked either button a form will display to the right of the screen.
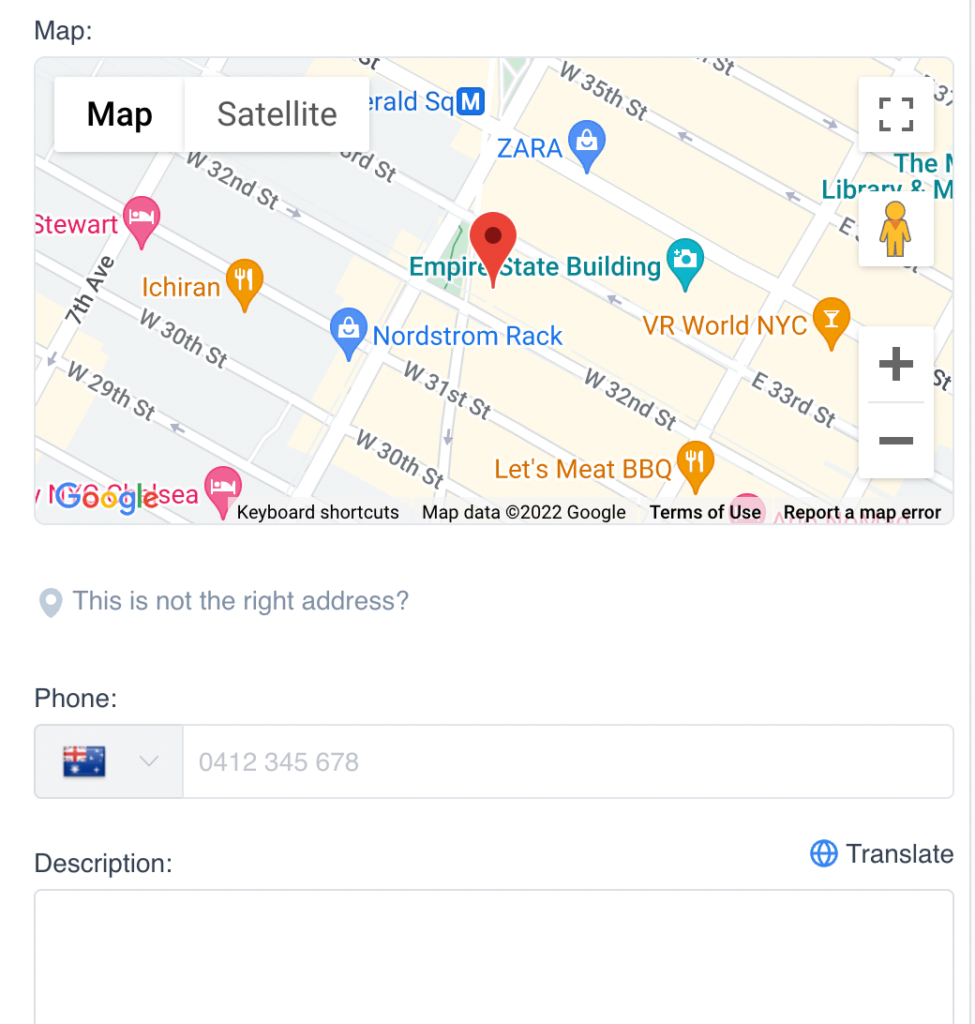
Enter the required details and ensure the location is showing correctly on the map. If the location is incorrect click on the “This is not the right address” button below the map. Alternatively, you can drag the pin on the map to pinpoint the location.
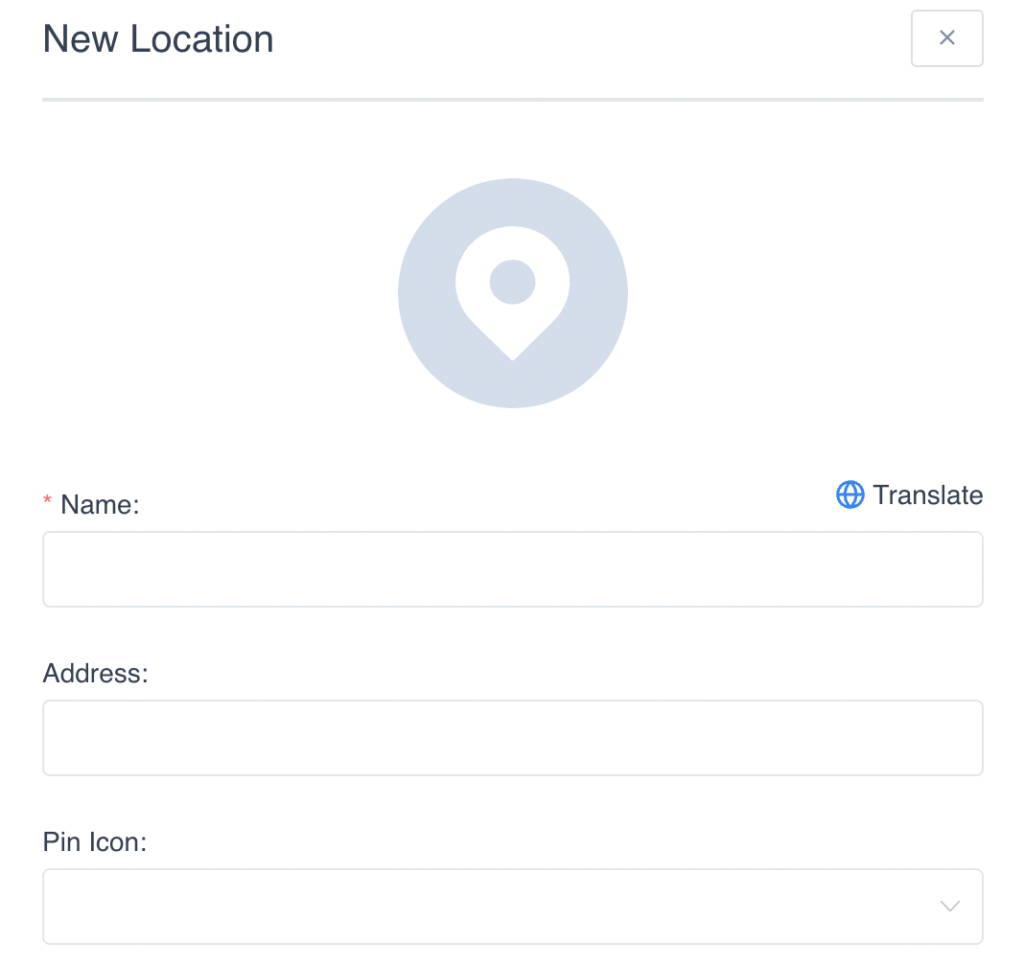

Don’t forget to hit “Save” to create your location.
Editing a Location
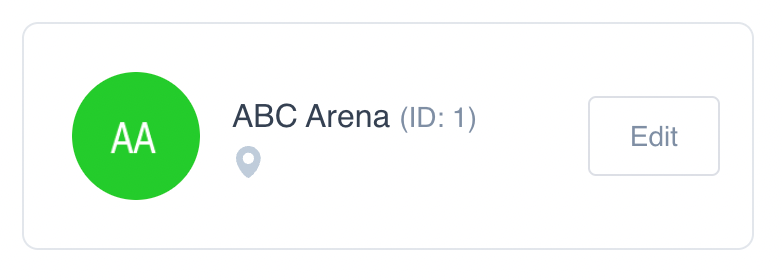
To edit a location simply click on the “Edit” button next to the location you wish to edit.
It will open the Edit Location form to the right of the screen similar to what you saw whilst adding a location.

Additional options to Duplicate, Hide or Trash a location can be found next to the “Save” button at the base of the edit form.

And that’s it! Now your members won’t have trouble finding you!
In this article, we covered how to View, Add and Edit locations.
Additional Reading: