Manage all your customer Enquiries and Support Tickets in one place.
Let’s take a look at the Ticketing system!
Navigating to Queries
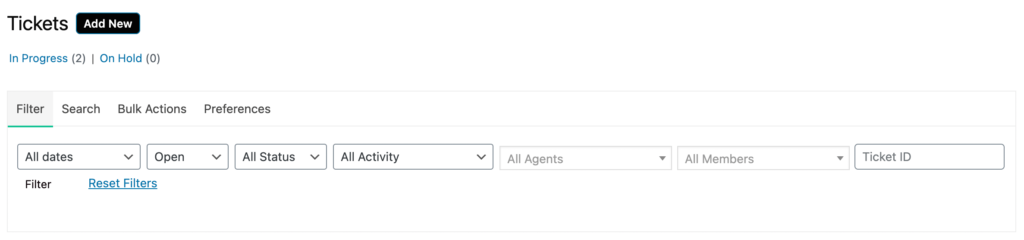
Navigate to Queries using the side-navigation menu within the Admin Dashboard.
On this page, you’ll find the table containing your customer Support Tickets. If you’re visiting this page for the first time you’ll likely not see any tickets displayed.
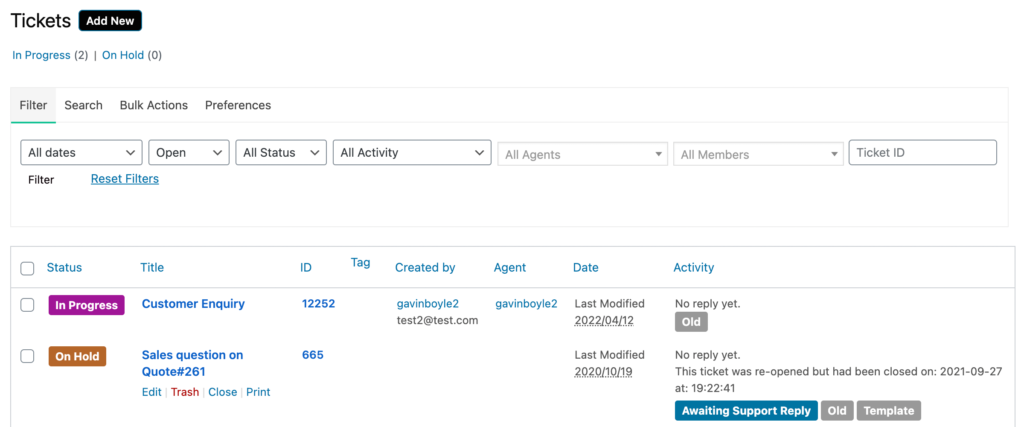
Viewing & Editing Tickets
To view a ticket either click on the Ticket Title highlighted in Blue or hover on the ticket in the table and select “Edit“. Additionally, whilst hovering on a ticket you can Trash, Close or Print.

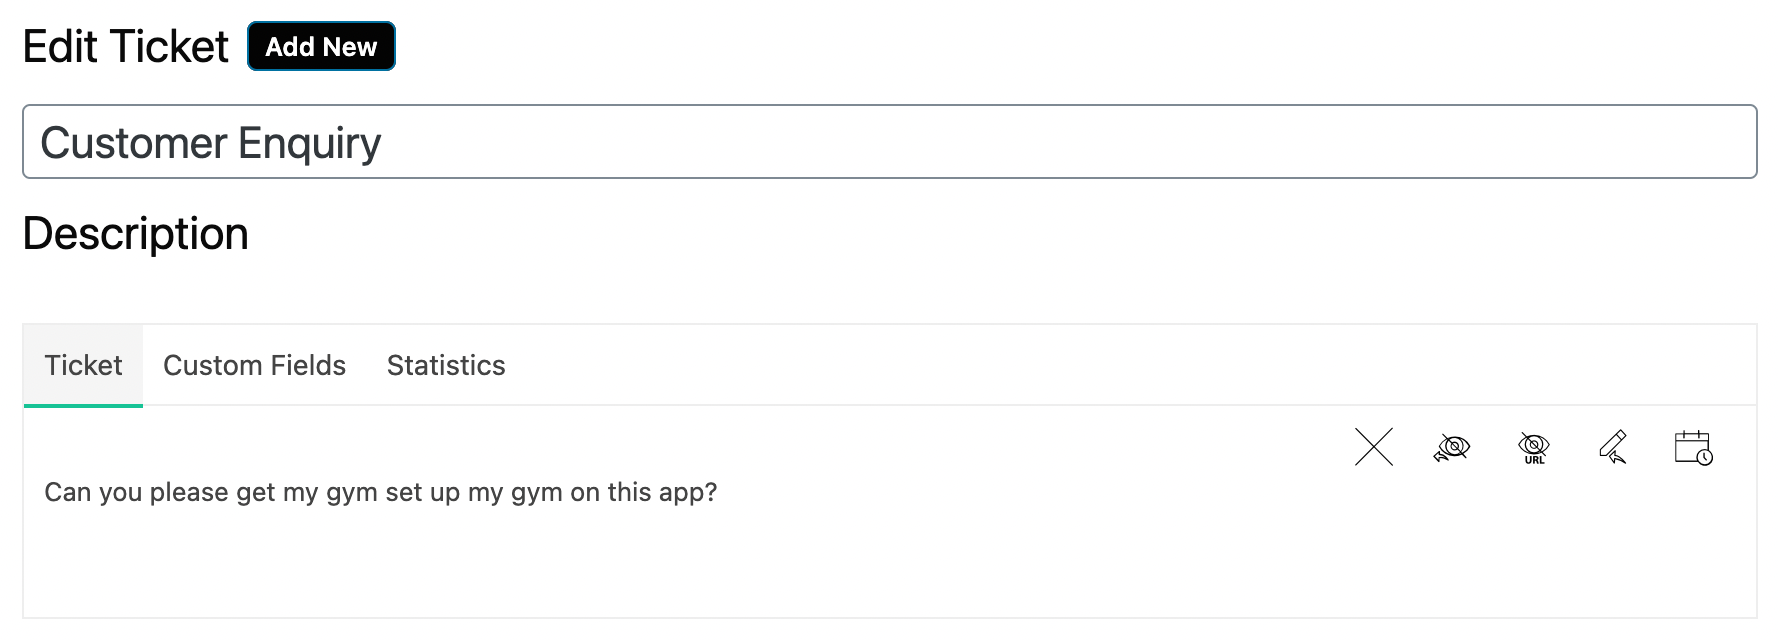
On the Edit Ticket page, you can update the Support Ticket title or description. By hovering on the Ticket Description 5 icons will become available.
1. Close Ticket 2. Toggle Replies 3. Hide/Show Ticket 4. Edit 5. Show History
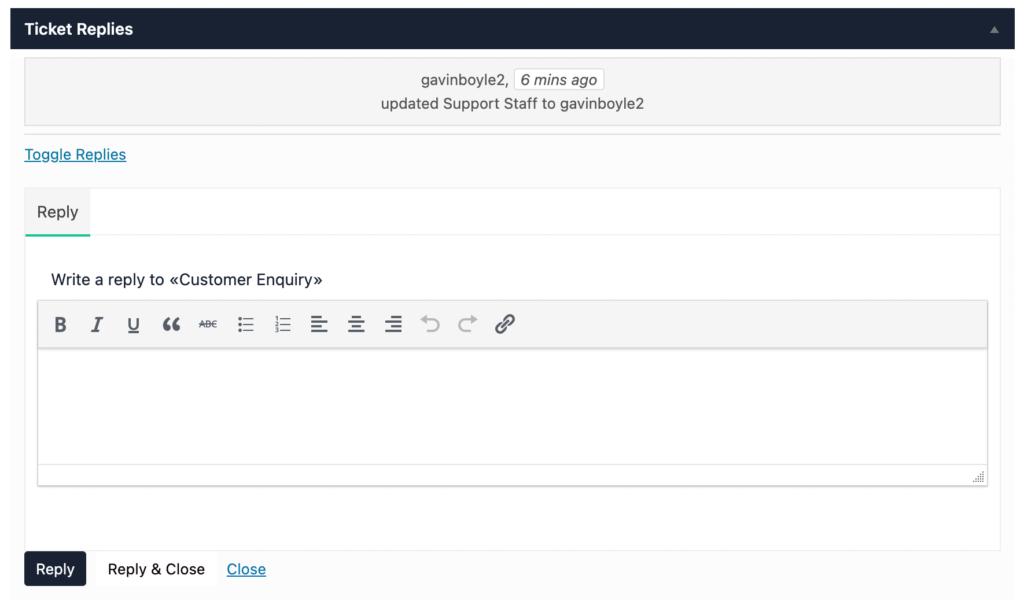
Below the ticket description you will see Ticket Replies here you can “Reply” to a customer’s support request and wait for a response. Or if you have answered the question and no further action is required you can click “Reply & Close” to mark this ticket as Closed.
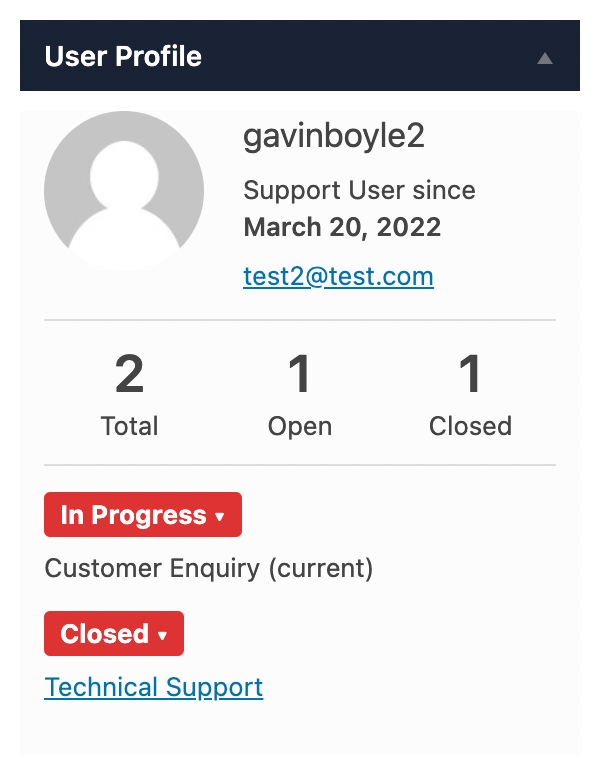
The User Profile will display a summary of the ticket creator’s logged enquiries. Showing the total Open and Closed tickets along with links to these tickets. This will help Support Agents locate related tickets or previous logged customer issues.
For better organisation of your tickets, you can add Tags so that support staff can easily indicate which department (Sales, General Enquiry etc.) should be responsible for which tickets.

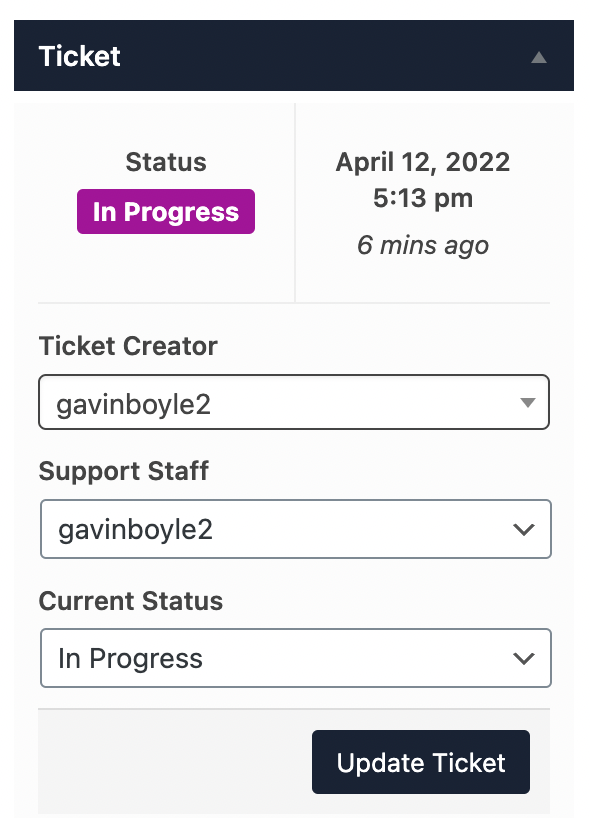
Finally, as you make changes it’s important to change the Status (if changed), modify the Support Staff if a ticket has been passed onto another staff member, and then finally hit “Update Ticket” to save all changes.
And that’s it! In this article, we covered Viewing, Managing and Editing support tickets. Check out the below article to learn how to Add Tickets Manually.