Get organised and start planning your Grading sessions.
Let’s take a look at how to create your first Grading Plan.
Navigating to Planner
Navigate to Planner using the side-navigation menu within the Admin Dashboard.
On this page, you’ll see an option to “Create a new Grading Plan?“. Check the box to open the grading planner form.
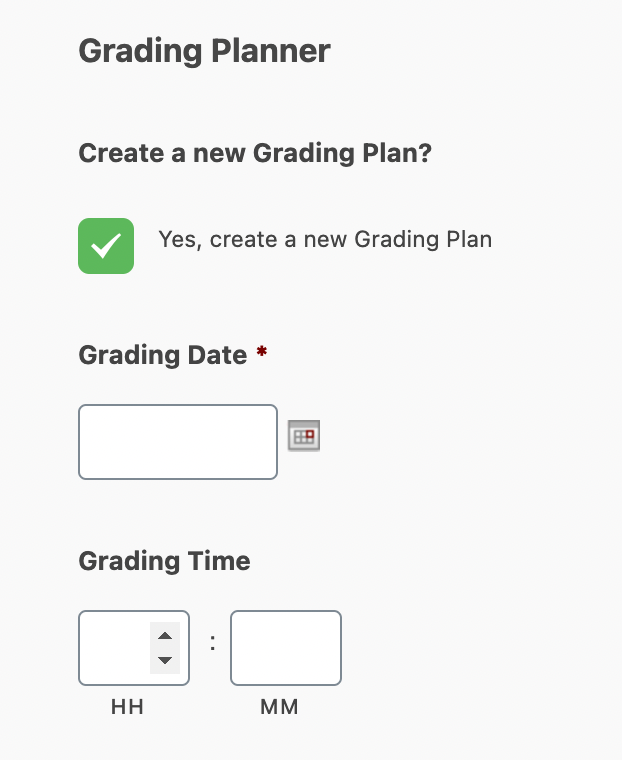
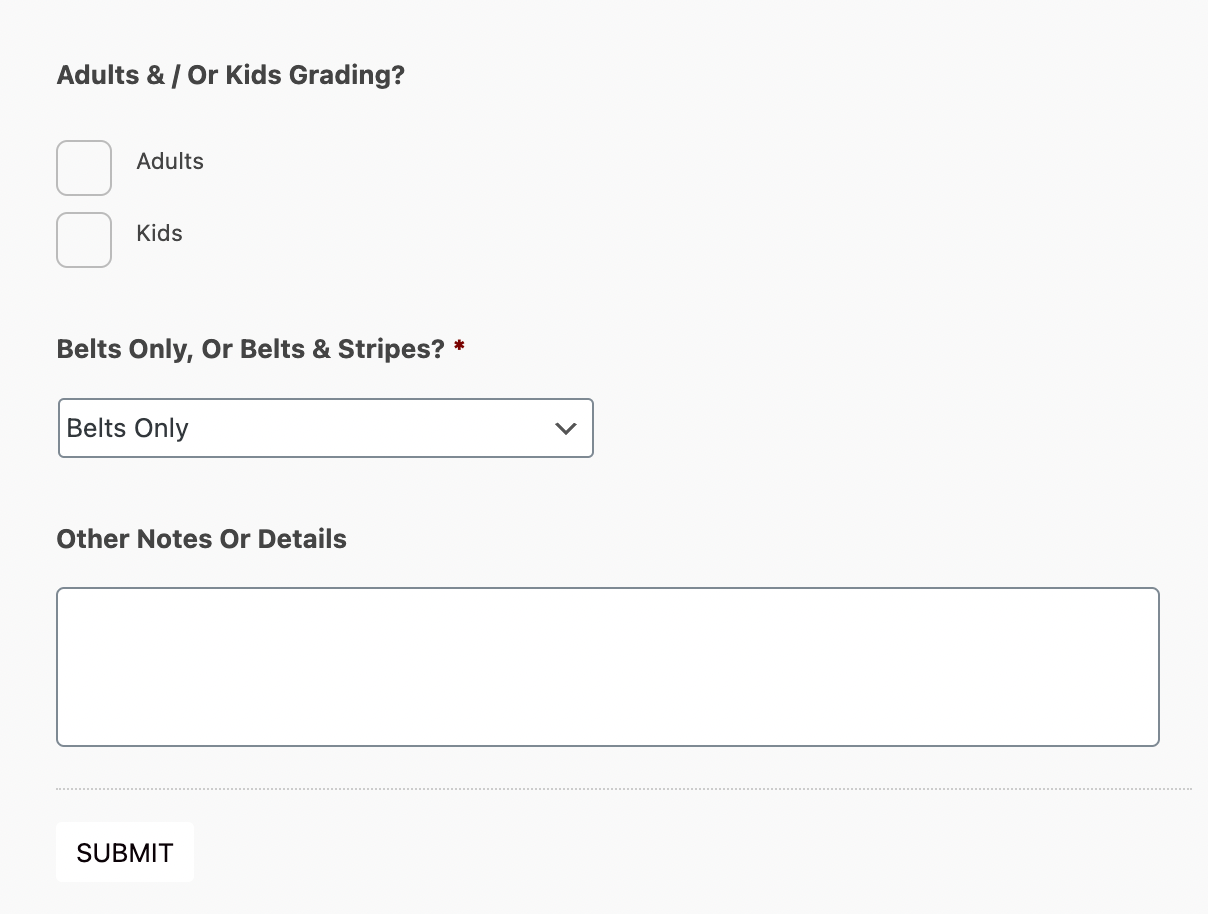
Include the Date / Time of the grading, whether the grading is for Adults or Kids and the Belts and Stripes the grading is for, plus any additional Notes.
Don’t forget to “Submit” your changes!
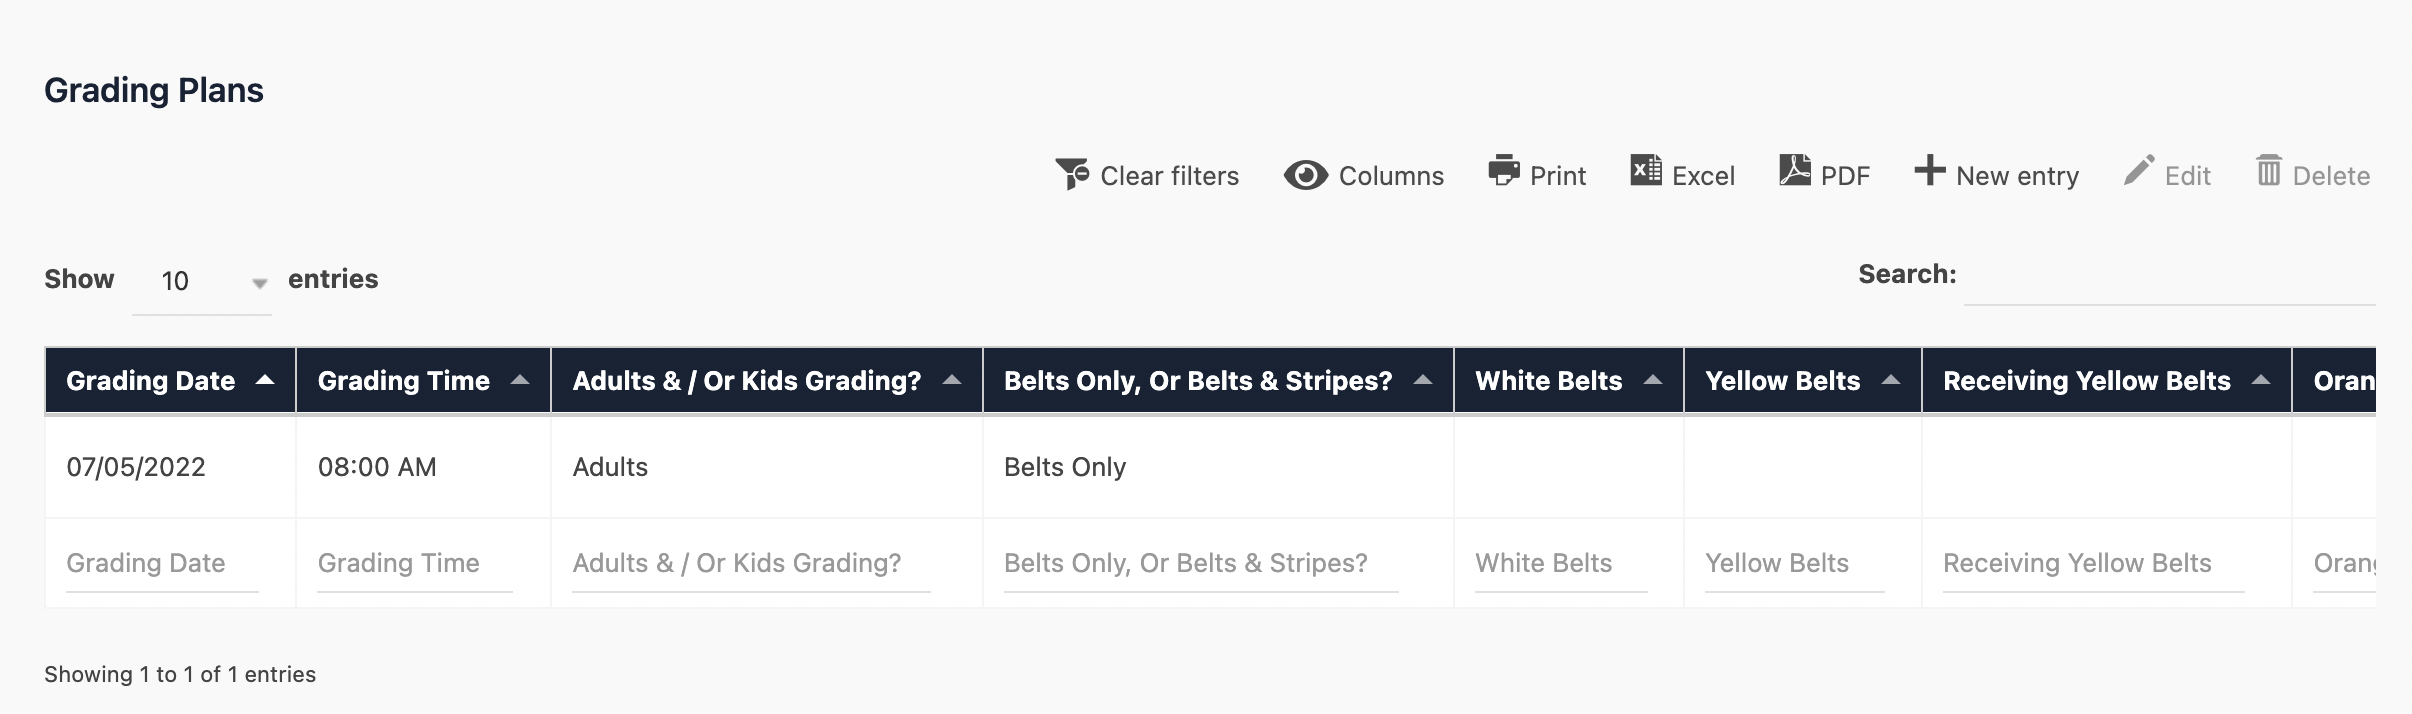
Once submitted, scroll down the page to view your Grading Plans. Use the Search function to find grading plans or Sort the list by clicking on the column titles. Easily hide columns on the table by clicking the Eye Icon and selecting which columns to display. Additionally, you can Print or Export the list as a PDF or Excel file.
To add a “New Entry” simply click the Plus (+) Icon to open the Add Grading Plan form. To Edit or Delete a grading plan click on the entry in the table you wish to edit/delete and then select the Edit or Delete Icon.
And that’s a wrap! In this article, we covered adding and viewing grading plans.