Follow the steps to create your Membership Plans, add Rules and use Tags to limit which classes each membership can check in for.
Let’s take a look at the settings:
Navigating to Membership Plan Settings
Navigate to Settings using the top-navigation menu within the Admin Dashboard.
Scroll down the page and click the link for the “Membership Plans“.
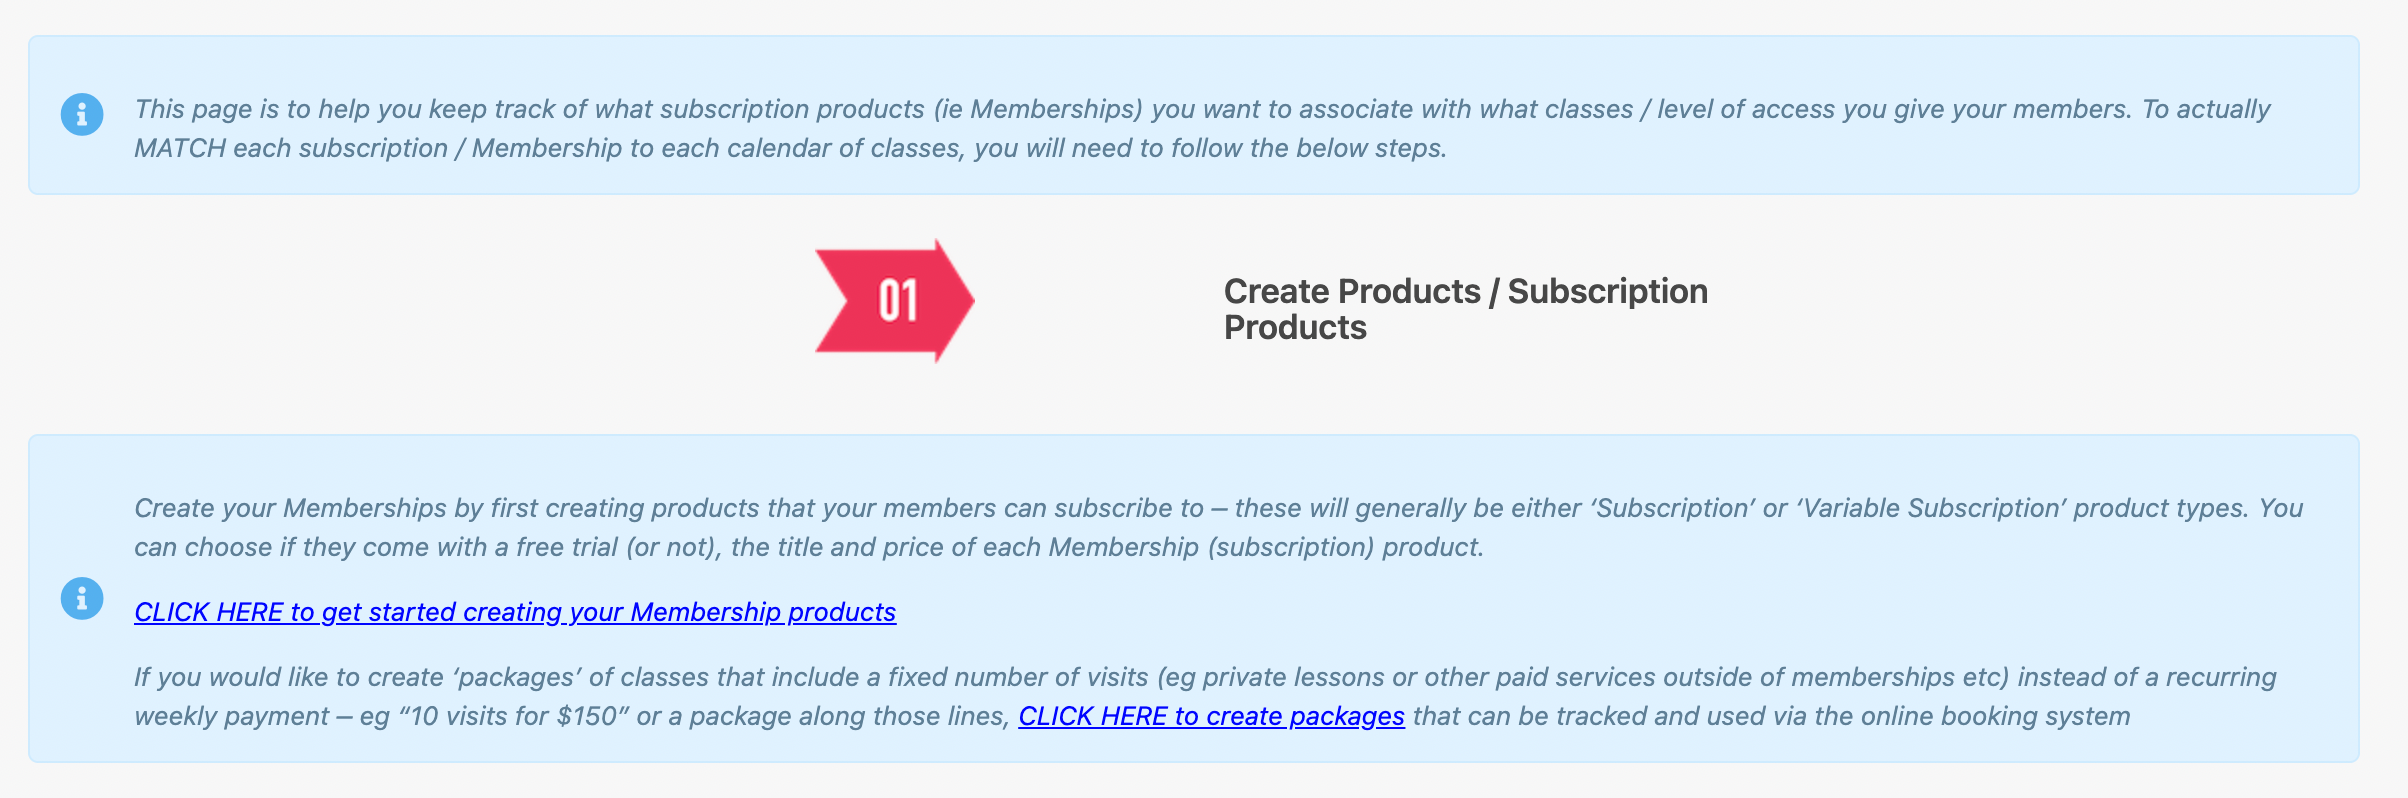
Step 1 – Create Membership Plan Product
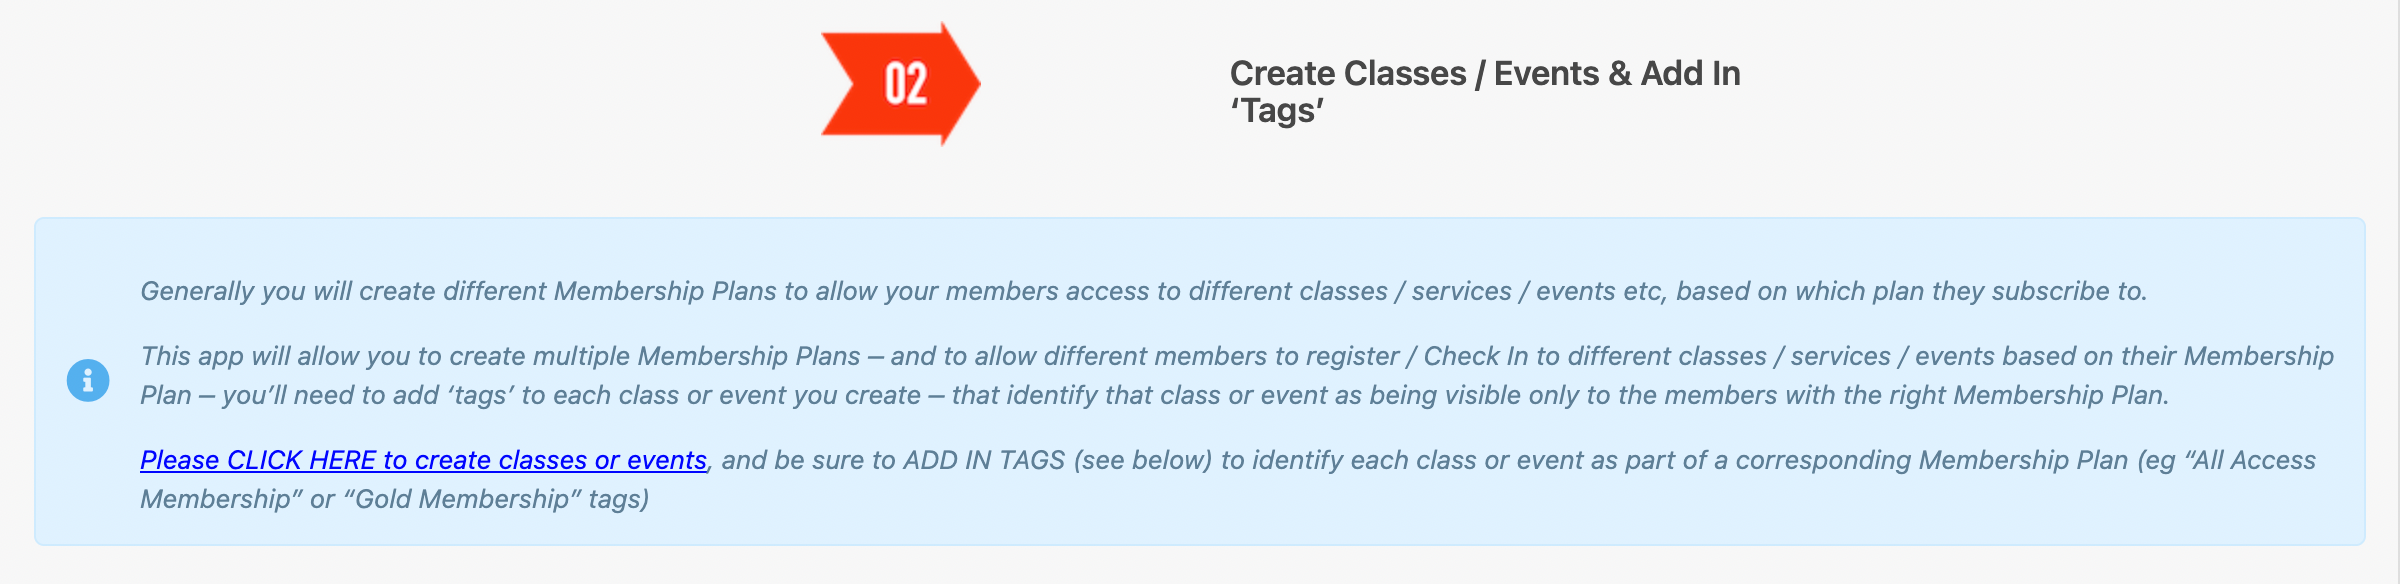
Step 2.0 – Create a Class
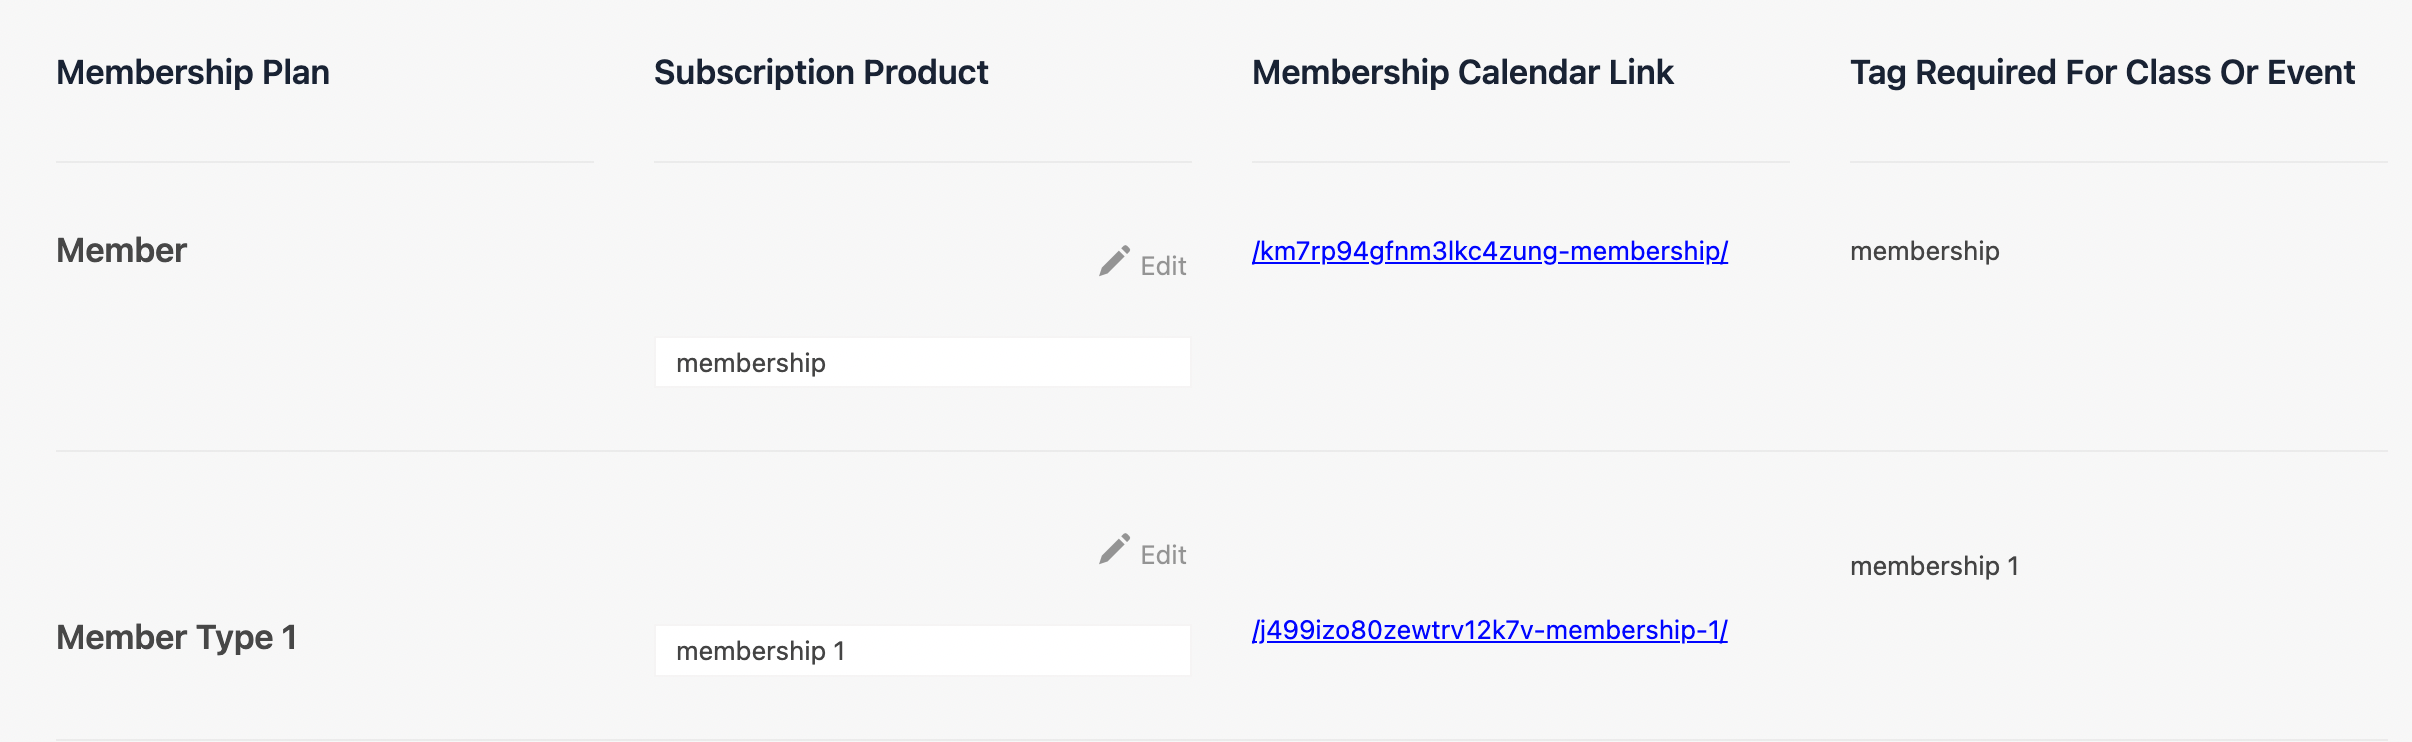
Scroll down to the base of the Membership Plan Settings page.
Column 1 – Membership Plan: This represents the role that is applied to the member.
Column 2 – Subscription Product: This is the membership plan product created in step 1 that is linked to the membership plan role.
Column 3 – Membership Calendar Link: This is the calendar view of classes available to this specific membership plan.
Column 4 – Tag Required For Class Or Event: The Tag is used to add to classes to limit which memberships will have access to which classes.
Step 2.1 – Add Tags to Limited Classes
Step 3 – Add Extra Rules

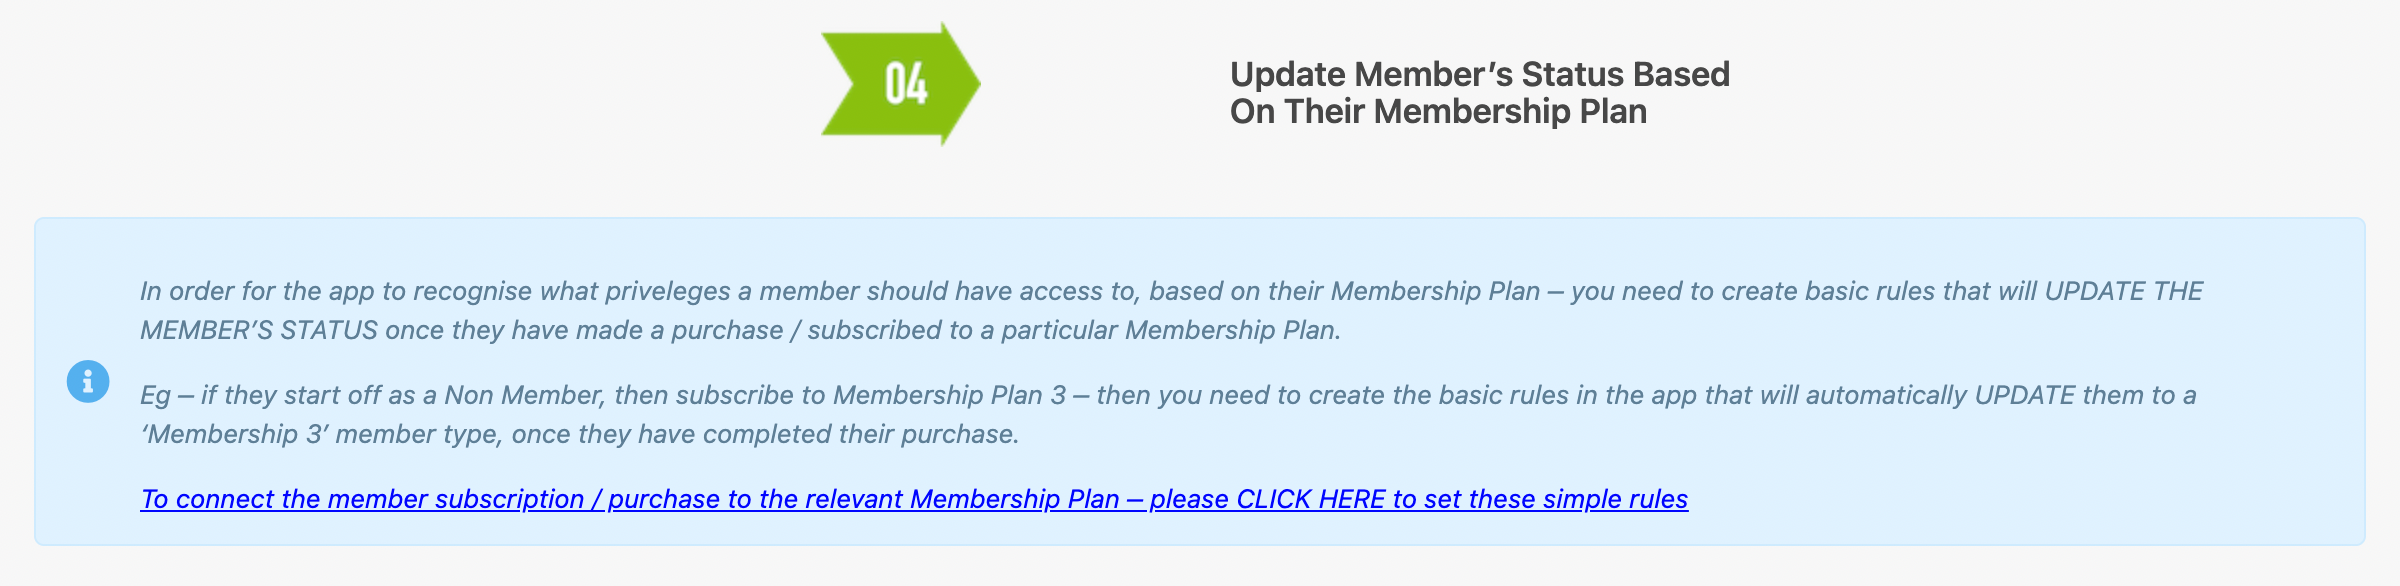
Step 4 – Update Membership Status Based on Membership Plan – NEED TO ADD LINK