Easily create and launch your first Email Campaign with our Member CRM system.
Let’s take a look at how we can build your first campaign!
Navigating to Email Campaigns
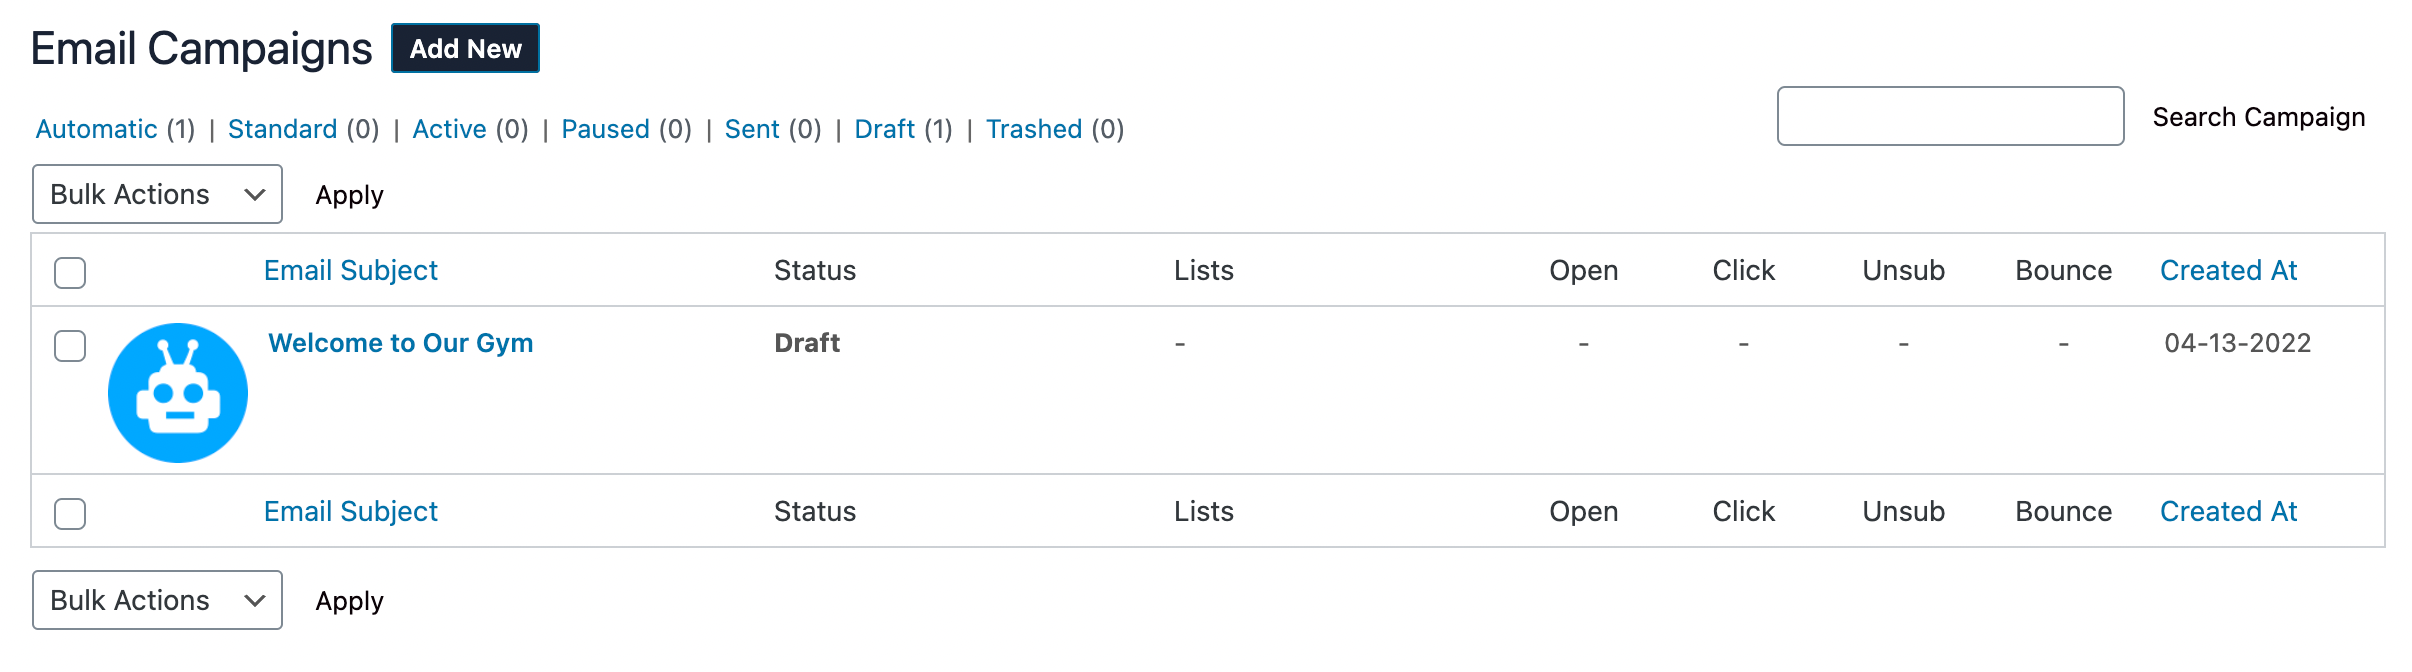
Navigate to Marketing > Email Marketing using the side-navigation menu within the Admin Dashboard. Once the Member CRM page loads using the navigation tabs select Email Campaigns > All Campaigns.
On this page, you’ll find a list of your Email Campaigns. If this is the first time you’re visiting this page you’ll likely not see any displayed.
But let’s change that and create your first campaign!
Email Campaign Settings
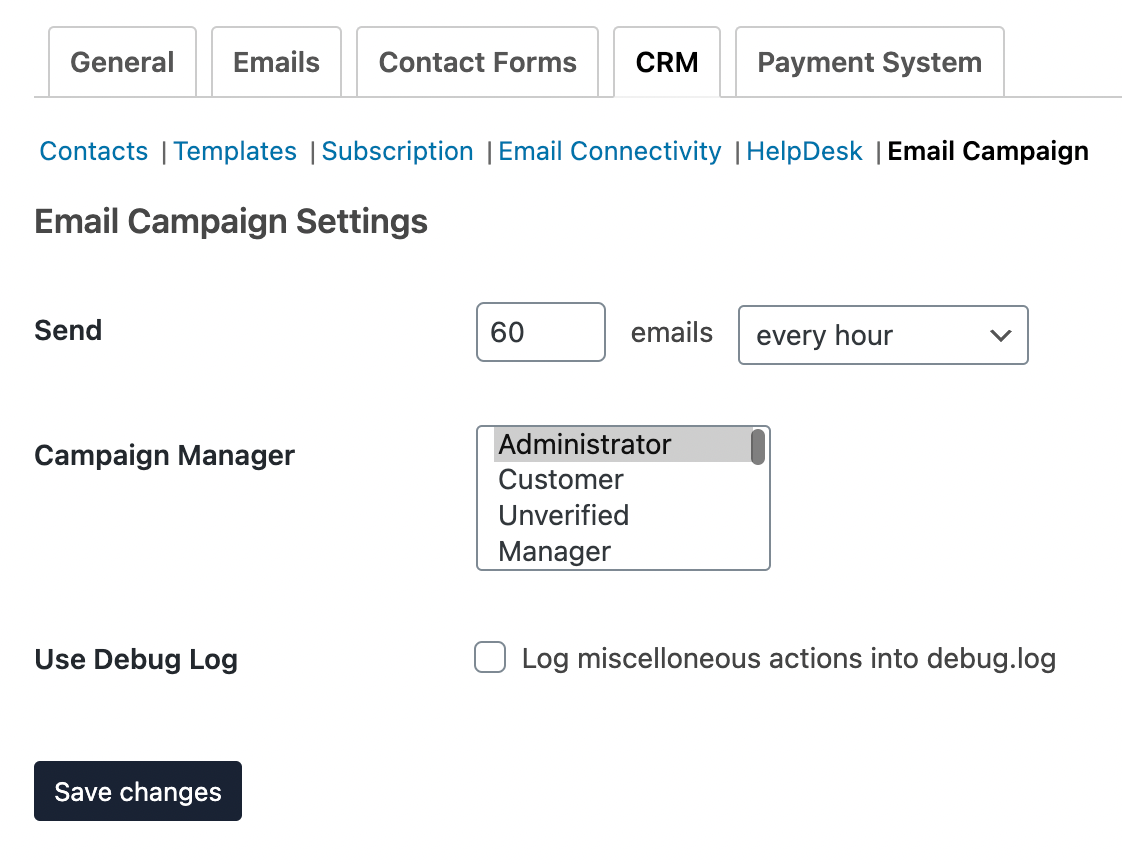
Before we build and launch our first email campaign let’s take a quick look at the Email Campaign Settings. On the Member CRM page, navigate to Email Campaign > Settings. On this page, you can set how often emails should be sent during a campaign. We recommend keeping the default settings to avoid emails being flagged as spam. But if you need to change the settings you can find them here.
Create a New Campaign
To create a new campaign you can either click the “Add New” button next to the title on the All Campaigns page or alternatively, you can navigate to the Member CRM page and hover on the Email Campaign tab and choose “Add New” to be redirected to the Create Campaign page.
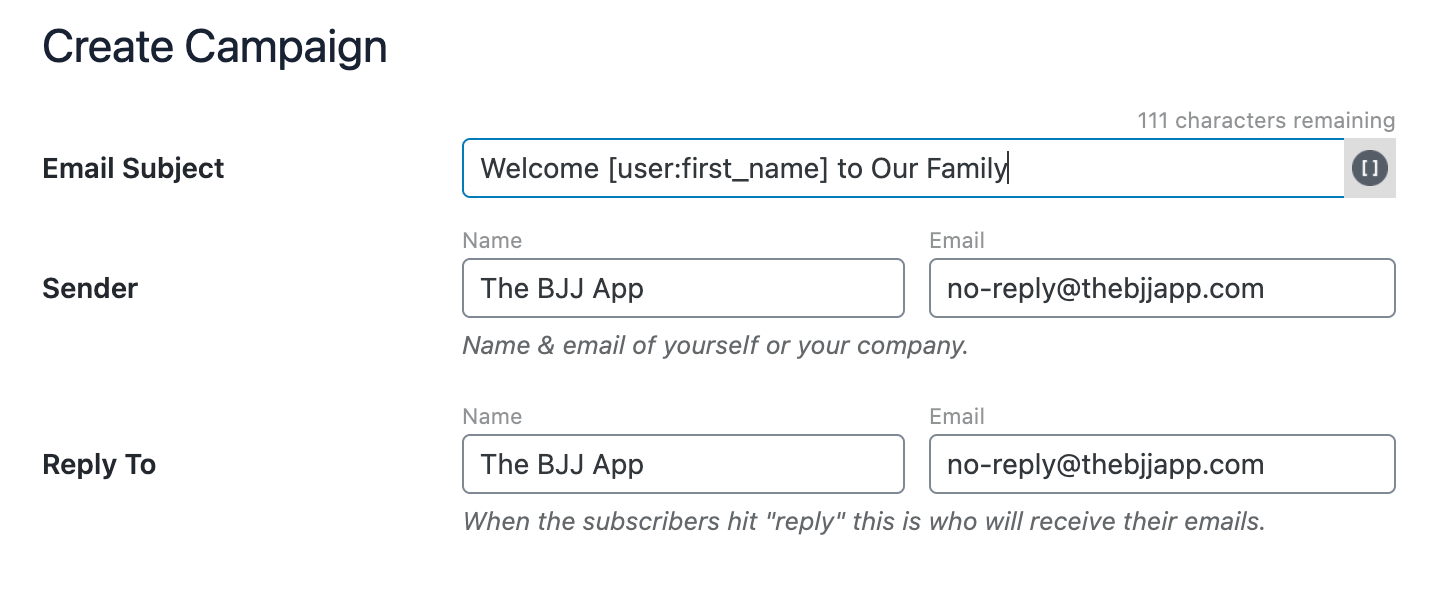
To get started give your Campaign an Email Subject. Make your Subject Title more personalised by using Shortcodes. Click the Bracket Icon [ ] to view the list of shortcodes available.
Choose between a Standard or Automatic Newsletter. The Standard Newsletter will you to have pre-defined Contact Groups. You can find the documentation here to create a Contact Group.

Alternatively, you can choose to create an Automatic Newsletter that will trigger when an event occurs whether it’s a newly registered user or if a user joins a new group. Choose to send the email immediately or sometime in the future.

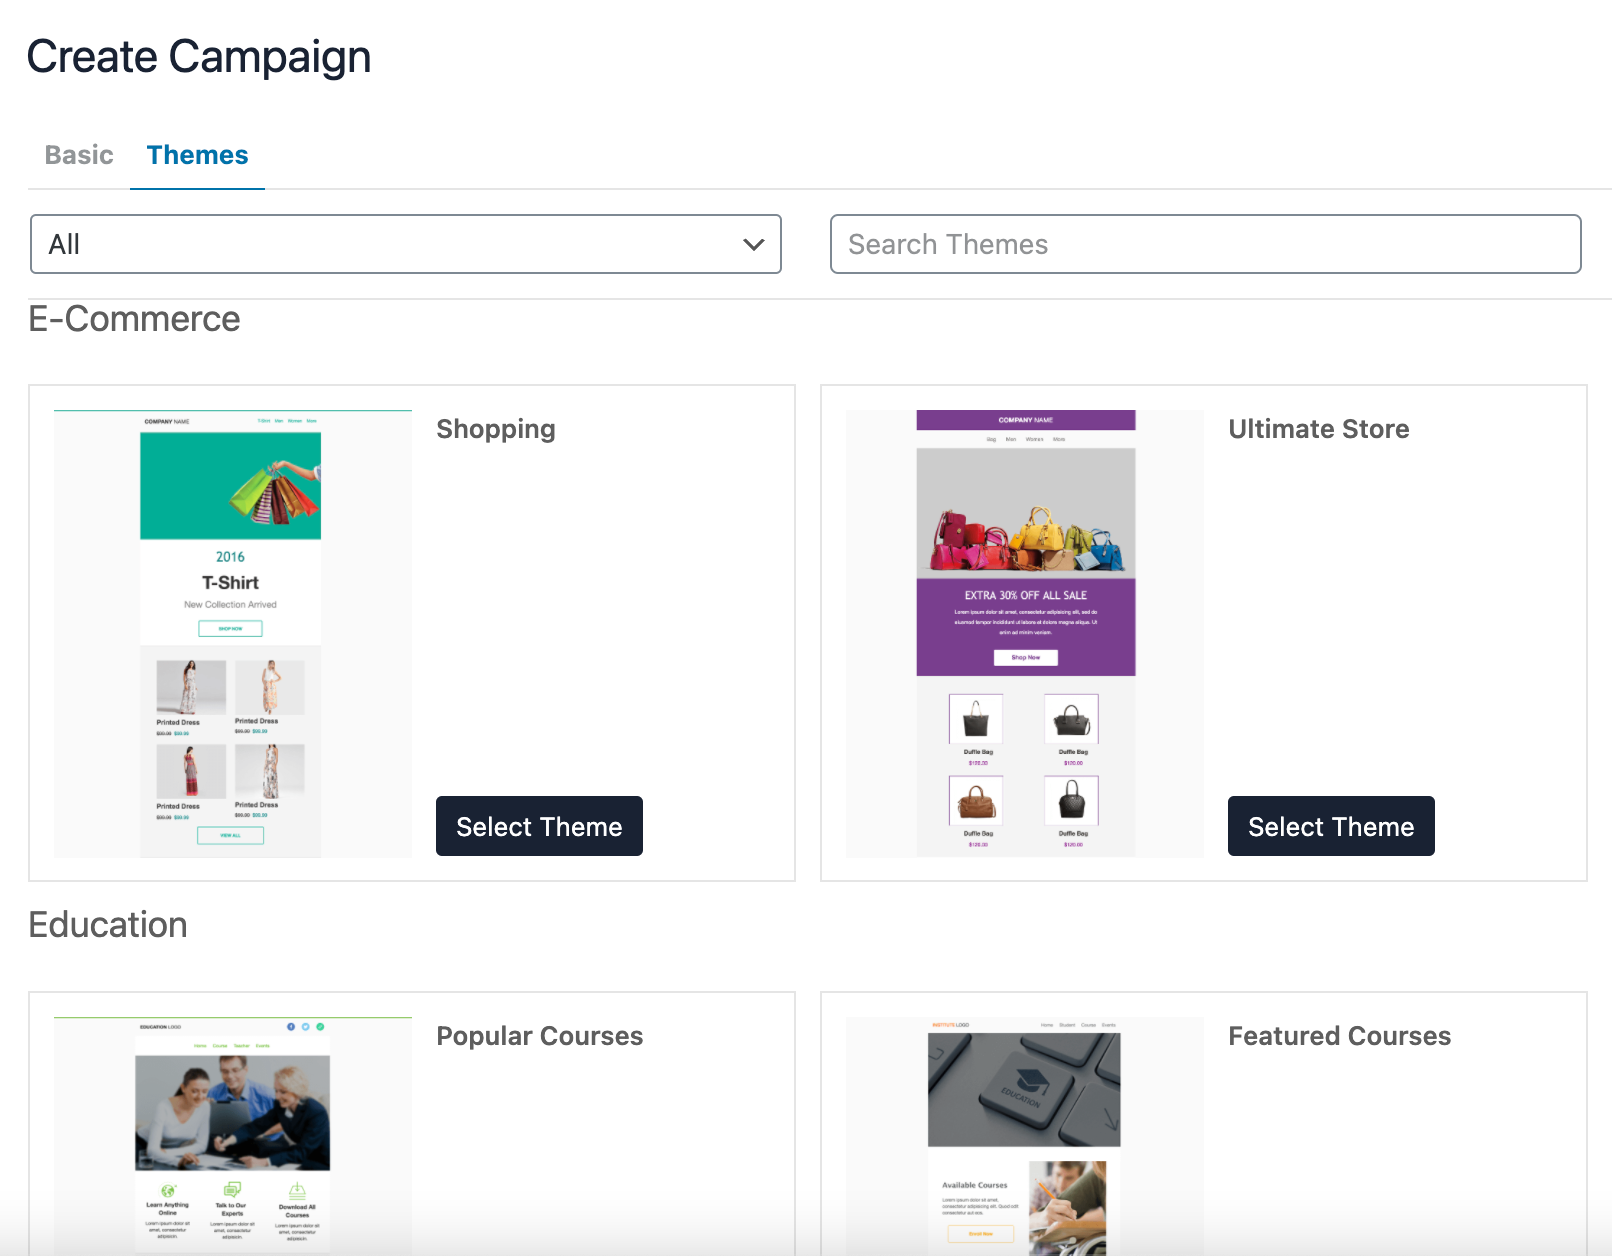
Hit “Next” to choose the email campaign template. There will be various Basic templates available to choose from.
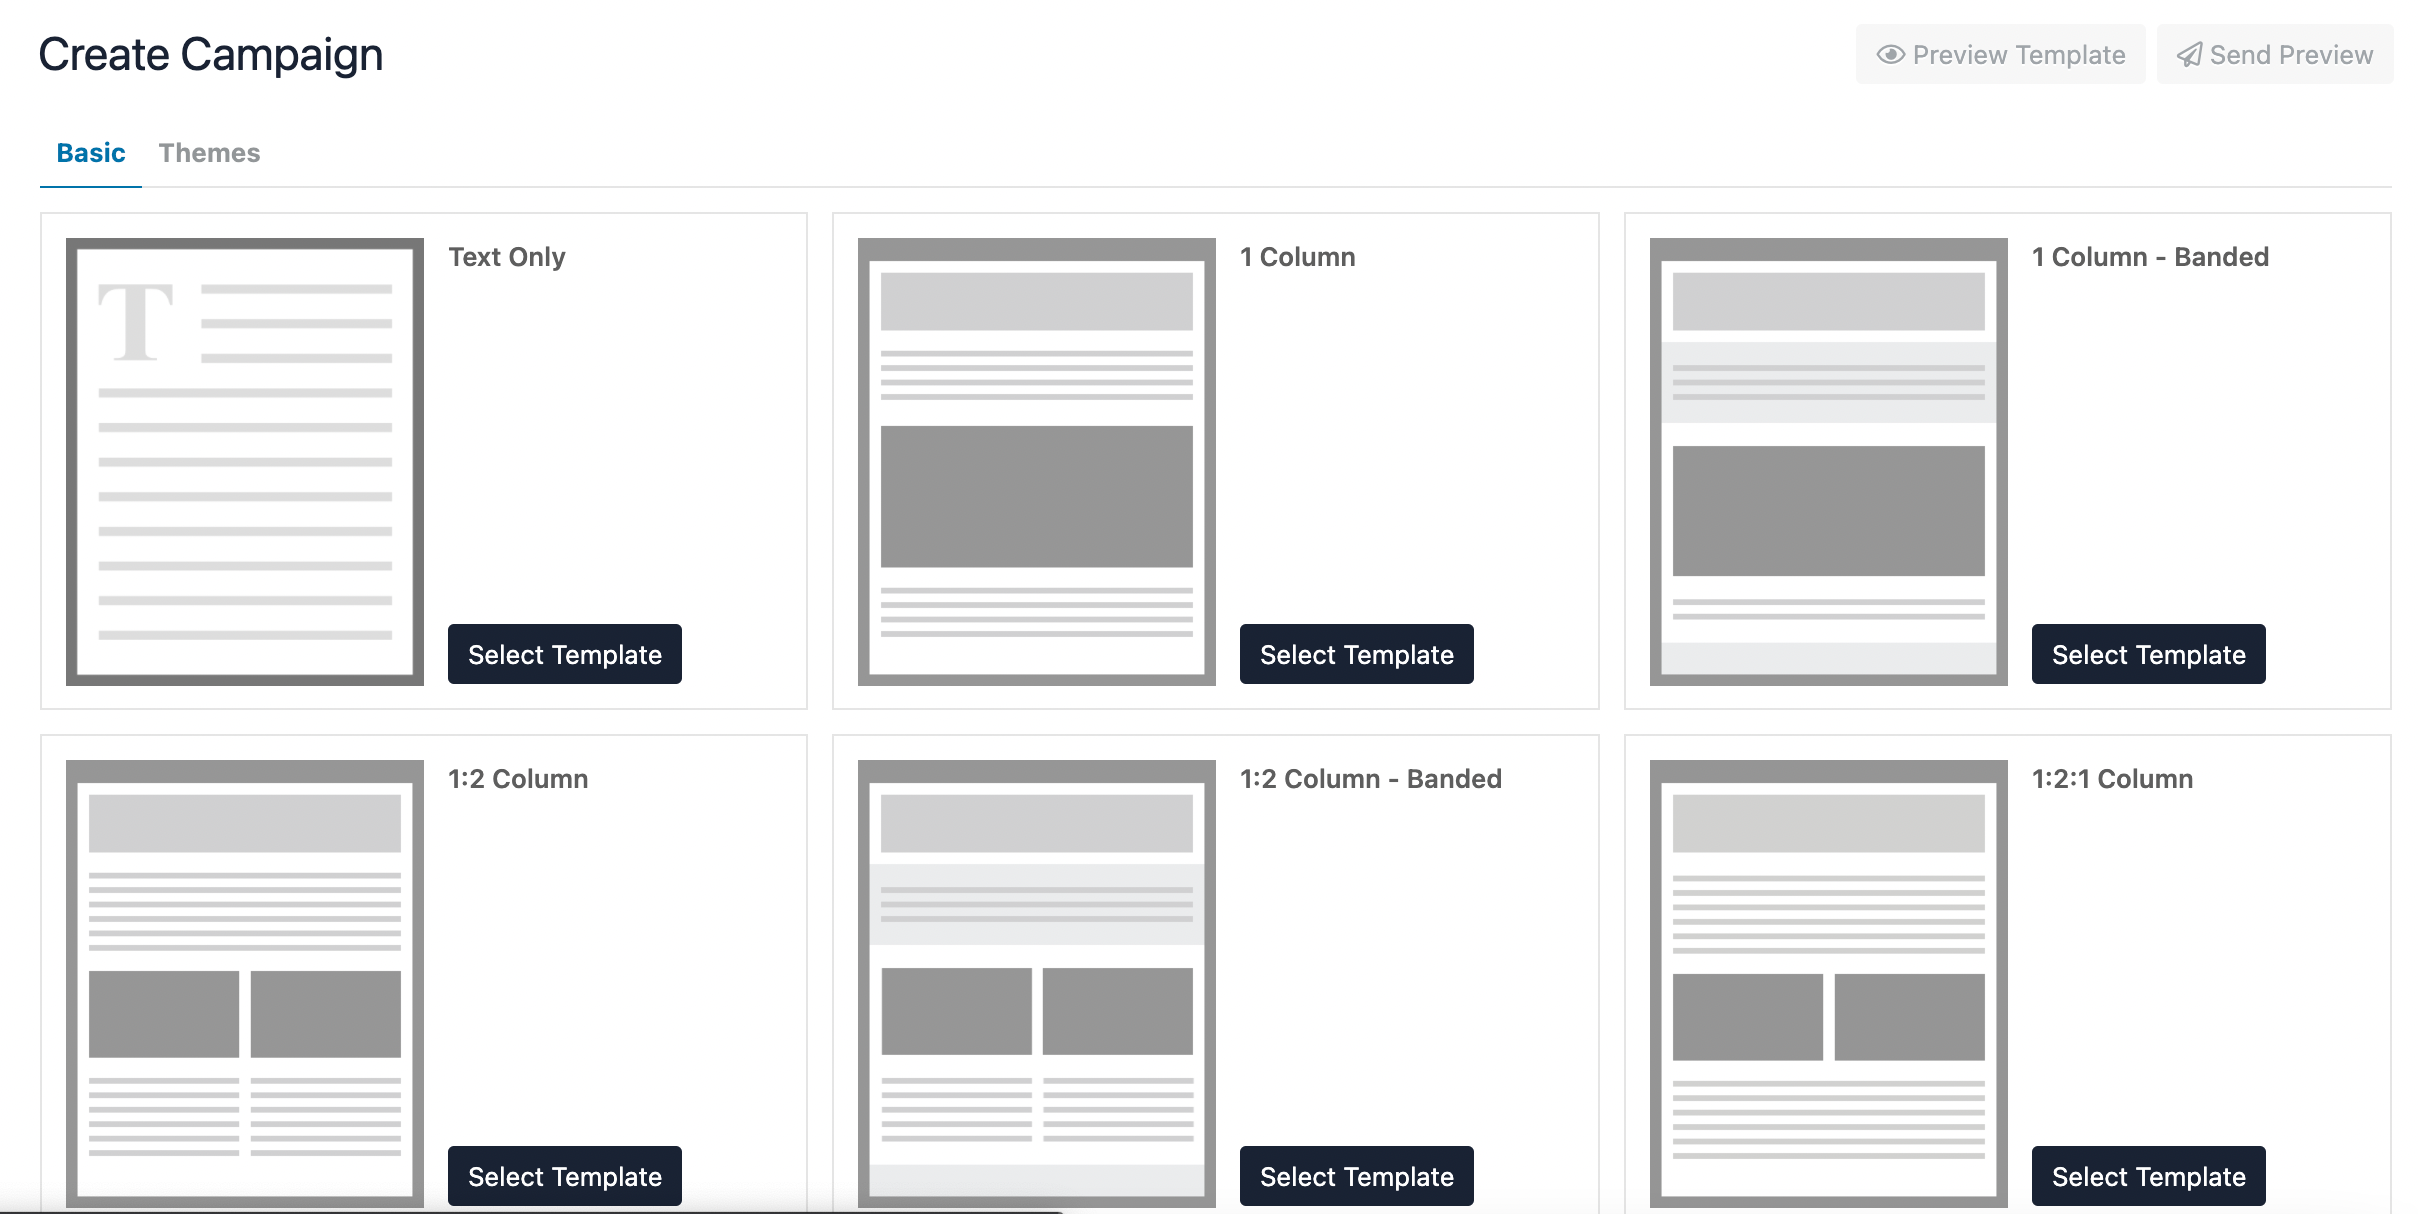
Or alternatively, you can select from a handful of pre-generated Themes and simply replace the content and styling to suit your needs.
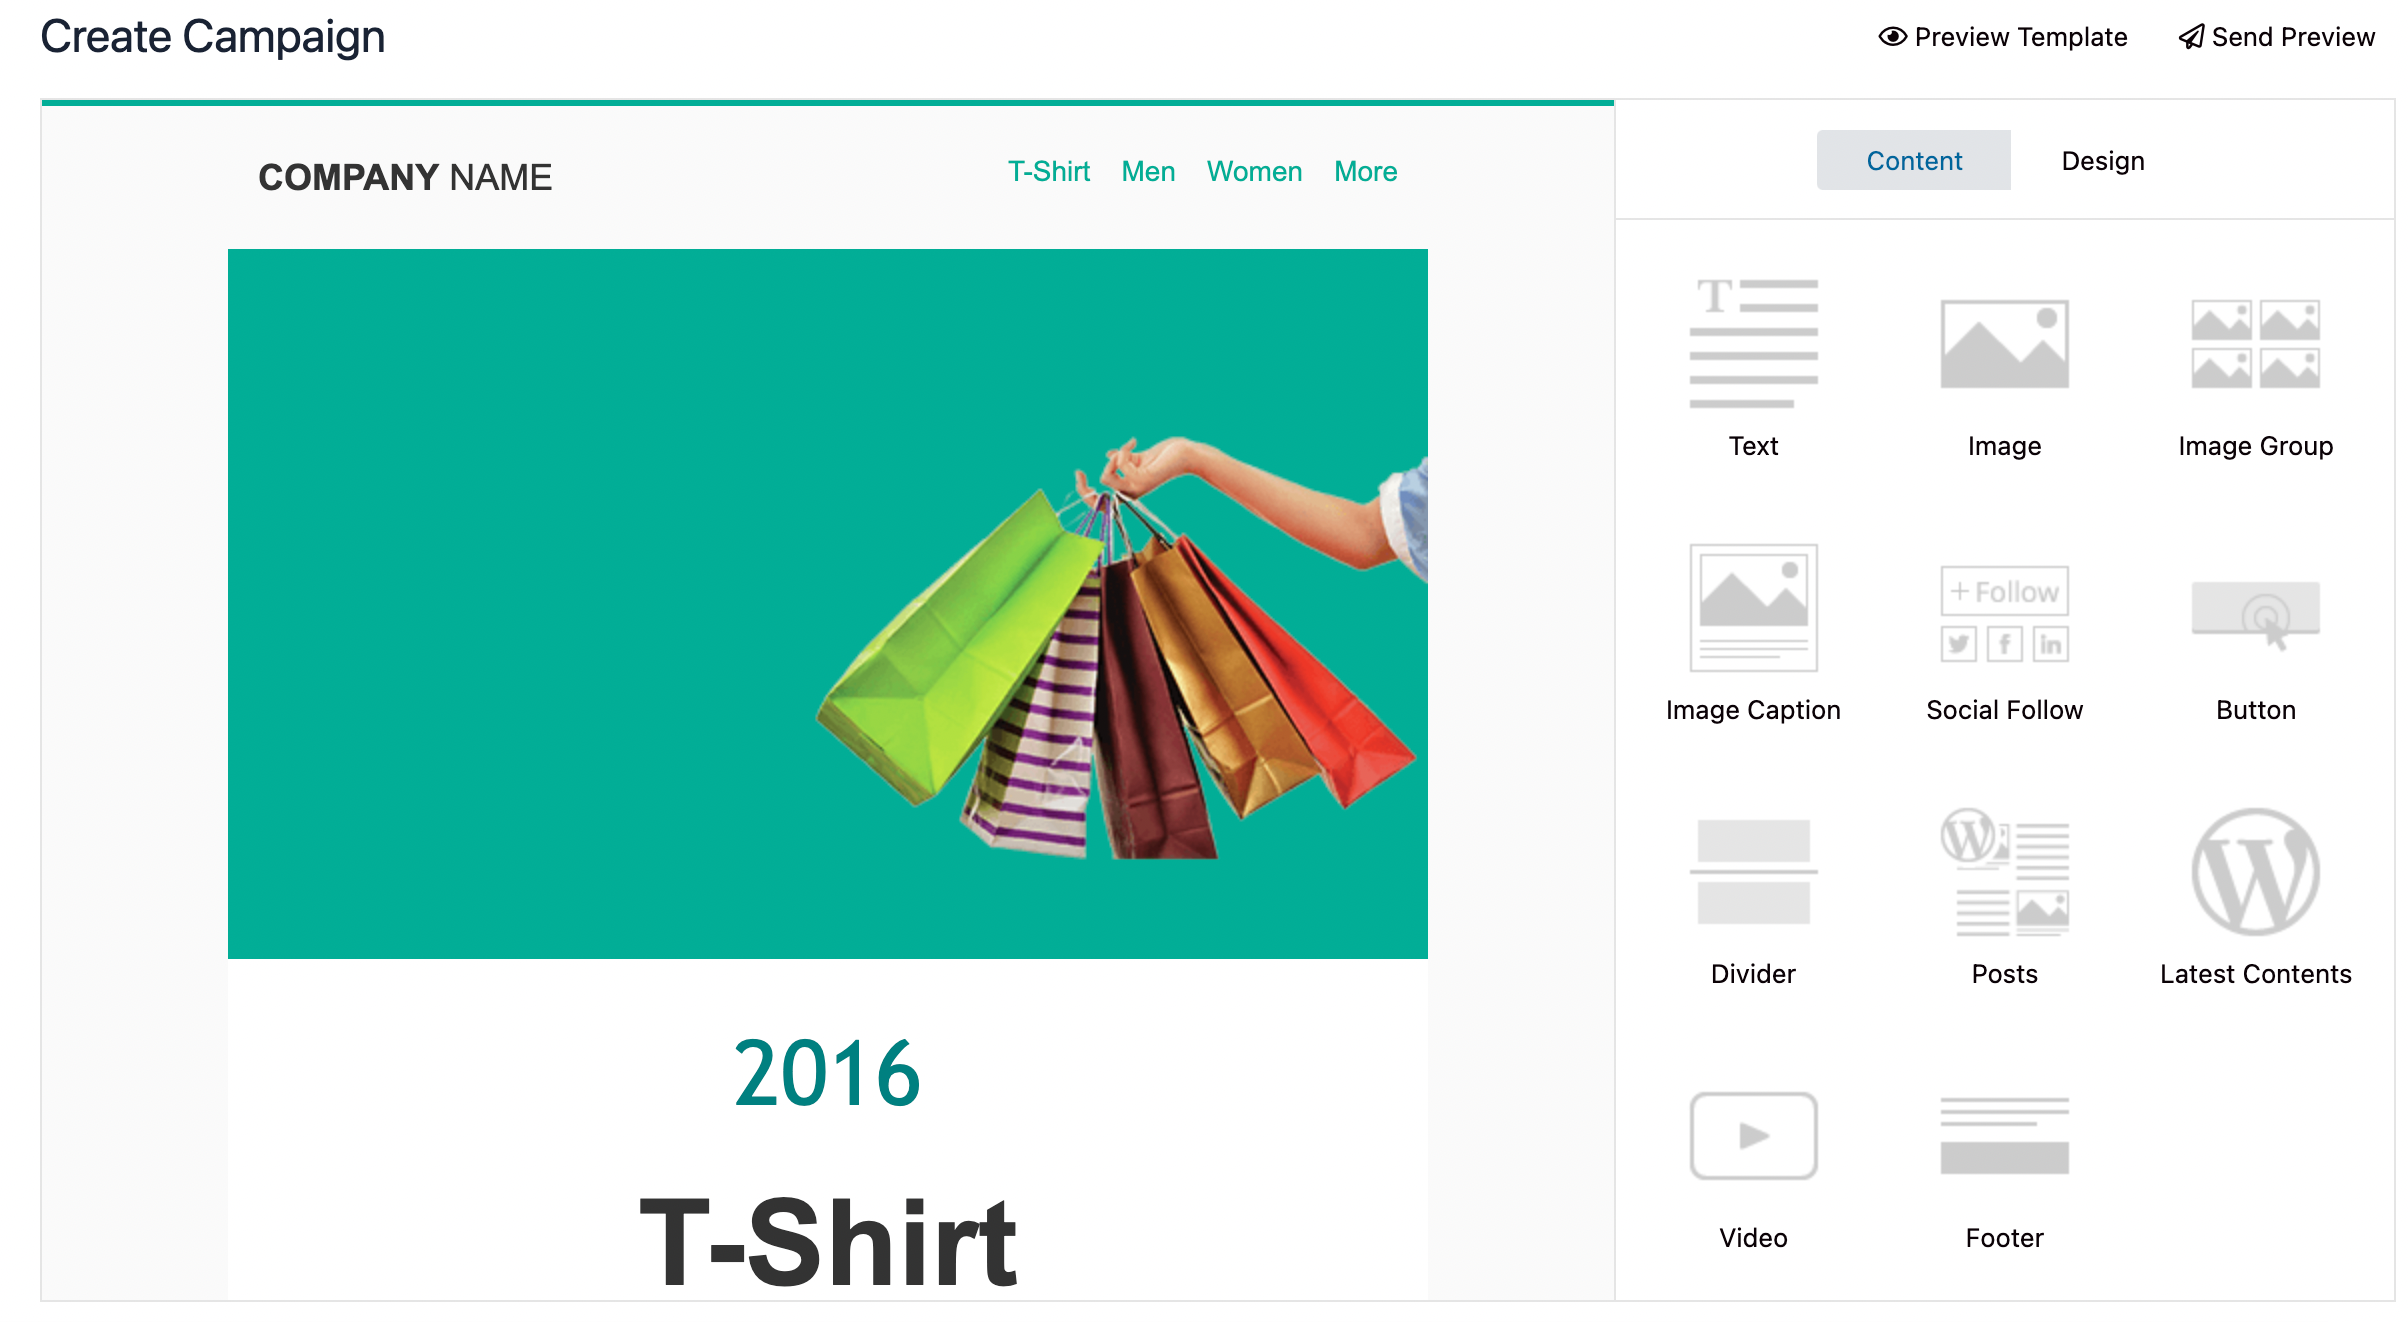
On the next page, you’ll find many Design Tools to customise your email templates such as Social Links, Outbound Button Links, Videos and more.
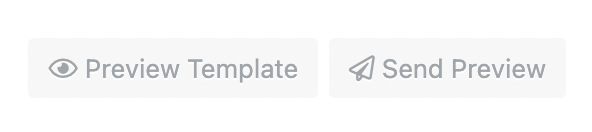
Preview or Send the Template via email at any time using the following buttons.
Before you Activate the campaign we strongly recommend Reviewing the Details and Sending a Preview to your own personal email to ensure the design and details are correctly displayed.

Once you’re happy you can hit “Activate Now” or “Save as Draft” to come back to later.
And that’s it! We’ve created our first Email Campaign.