We all know that moving your existing data to a new system can be a tedious task.
Well with Clientsss Import Users feature you can easily import your existing user data into your Clientsss User Table.
Here’s how to do it:
Navigating to Import Users
Navigate to Manage Data using the side navigation within the Admin Dashboard.
You must follow the instructions carefully, otherwise, it will result in your Import failing.
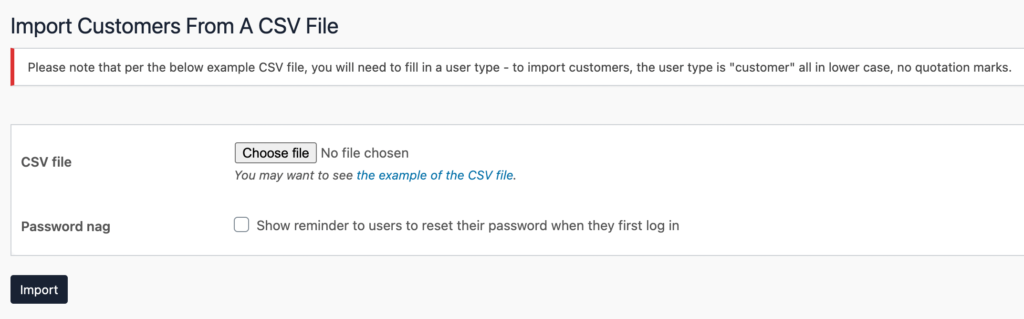
You can download the Sample CSV File using the link below the “Choose File” button.
Example:

- user_login & user_email: Choose the Username and Email for the user here. (Ensure that the username and email do not already exist in the User Table as this will result in the data not importing correctly)
- user_pass: For the Password field you can either Enter a Password for this user or Leave Blank and the users can set their own password via the email link.
- first_name, last_name and display_name: The First and Last Name will be displayed in the user table so that admins can identify users. As for the Display Name, this will be what the signed-in user sees when logged into Clientsss.
- role: Your users can either have the role of an Employee, Manager, Unverified or Customer. See User Types for more information on each role.
Checklist before uploading:
- File Format is saved as CSV.
- Role field is Spell Checked and in Lowercase letters.
- Titles have not been altered e.g. user_pass.
- Email field is in an email format. e.g. support@clientsss.com
- Username or Email has NOT previously been imported to the User table.
- No Special Characters are used for username, firstname, lastname or role fields.
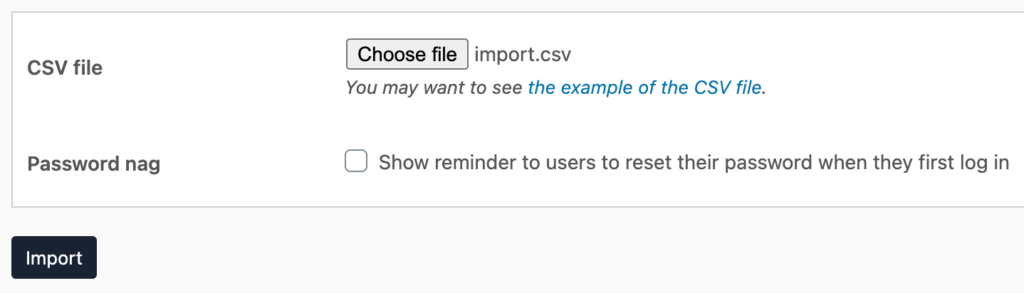
Once the file is ready to upload, you can upload the file by clicking “Choose File“. Wait a moment for the file to upload. You can see the file name next to the button once it’s been uploaded.
Password Nag can either be enabled so that users are prompted to reset their passwords once they first log on.
Now click the “Import” button to import your user data file.
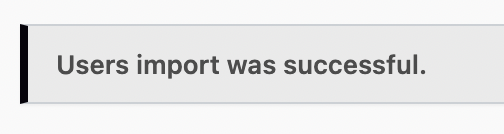
If all data was imported successfully you will receive the following success message and your newly imported users will be visible in the user table.
And that’s it! You’ve successfully imported your own user data into Clientsss user table!