Help grow your student knowledge with the online Learning Management System (LMS)!
Easily share video/written content, then create interactive quizzes and monitor your student’s progress.
Let’s take a look at how you can build your first online course!
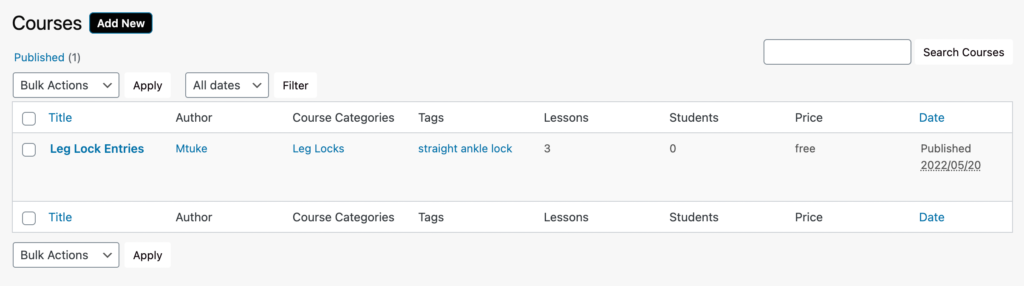
Navigating to Courses
Navigate to Learning > Courses using the side-navigation menu within the Admin Dashboard.
On this page, you’ll find the table containing your Courses. If you’re visiting this page for the first time you’ll likely not see any courses displayed.
But let’s change that! Simply click the “Add New” button next to the Courses title.
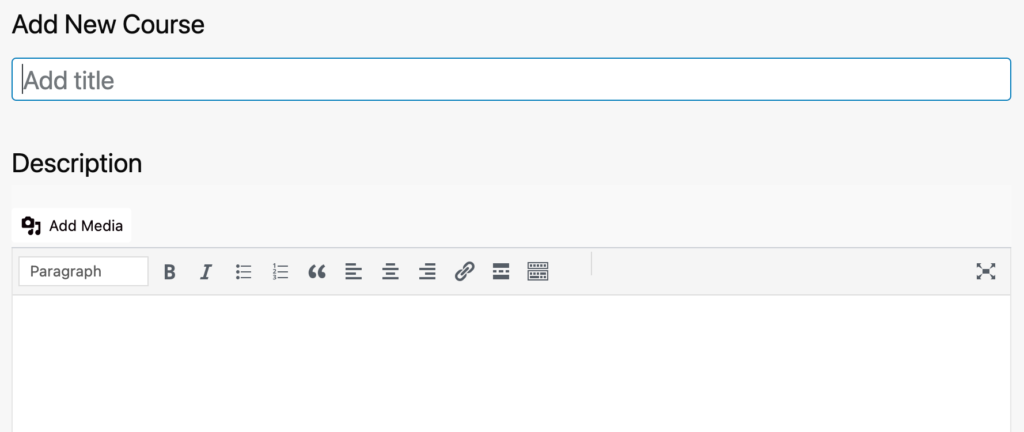
On the Add New Course page, give the course a Title and Description so that students can easily identify what the course is about.
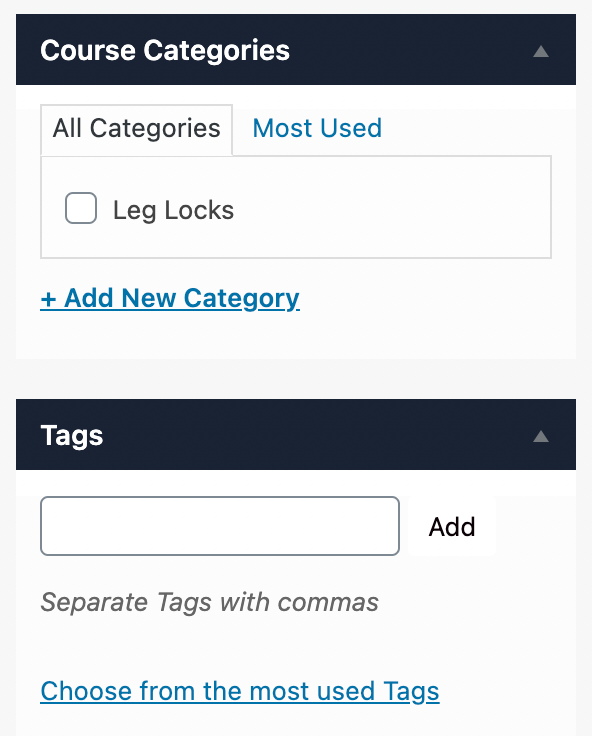
Linking Categories and Tags to a course will also help make it stand out.
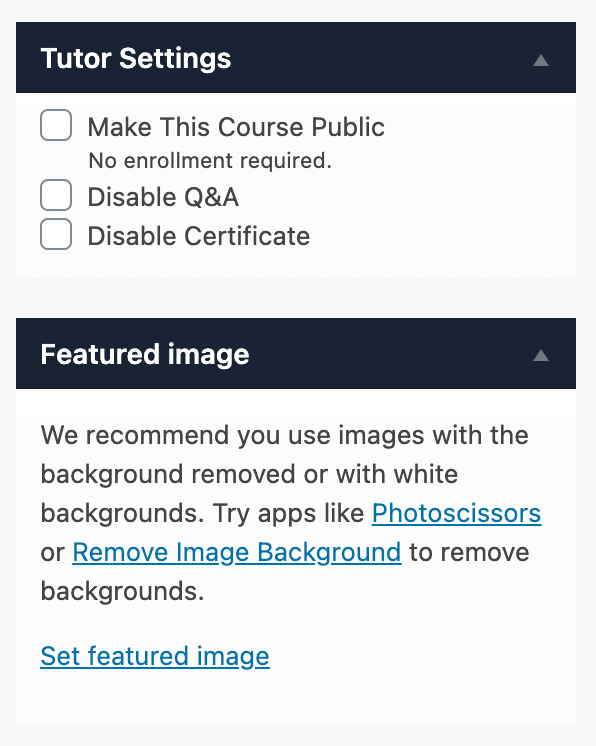
Under the Tutor Settings tab. You can enable to Make a Course Public (No enrollment required), Disable Q&A and Disable a Certificate being awarded after completion of the course.
If you would like to make your course look more professional and stand out to students, be sure to Set a Feature Image.
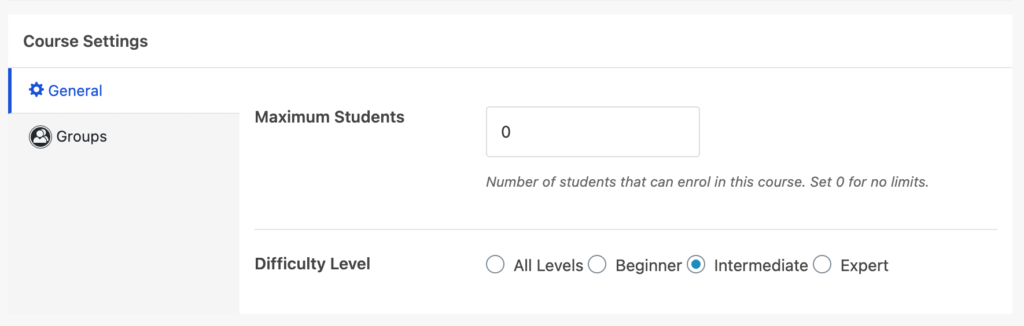
At the base of the page, you will find the Course Settings, under the General tab you can set the Maximum number of students that can enrol in the course and also note the Difficulty Level.
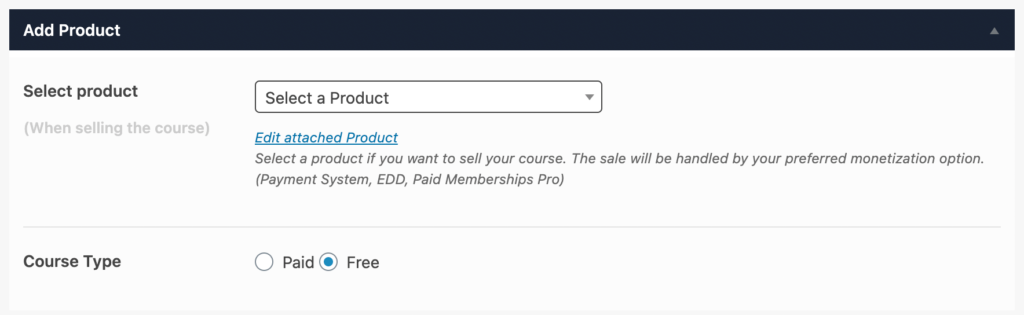
If you are creating a Paid course you will need to Add a Product to the Store. Give it a similar title to the course and include the price. Once created, then Select the Product from the drop-down here and enable the Paid button.
If the course is Free simply ensure the button is enabled and continue.
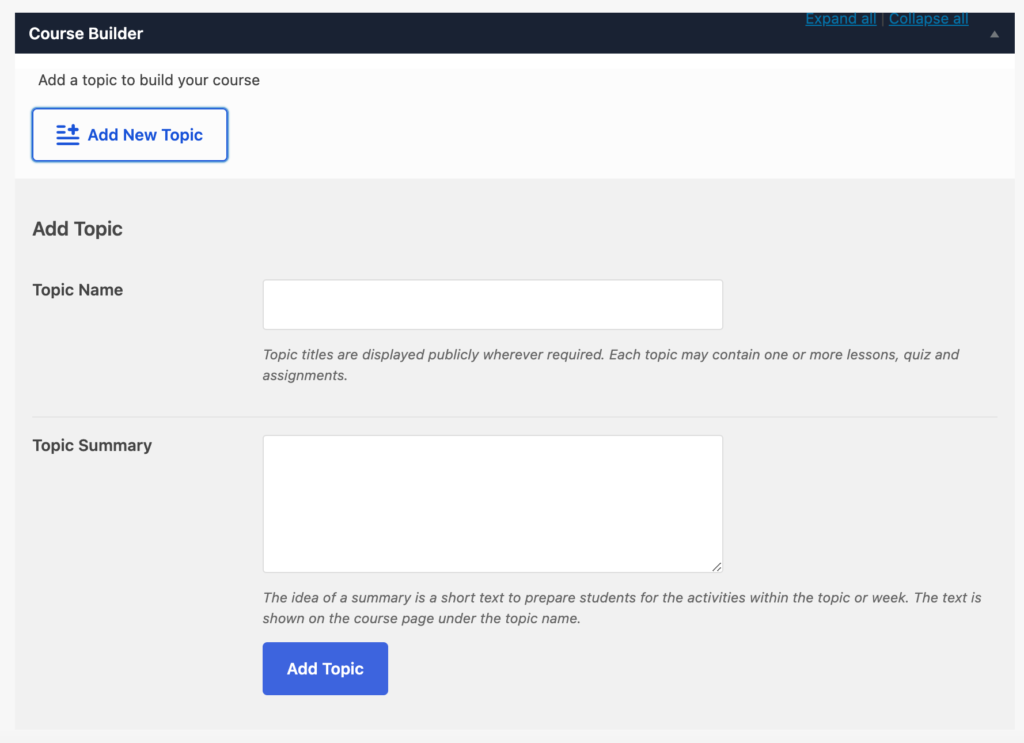
Under the Course Builder, you can start to create the course content. Get started by clicking “Add New Topic“. Each Topic may contain one or more lessons, quizzes and assignments.
Give your Topic a clear Name and Summary to help students identify what they expect to learn from this topic. Then click “Add Topic“.
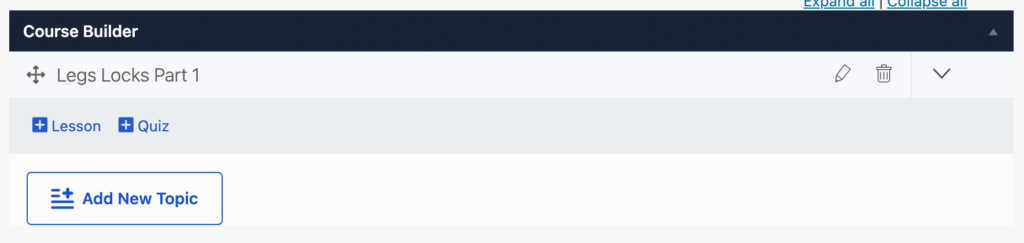
Once you have created your first topic you can then add your first Lesson. Additionally, you can Edit or Delete the topic using the icons next to the topic title.
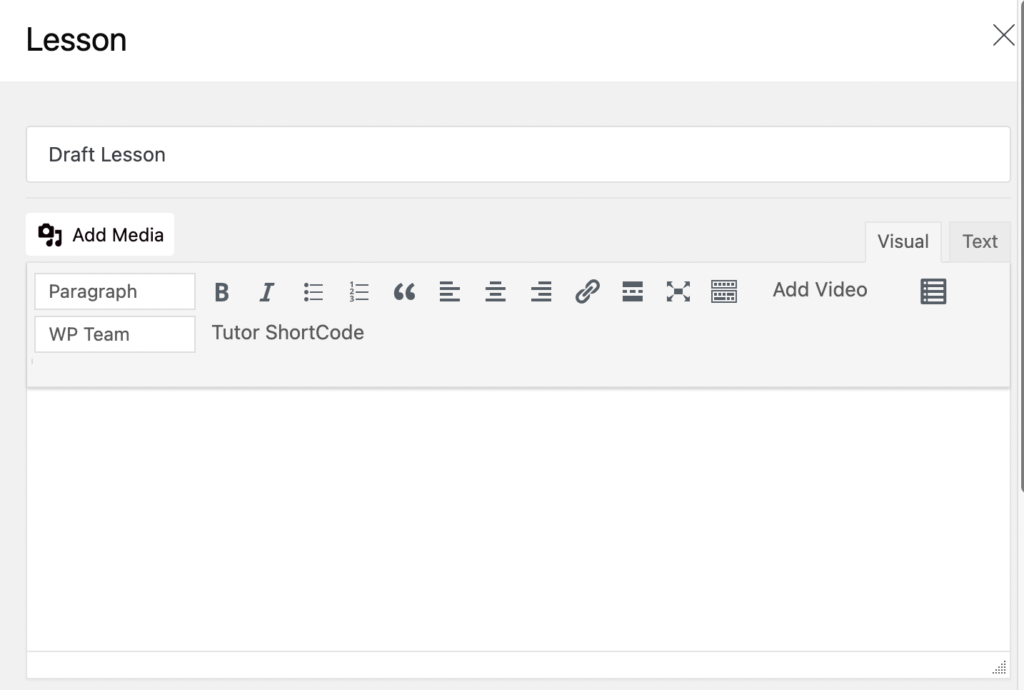
Click the “[+] Lesson” button to add a new lesson. Give the lesson a title e.g Introduction. In the Description, you can add text, images and upload/link video content.
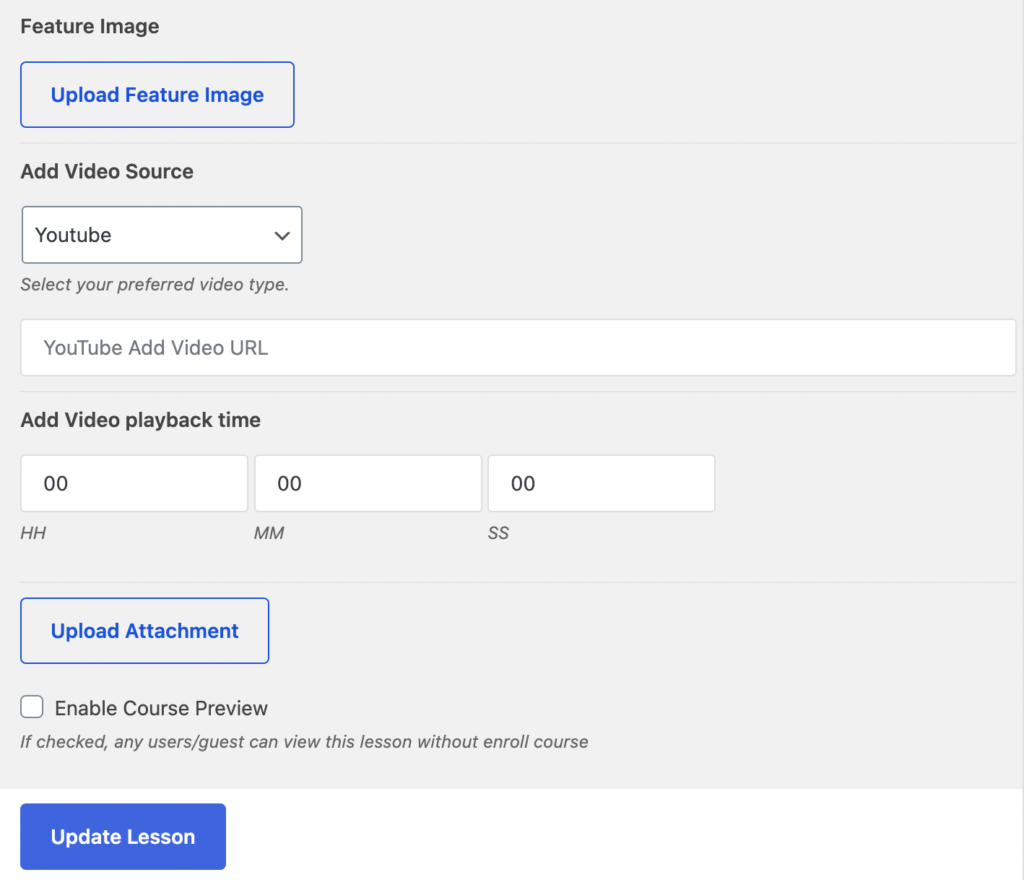
If you have a Feature Image for the course you can upload this here. Additionally, if you have a YouTube video you wish to link you can add the URL here. To start the video from a particular point you can set the Playback Time below.
If you wish to include Attachments you can upload these to the lesson. You can also Enable Course Preview which will allow non-enrolled students to view this lesson. Don’t forget to “Update Lesson“.
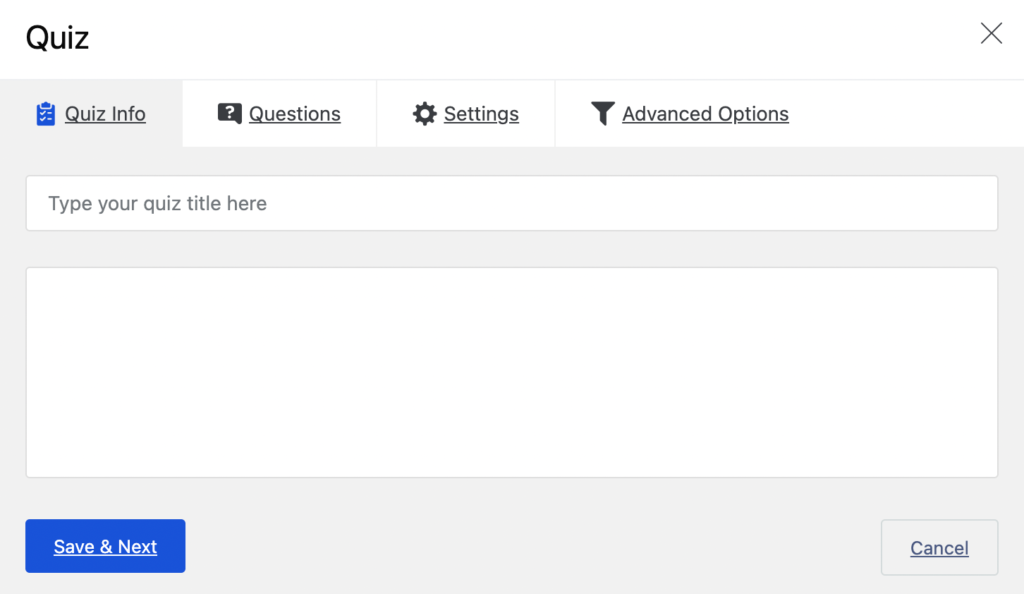
To create a quiz click the “[+] Quiz” button. On this page give your quiz a Title and Description. Click “Save & Next“.
Under the Questions tab, click “Add Question“.
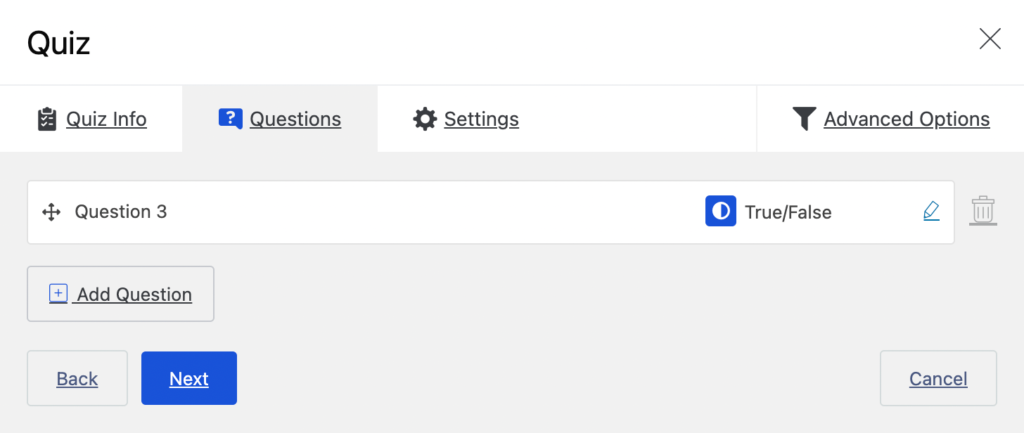
Write your question here. Select the Question Type (True/False, Single Choice, MultiChoice and more). Enable whether an Answer is Required and if you wish to Randomize the Order of the options.
Set the Points for the answer in the quiz and enable Display Points to the students.
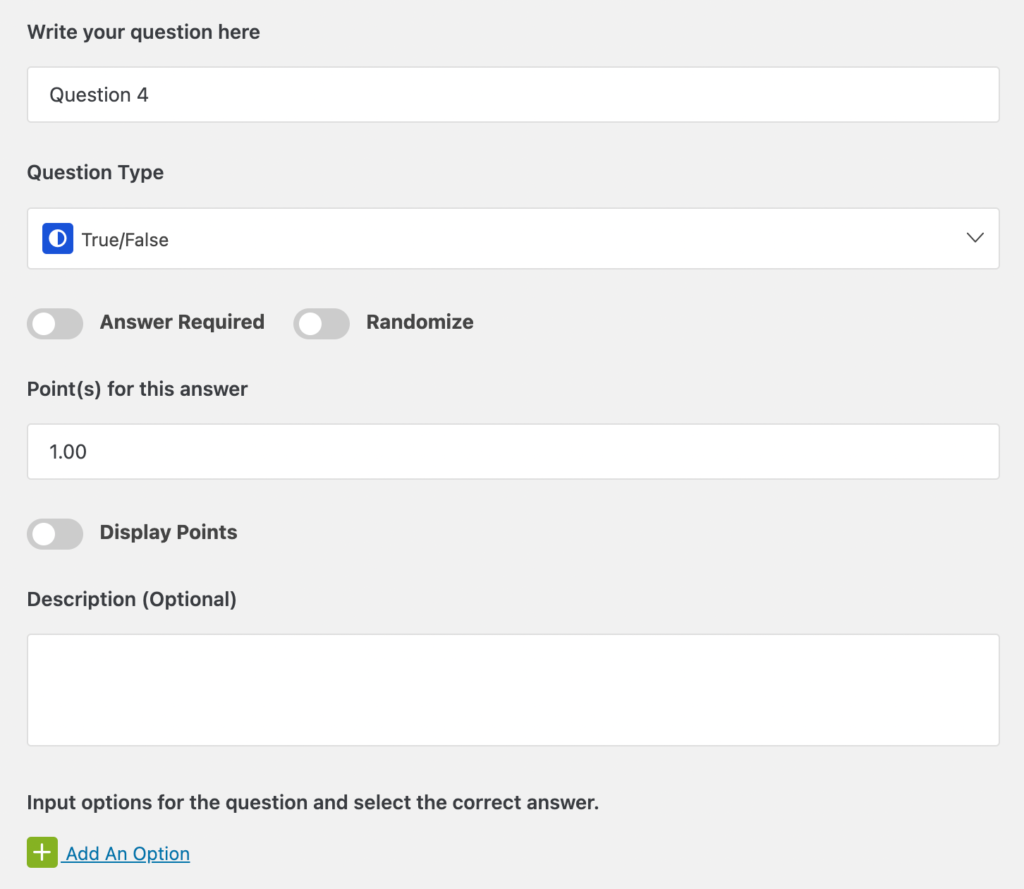
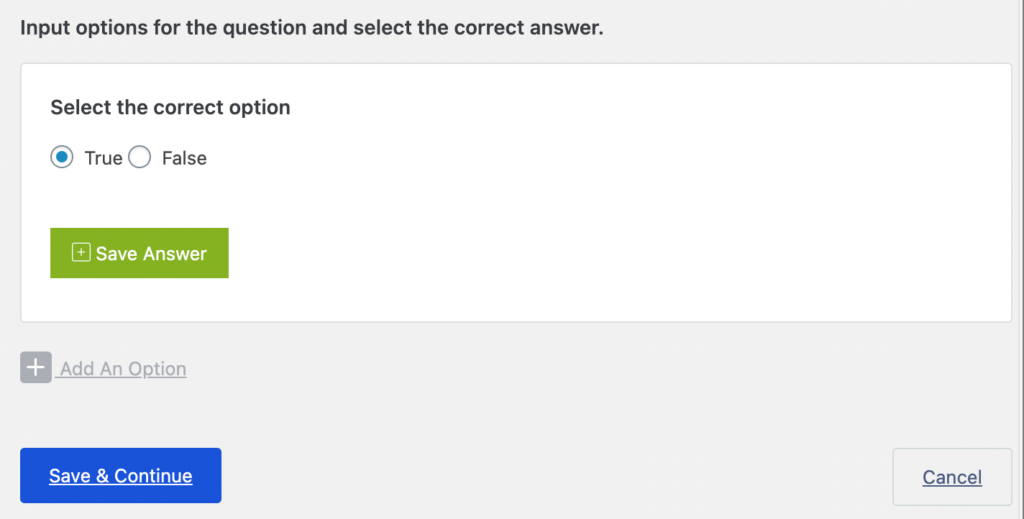
Depending on the Question Type selected, you will have different options for possible answers, click “Add an Option” for students to choose from. Then select “Save Answer” and “Save & Continue“.
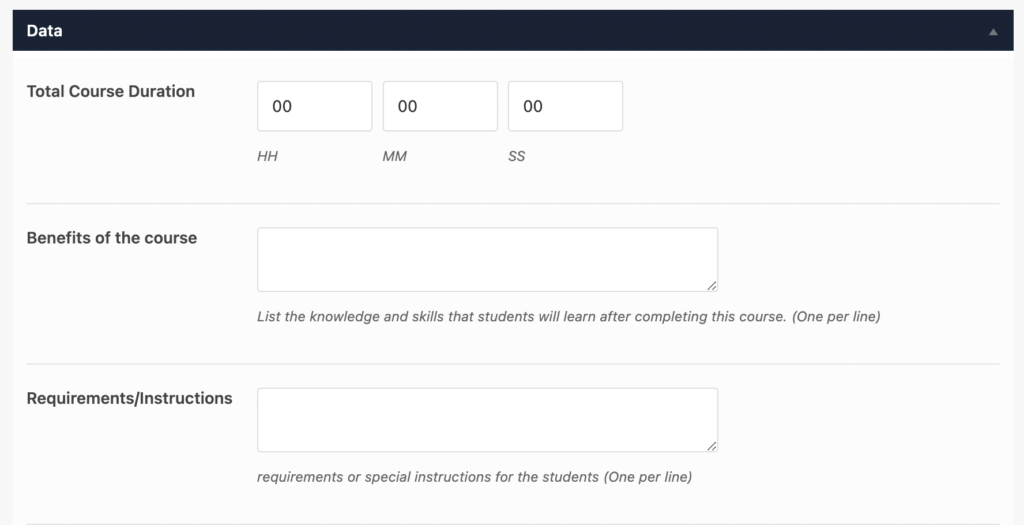
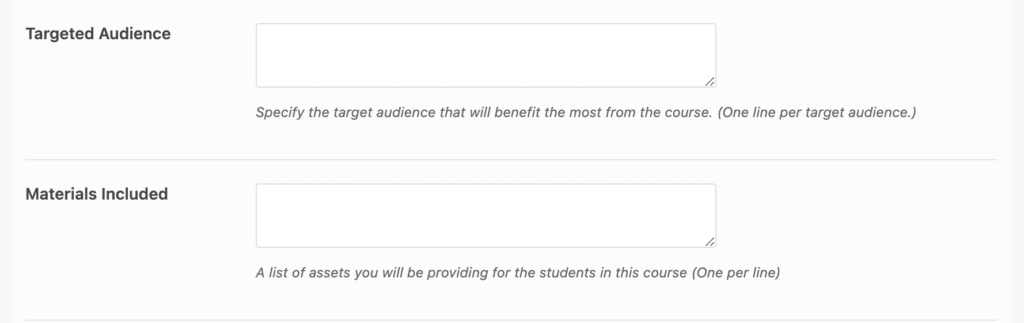
Under the Data sections you can add additional details about the course. Include the Duration of the course, Benefits, Requirements/Instructions, Targeted Audience and Material Included.
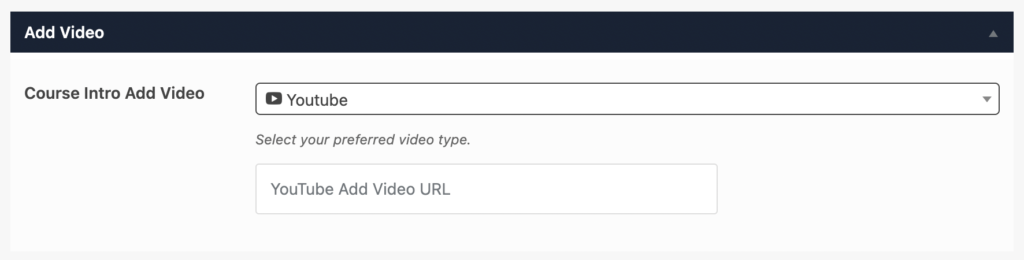
If you wish to add a Course Intro Video to give an overview of the course you can link a YouTube or Vimeo video.
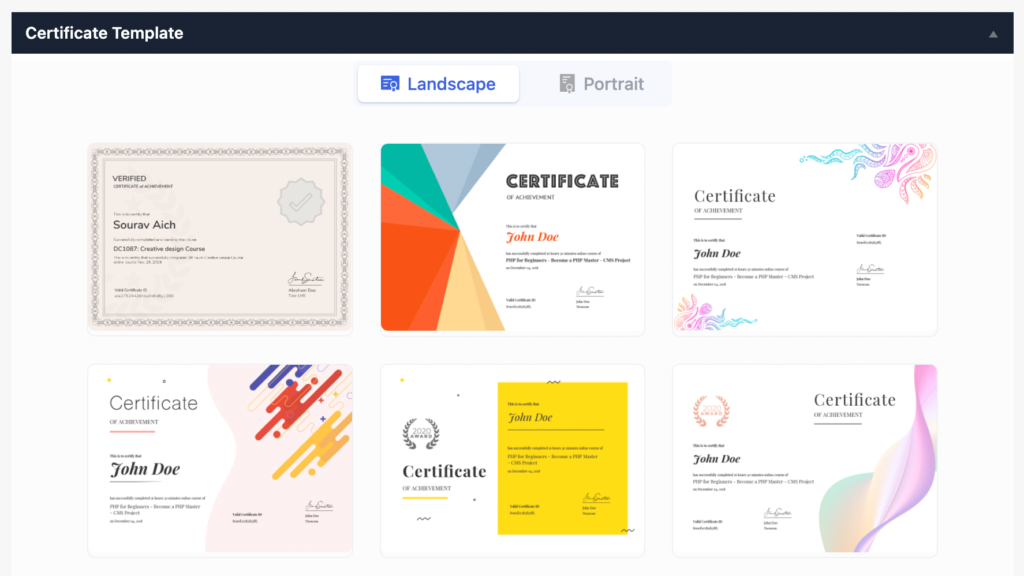
Finally, if you wish to award Certificates to students for the compilation of your course you can select one of the templates under the Certificate Template section.
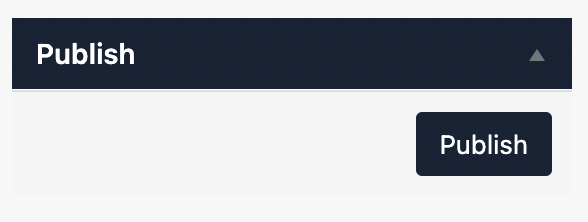
Once you’re happy with your created course don’t forget to “Publish” to make it available to your students!
And that’s it! Pretty awesome right?
Additional Reading: