Grow your Social Media presence and spruce up your site by adding social Icons and Links.
Navigating to Social Media
Navigate to Member Portal > Social Media using the side-navigation menu within the Admin Dashboard.
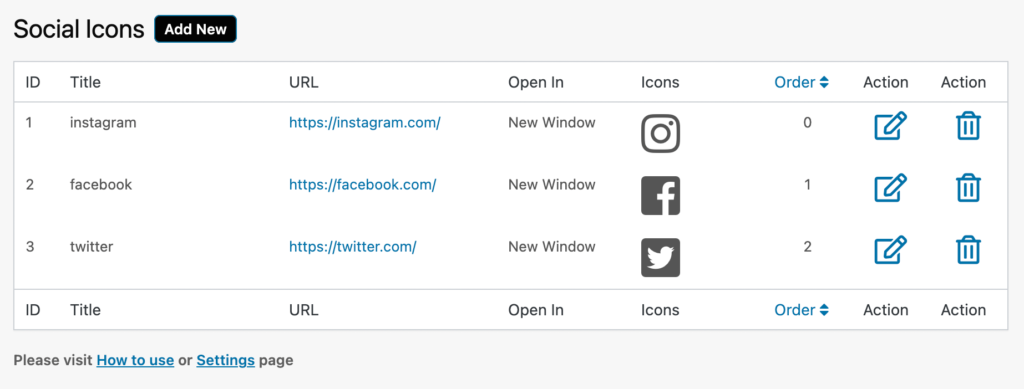
On the table, you will see your social icons. Using the Action buttons you can Edit or Delete existing icons.
If you’re visiting this page for the first time get started by simply clicking “Add New” to create a Social Icon. Include a Title, choose an Icon from the Font Awesome icon list or upload your own.
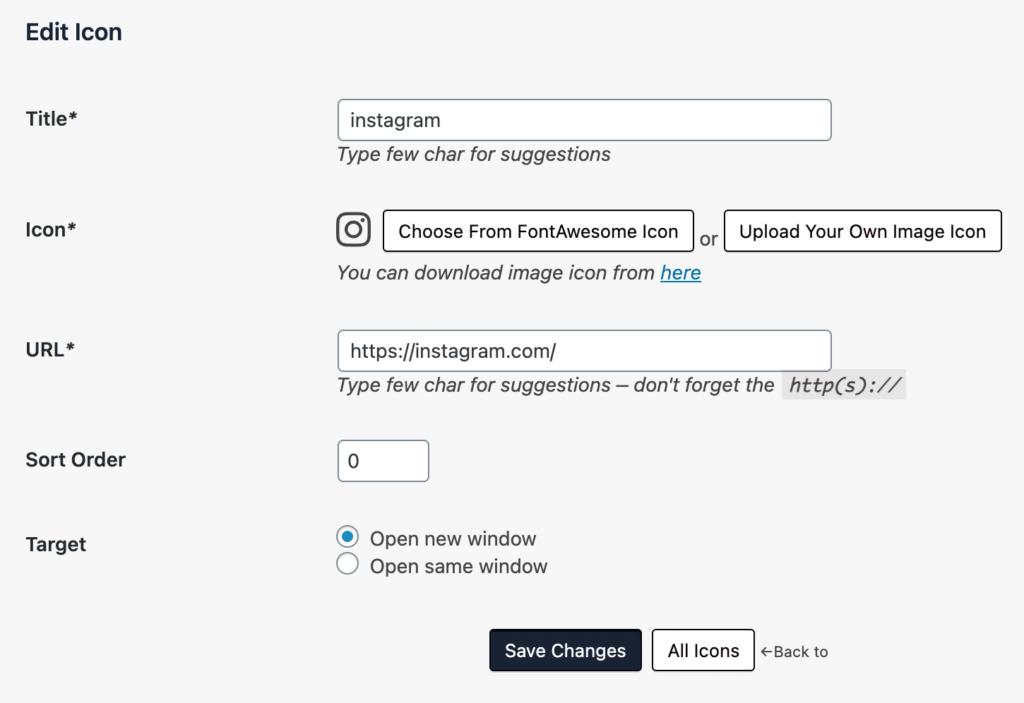
Additionally, you’ll need to include a URL and specify the Sort Order in which the icons are displayed. Finally set if you want the link to open in a New or the Same window in the browser.
Don’t forget to “Save Changes“!
Now check out your social icons on your member portal!

And that’s a wrap! Your Member Portal is coming along great!