Limited classes allow you to restrict classes to specific membership types.
Let’s take a look at how!
Navigating to Classes
Navigate to Classes & Events using the side navigation menu within the Admin Dashboard.
Find the class you wish to restrict to a particular membership type. Click the “Edit” button to open the edit class form.

Important Note: Tags allow you to restrict access to classes and events. Use “membership” tags to limit which membership type you wish to give access to this class. This will prevent specific members from checking into the wrong classes.
For example; An adult member checking into a kid’s class.
Find Tags: To verify which membership types are linked to which tags visit Settings and navigate to the Membership Plans page. At the base of this page, you will find the tag details.
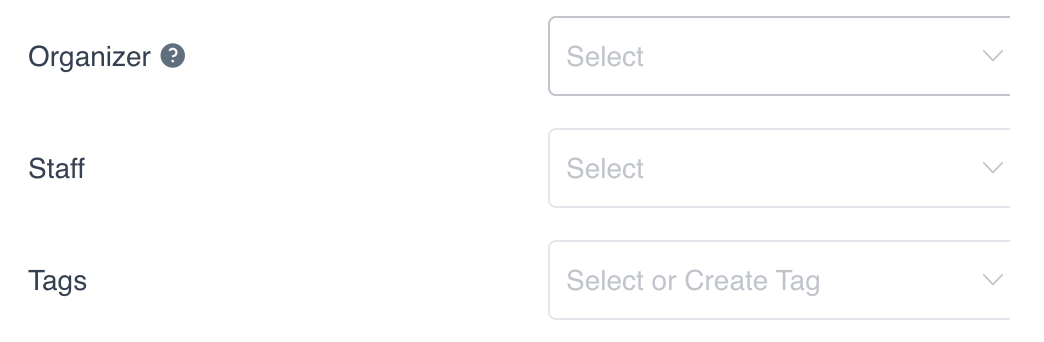
Select/Create the Tag you wish to add to this class using the drop-down menu on the Tag field.
The “paid” tag is used for any Paid or Free Events, that you want to make available to both members and non-members. The “paid” tag will display any events or classes on the member portal “Book Online” page.

Once you’ve added your tags don’t forget to “Save” your changes!