Did you know you can White Label your site?
This is great news if you have a business or brand you want front and centre. Users accessing your app and customers who view the front-end will see the app only with your branding. That means you can show your logo and use your style guide.
There are a few different ways you can white-label your app:
Header
Let’s take a look at how you can White Label the Header.
Navigate to Settings
To access the Header Bar Settings you’ll need to navigate to Settings > Branding page using the side navigation within the Admin Dashboard.
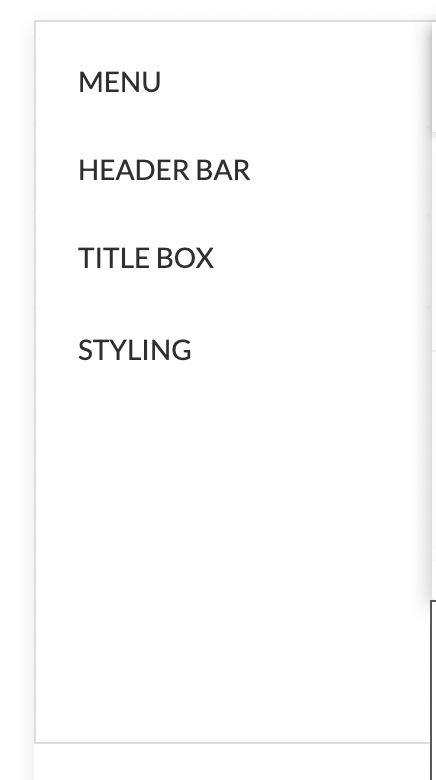
Once the Branding page loads. Select Header Bar from the side navigation.
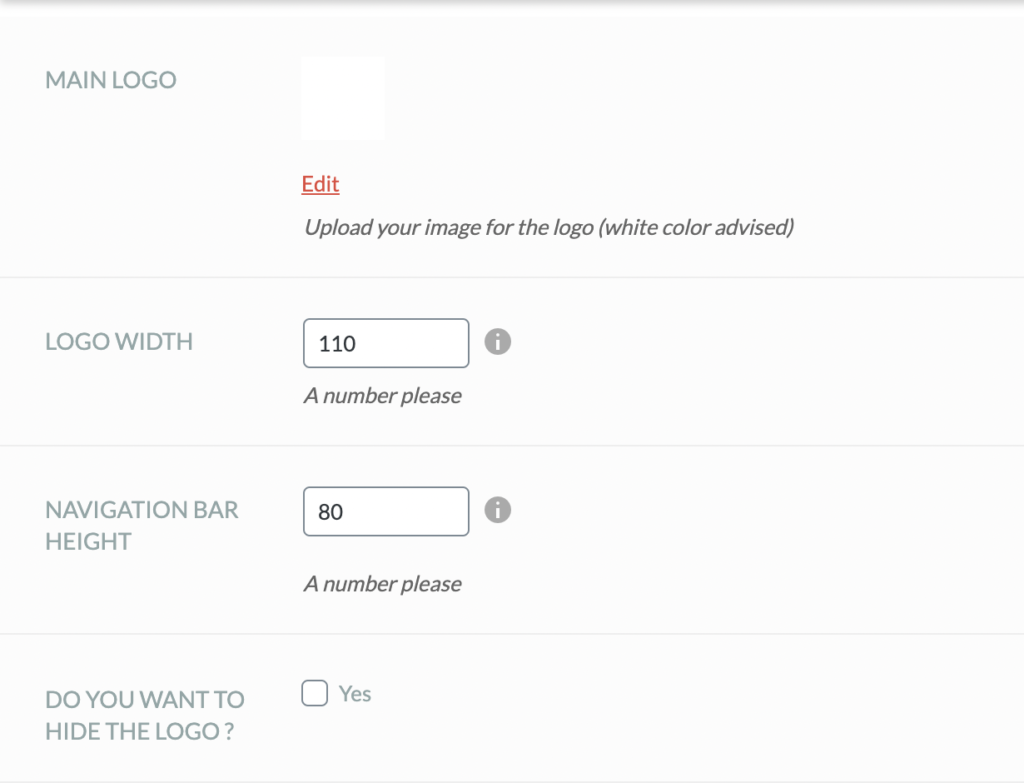
Setting your Main Logo
Here you can easily set the main logo for your site. The first option under Header Bar is used to change your main logo (here you can upload your own). You can set the width that your logo should scale to, the height is automatic. However, you should allow enough height in pixels in the navigation bar height, to accommodate your logo. You can also choose to hide the logo completely if you don’t have one.
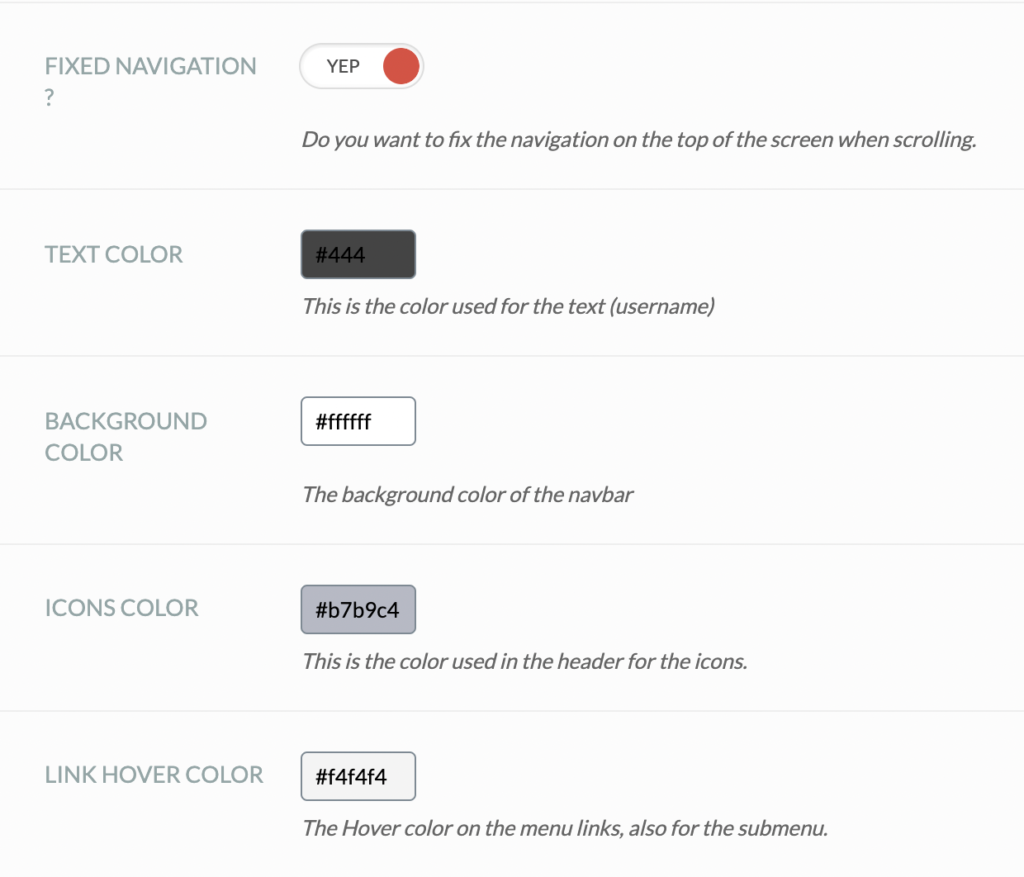
Fixed Navigation Option and Styling Header
The next set of options allow you to choose to have a fixed navigation on the top of the screen when scrolling. And there are a variety of styling options to customise the colours for text, background, icons and links in the header. You can use these options to match the header styling to your company style guide.
Show / Hide Important Navigation Options in Header
Finally, you can also select whether to show or hide navigation options in your header. These include Search, User Box, and Log In. See the screenshot below.
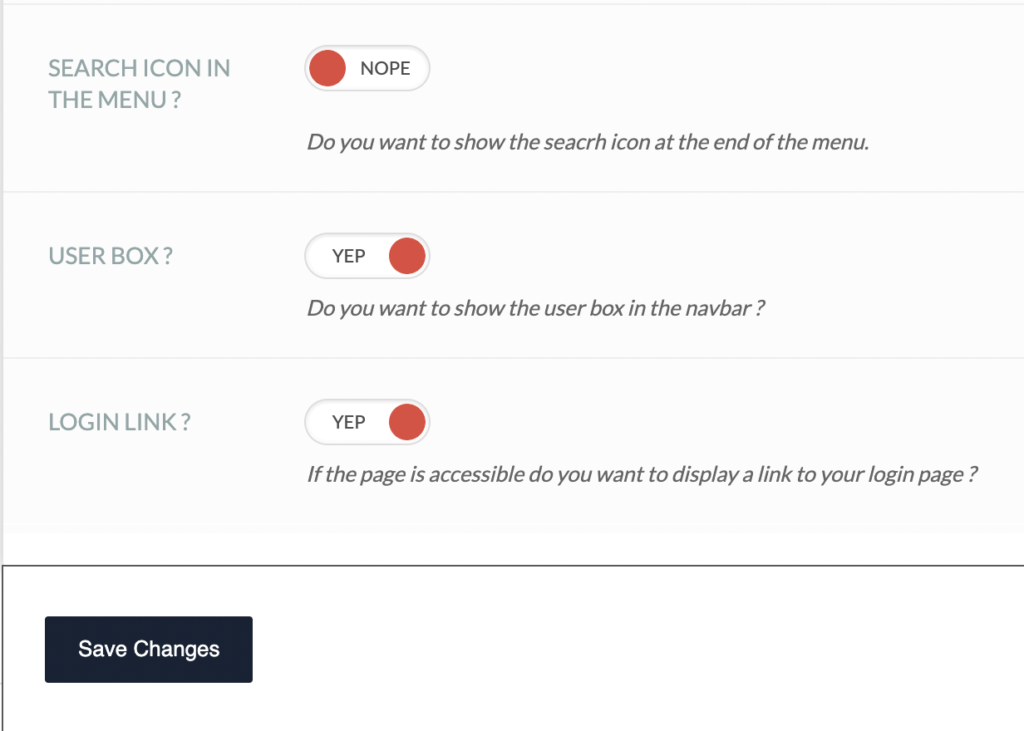
Be sure to “Save Changes“.