Follow-Up Emails are a powerful tool to help streamline and automate everyday processes inside your organisation.
Using Triggers and Conditional Rules we can create a series of automated emails to send out to customers.
Let’s take a look!
Navigating to Follow-Up Emails
Navigate to Settings using the top-navigation menu within the Admin Dashboard.
Scroll to the Notifications section and follow the link for “Follow Up Emails – All Emails“.
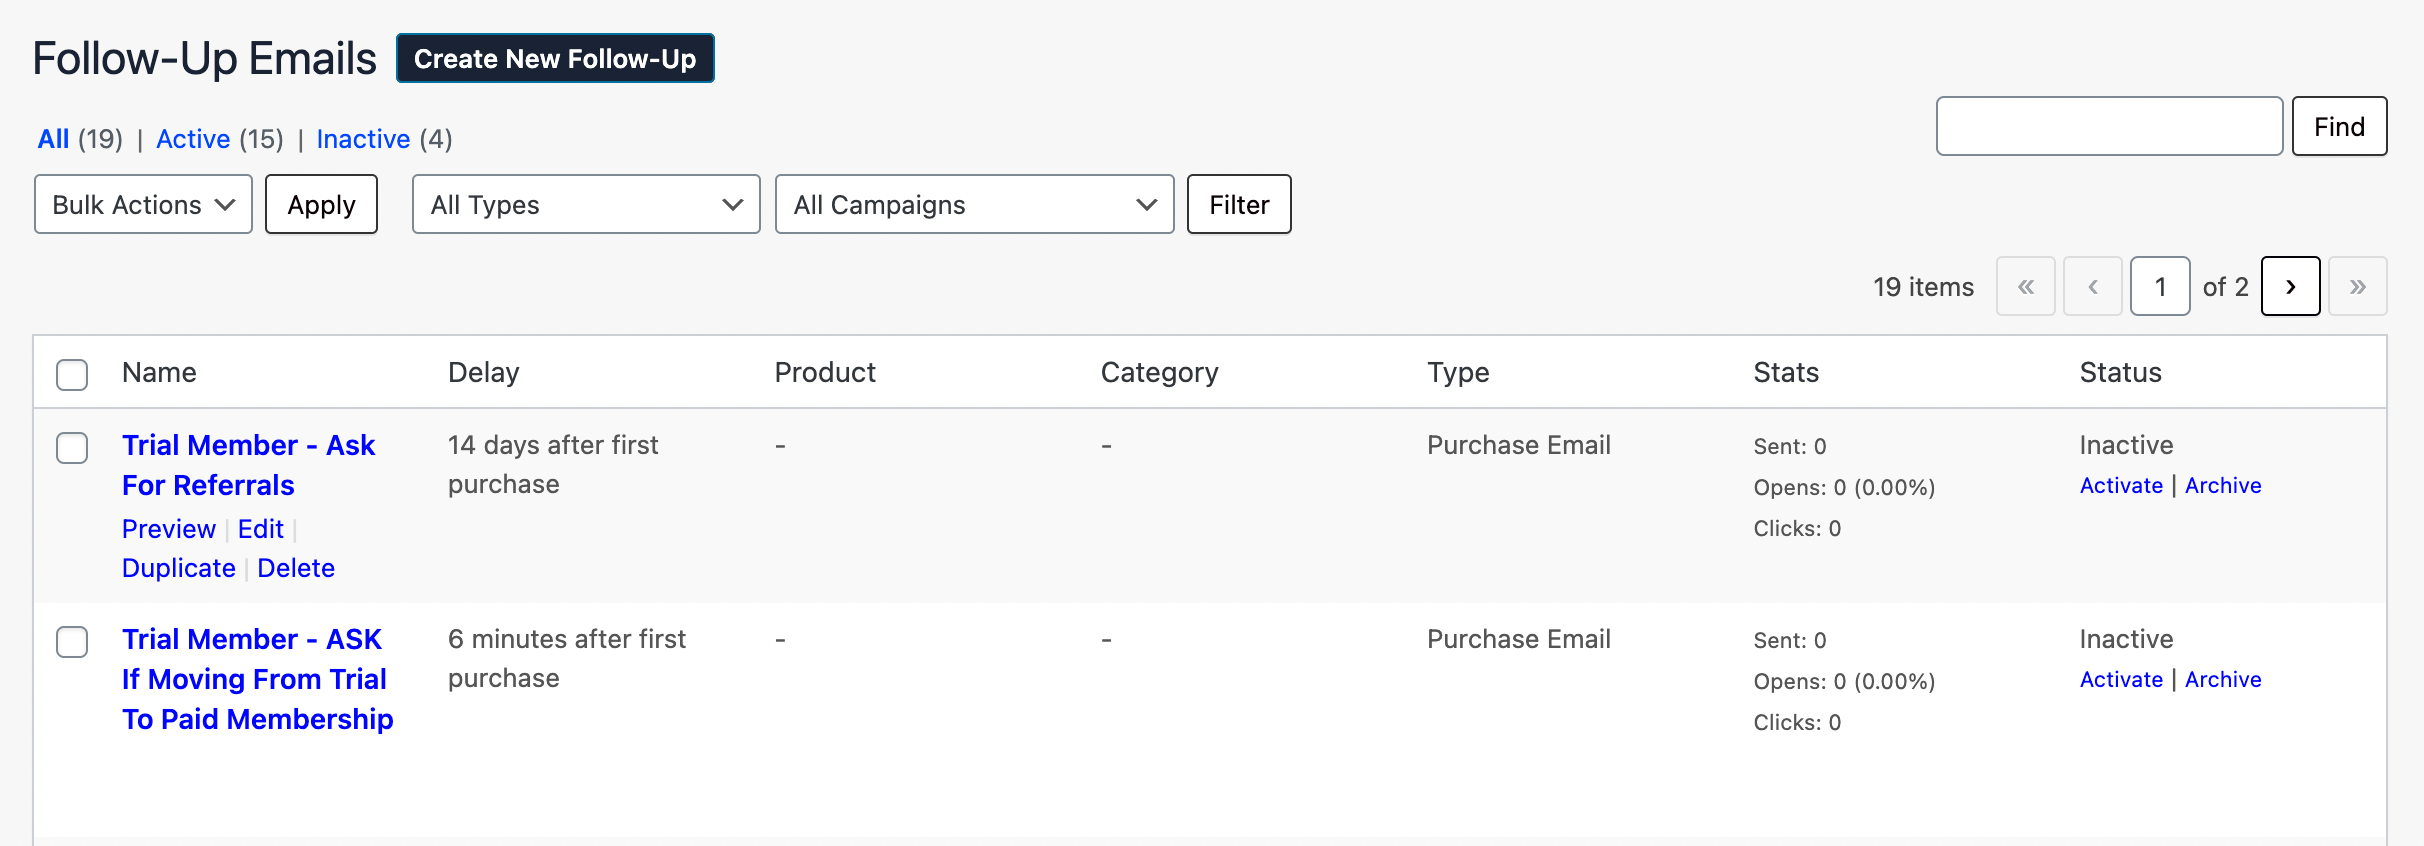
On this page, you’ll find the table containing all the follow-up email templates.
Note: By default, your app will be populated with some pre-designed templates. You can customise, delete or deactivate any of these email templates. Additionally, you can create your own follow-ups by clicking the “Create New Follow-Up” button.
Utilise Campaign Tags to categorise and organise your follow-up email templates.

Visit the Settings page and navigate to Follow Up Emails – Campaigns to add and remove existing campaign tags.

To Edit, Duplicate or Delete a template simply hover over the entry in the table. On the right, you can find the option to Active/Deactivate a follow-up email.

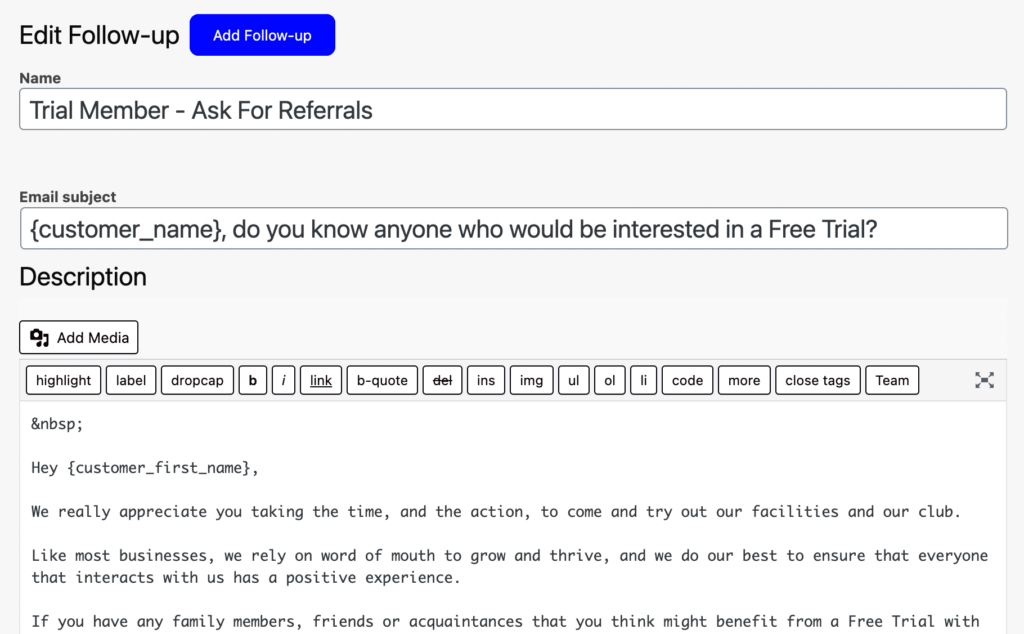
Let’s take a look at the Settings for the follow-up emails! Either click on the “Title” of the follow-up or click the “Edit” button.
On the Edit Follow-up form, you can update the Name, Email Subject and Email Body of the follow-up email. Use Tags to embed {customer_name} to make emails more personal.
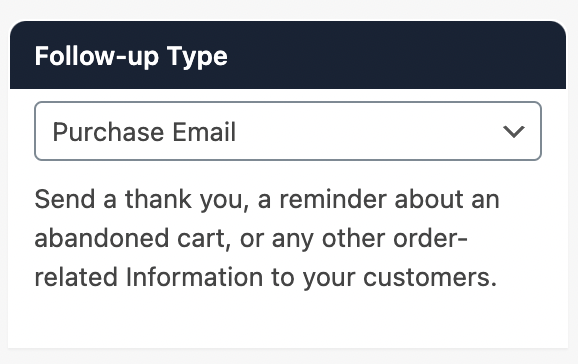
Under the Follow-up Type section, you can select the type of follow-up you wish to create.
- Purchase Email is linked to actions and purchases within your store.
- Membership Email is linked to membership plans and updates to membership statuses.
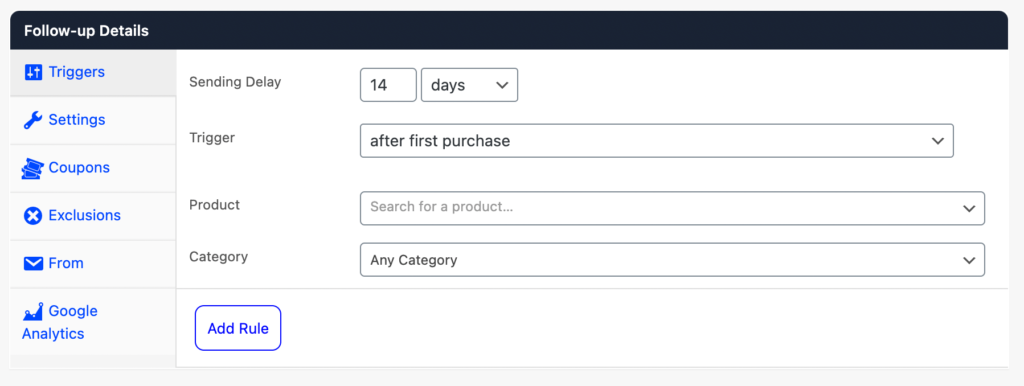
Scroll down to the Follow-up Details to add the necessary Triggers and Rules.
Set the Sending Delay before sending the email after an action is triggered by a user. Select a Trigger from the available options.
Link in specific Products or Categories that will act as conditional rules for the trigger.
Add Rules to include additional conditions which need to be met to trigger the follow-up.
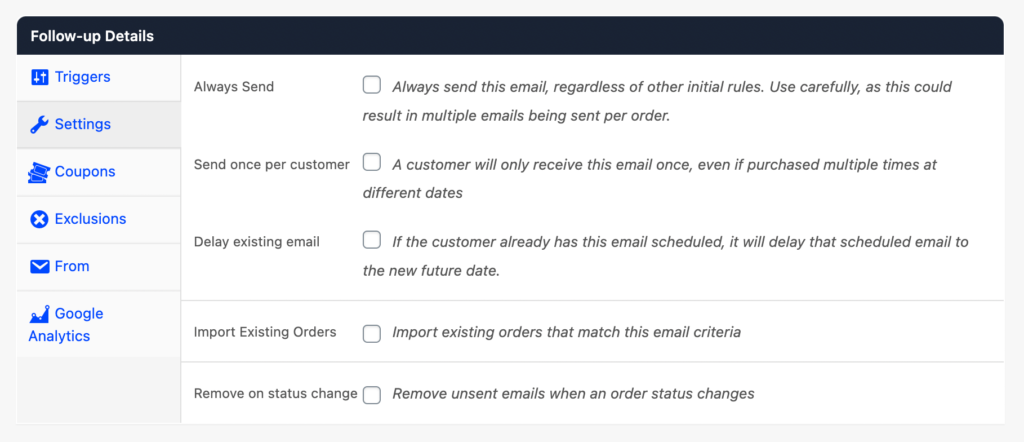
Under the Settings tab, you can apply additional conditions.
- Always Send emails regardless of initial rules.
- Send the email only once per customer
- Delay if an email is already scheduled to the same customer.
- Remove scheduled emails if the status changes on an order.
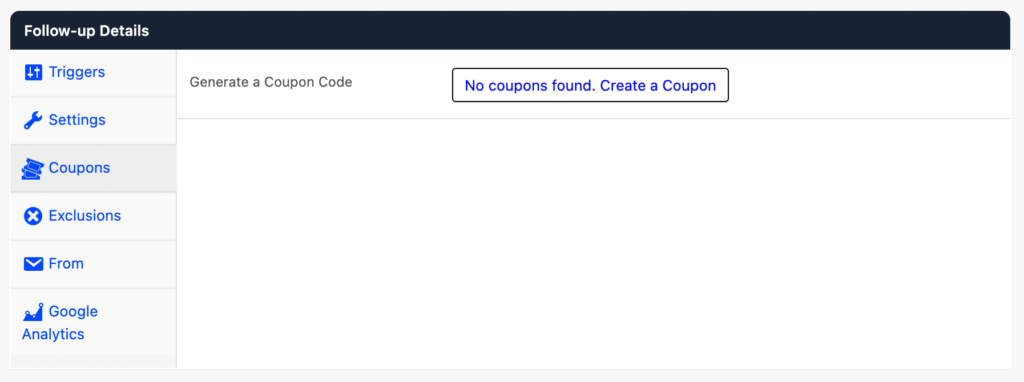
If you wish to send Coupons in email templates you can additionally “Create a Coupon” to include in the follow-up email.
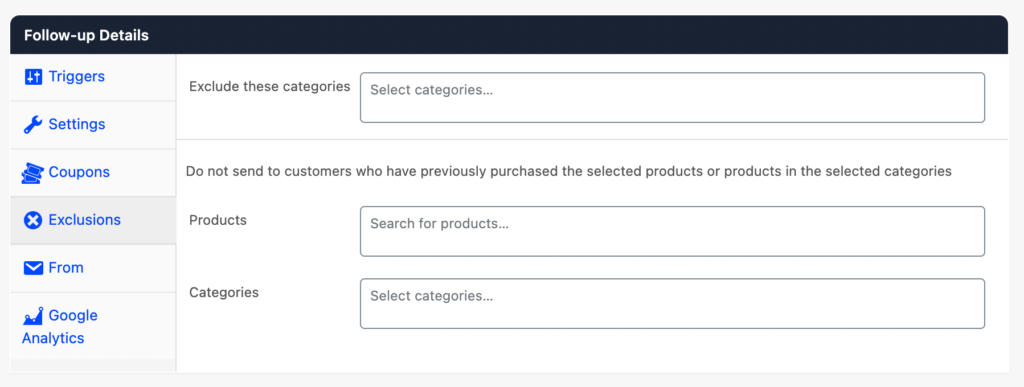
Under the Exclusions settings, you can Exclude specific Products and Categories which will not trigger the follow-up email.
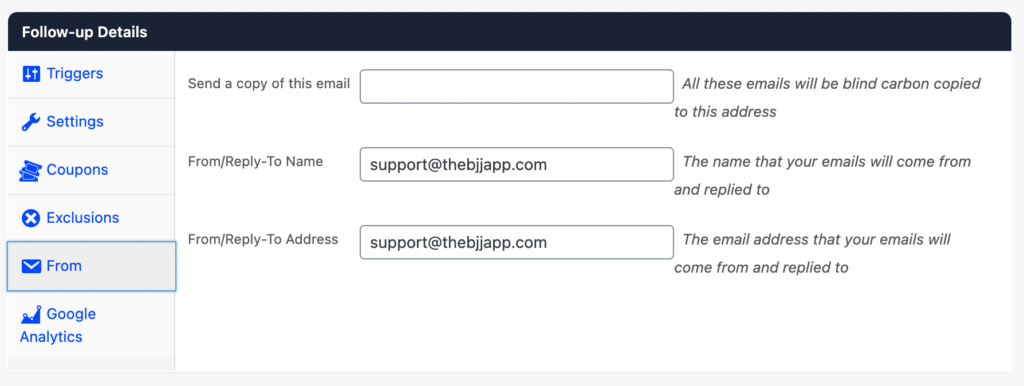
To Receive a Copy of a follow-up email and update the Name and Email Address used in the emails sent to your customers you can add these details in the “From” settings.
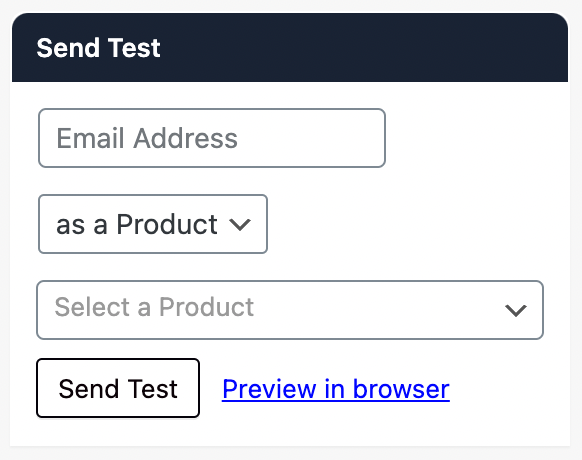
Important Note: Before you Active your follow-up email, be sure to “Send a Test” to yourself to ensure all details, format and tags are displayed correctly.
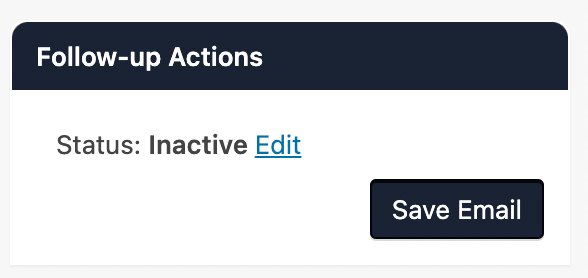
Once you’ve tested the email template you can now Save and Active the follow-up email.
And that’s it!